Peripherals
The latest Peripherals breaking news, comment, reviews and features from the experts at T3
-
I buy this Crucial storage deal every Prime Day – and this is why
Humans are creatures of habit, and I am no different
By Sam Cross Published
-
Obsbot Tiny 2 webcam review: an even better flagship webcam
Great picture quality and tons of features make this webcam a winner
By David Nield Last updated
-
I didn't expect this little device to blow me away, but Anker's done it again
The new Anker Nano Power Bank is crazy
By Max Freeman-Mills Published
-

Madness! Amazon's best hard drive deal offers storage at just 1p per GB
No, that's not a typo!
By Sam Cross Published
-

Apple AirTag 2 was missing from iPhone 16e launch, but could still arrive soon
We could be just months away
By Sam Cross Published
-
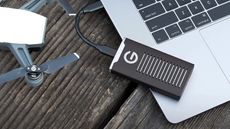
Best external hard drives for Mac 2026: expand your Mac's storage
The best external drives available for MacBook, iMac, Mac Pro and Mac Mini in 2026
By David Nield Last updated
-
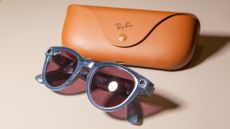
Using the Ray-Ban Meta Headliner has me convinced that smart glasses are the future
Wearing Ray-Ban Meta’s latest smart glasses was a revelation and makes regular glasses feel like a waste of time
By Mat Gallagher Published
-
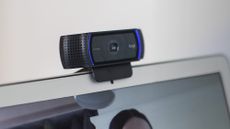
Logitech C920 Pro HD review: a solid and affordable webcam upgrade
The Logitech C920 Pro HD has plenty to offer shoppers on a budget
By David Nield Published
-

This external hard drive is less than £0.02 per GB – but hurry, ends midnight!
Looking for a cheap way to store your files? Look no further
By Sam Cross Published
-

After Zoom's boom, Google's next-gen upgrade to become a stunning reality from next year
Working alongside HP, Google's Project Starline could revolutionise how we communicate – and it's coming in 2025
By Mike Lowe Published
-
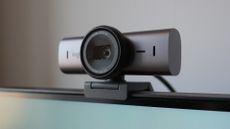
Logitech MX Brio: a webcam with pro-level performance
Logitech's 2024 flagship webcam is its most premium ever and worth it for power users
By Max Freeman-Mills Last updated
-
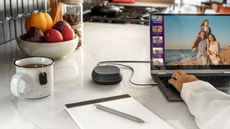
This mammoth 8TB external SanDisk SSD is more affordable than expected
New external SSD drive comes compatible with Mac and Windows
By Rik Henderson Published
-

This Qi2 charger has the key to fast in-car charging
It's got the Qi, it's got the secret... to fast charging that won't fall off in corners
By Carrie Marshall Published
-
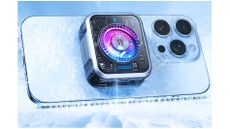
iPhone overheating? This MagSafe-compatible accessory keeps it cool
Take a chill pill
By Andy Sansom Published
-

How to clean your keyboard: get rid of dust and grime without any damage
Whether you're working from home or surfing the web, banish viruses and harmful bacteria from your dirtiest workspace
By Matt Evans Last updated
-

Turn your iPhone into a brilliant gaming handheld with this controller
No iPhone 15? No problem
By Andy Sansom Published
-
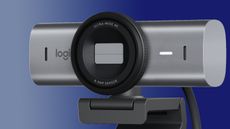
Logitech's new webcam is a WFH wonder
Be seen crystal clear... in your pyjamas
By Andy Sansom Published
-
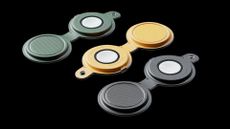
This foldable Qi2 charger is perfect for iPhone and Apple Watch owners on their travels
Everywhere you go, always take your charger with you...
By Max Freeman-Mills Published
-
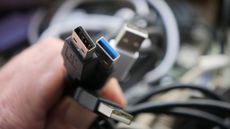
We need more labels on our cables
As cables get more complex with varying speeds and functionality, Jon Bentley calls for clearer labelling
By Jon Bentley Published
-
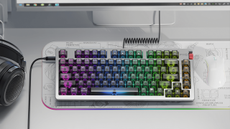
The FiiO KB3 keyboard has its own built-in headphone DAC for WFH skills
This Hi-Res Hi-Fi keyboard has RGB lighting, swappable keys, and comes with its own integrated audio amp
By Rik Henderson Published
-
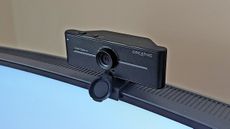
Creative Live! Cam Sync 4K review: a high-quality webcam upgrade
Get 4K video for your calls without spending much at all
By David Nield Published
-
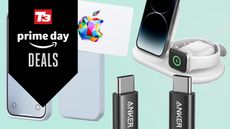
5 Apple accessories I'm buying in the Prime Day sale
These are the perfect addition to the iPhone 15 and they're all discounted right now
By Mat Gallagher Last updated
-

Apple Magic Mouse, Trackpad and Keyboard refresh reportedly coming soon... for one good reason
Upgraded Apple Magic accessories will launch alongside new iMac, it is said
By Rik Henderson Published
-

5 ways to improve your WFH office: the best accessories to buy
Get your work done quickly and comfortably with these must-have accessories
By Yasmine Crossland Published
-

8BitDo's Famicom-inspired Retro Keyboard is such geek chic it made me squeak
The 8BitDo Mechanical Wireless Keyboard feels as good as it looks
By Rik Henderson Published
-

Do you really need a webcam? Here are 3 of the best that are worth buying
If you make a lot of video calls or you create a lot of content, you should invest in one of these webcams
By Yasmine Crossland Published
-
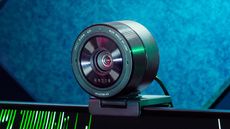
Razer Kiyo Pro Ultra review: a top-of-the-range 4K webcam for serious streamers
The Kiyo Pro Ultra has a lot going for it, but it is expensive
By David Nield Published
-
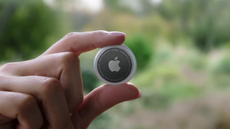
A new AirTag is tipped to launch next year
The AirTag 2 could be coming, on the back of impressive sales
By Sam Cross Published
-
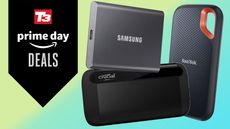
I review tech for a living – these are the 3 SSDs worth buying in the Prime Day sale
Deals Whether you want to back up old photos, or take files with you on the move, a good external SSD is a great buy
By Sam Cross Published
Deals
