Cycling
The latest Cycling breaking news, comment, reviews and features from the experts at T3
-

Brompton Electric T Line review: The reinvention of a commuter icon
The lightest electric Brompton ever built proves the brand can still innovate, but refinement comes at a cost
By Matt Kollat Published
-
From cobbles to countryside, Tenways' Wayfarer e-bike wants to take you everywhere
Tenways’ latest model blends Dutch urban design with real trail-ready muscle
By Matt Kollat Published
-

Decathlon launches 'Autumn BuyBack Bonus' deal with 20% extra back on bike trade-ins
The sports and fitness retailer also drops prices on over 1,000 winter essentials, with up to 30% off
By Lee Bell Published
-
Brompton goes lighter and smarter with its next-gen e-bike range
The fresh T Line Electric boasts a super lightweight titanium frame and even learns how you ride
By Lee Bell Published
-
Wahoo Kickr Bike (V1) review – Almost the ultimate indoor trainer
Wahoo's Kickr Bike is an all-in-one indoor trainer for cyclists who need a reliantly-performant indoor trainer
By Mike Lowe Published
-
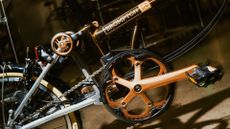
“We wanted to do justice to the craft”: how Brompton’s 1975 Edition folds history into the future
Brompton’s 50th anniversary bike is a meditation on craft, heritage and where the brand goes next
By Matt Kollat Published
-

Garmin just dropped a bunch of cycling gadgets that will make your ride smarter and more accurate than ever
The Edge 550 and 850 bring smart fuelling alerts, group ride comparisons and more readable screens
By Lee Bell Published
-
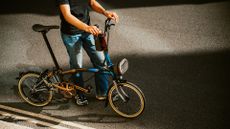
Brompton celebrates its 50th anniversary with a stunning, limited edition foldable bicycle
With its unique design details and limited availability, the bike is a must-have for both cycling enthusiasts and collectors
By Matt Kollat Published
-

Best electric bike 2025: elevate your ride with eco-friendly efficiency
Discover the best electric bikes that combine style, speed, and sustainability, offering a fun and efficient way to commute, explore, and conquer any terrain
By Matt Kollat Last updated
-
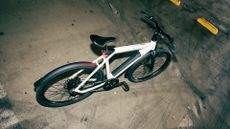
Raleigh’s new connected bike looks simple but hides serious tech inside
The British brand is back with a bang
By Matt Kollat Published
-
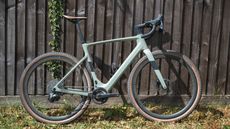
I never got the e-bike hype until I tried Scott's Solace eRIDE 20 electric gravel bike
This is what e-bikes should feel like
By Matt Buckley Published
-

I didn’t think my daily commute could get easier, then I rode the Priority Current Plus
Quality commuting that goes the distance
By Mark Knapp Published
-

I rode the UK's most brutal gravel race and lived to tell the tale
What it’s really like to race the Gralloch
By Matt Buckley Published
-

New Tudor Pelagos Chrono is pretty in pink
The limited edition celebrates the Giro d'Italia
By Sam Cross Published
-
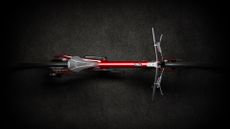
Luxury e-bikes are getting smaller, sleeker and smarter, and this $13,000 model is leading the way
With the featherweight EIDOLON, Ponomarets taps into a growing demand for subtle, high-end eBikes
By Matt Kollat Published
-

Garmin unveils its first cycling headlight with a built-in camera for automatic incident detection
The Varia Vue also has automatic brightness adjustment and a cut-off beam
By Bryony Firth-Bernard Published
-

Cowboy rolls out fresh new shades for its e-bikes – and they look ready for the spring
The brand's latest e-bike colours bring a breath of fresh air to city streets
By Matt Kollat Published
-
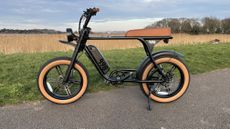
Halfords B98 Electric Hybrid Bike review: big-tyred bruiser with a beefy battery to match
Lazy cyclists will love the power and poise of this chunky electric bike with its funky design lines
By Rob Clymo Published
-
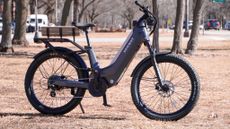
I tried Segway’s sci-fi ebike and things got weird fast
Segway’s first ebike is flashy and smart, but the basics could have used more attention
By Mark Knapp Published
-
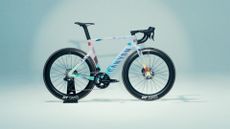
Canyon’s new service turns road bikes into personalised, rolling masterpieces
The company is bringing boutique customisation to the masses
By Matt Kollat Published
-
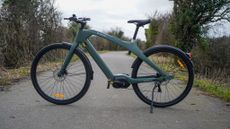
Engwe N1 Pro review: Sleek, high-tech commuter with serious anti-theft smarts
Engwe's N1 Pro is an excellent commuter e-bike – if only it worked for taller riders...
By Matt Kollat Published
-

Cowboy shifts bicycle assembly to France – because your e-bike deserves a little Parisian finesse
Nearshoring magic means faster deliveries, better quality, and a planet-friendly boost
By Matt Kollat Published
-
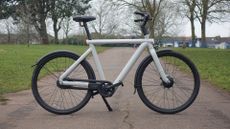
Vanmoof S5 review: The ultimate urban commuter ebike
With cleverly integrated smarts, automatic e-shifting and a smooth ride capable of taking on the city, the S5 represents the pinnacle of urban ebikes
By Nick Odantzis Published
-
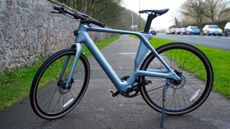
Fiido Air review: Beauty, brains, and a blunder in display tech
If you’re after style and performance in one package, the Air might still be for you, provided you’re willing to overlook its clunky digital compromises.
By Matt Kollat Published
-
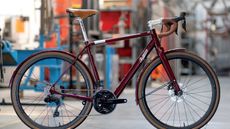
Pashley brings Shakespeare’s hometown to the e-cycling world with the Roadfinder E
From Stratford-upon-Avon to the open road
By Matt Kollat Published
-
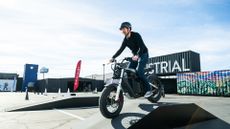
I tried the Segway Xyber and it could be the greatest e-bike ever, except for one small thing
The Segway Xyber looks incredible and is a lot of fun to ride but there’s one thing that’s putting me off it
By Mat Gallagher Published
-
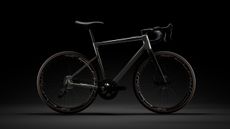
Urtopia Titanium Zero e-bike combines lightweight design and semi-solid state power with AI-powered riding
New electric bike seems to have it all
By Matt Kollat Published
-

Xyber and Xafari e-bikes unveiled as Segway's electrifying entry into cycling
Segway shakes up CES 2025 with the launch of its first-ever e-bikes
By Matt Kollat Published
-

Best folding exercise bike 2025 for big cardio workouts in small spaces
The best folding exercise bikes for when indoor space is at a premium
By Howard Calvert Last updated
