How to install a video doorbell: quick tips for wired and wireless options
Not sure how to get your video doorbell up and running? T3’s got the answers

As T3’s Home Editor and resident smart home expert, I’m often asked what smart home device is my favourite – and my answer is always a video doorbell.
There are so many reasons for this but the crux of it is this. Video doorbells mean you can answer your front door while you’re out of the house – or simply don’t want to get off the sofa. As they have a camera, video doorbells also means you can check in on what’s happening outside your home, plus you can even speak to visitors, like delivery people so you don’t miss a parcel.
It’s all well and good me raving about video doorbells, but if you’re new to them, you might not know how to install them. But again, this is the beauty of a video doorbell – whether you pick a wired or wireless option, they’re extremely easy to set-up.

Here’s a quick guide on how to install a video doorbell.
Things to remember when installing a video doorbell
Before you install anything, it’s important to check that your video doorbell’s transformer is compatible with your home’s power supply. All of this information will be included in the instructions of your video doorbell.
In terms of equipment, your video doorbell will come with mounts, screws and other tools to help you set it up. You’ll also want to have to hand a screwdriver, drill and drill bits, and a level, plus you might want to consider a voltage tester, too.
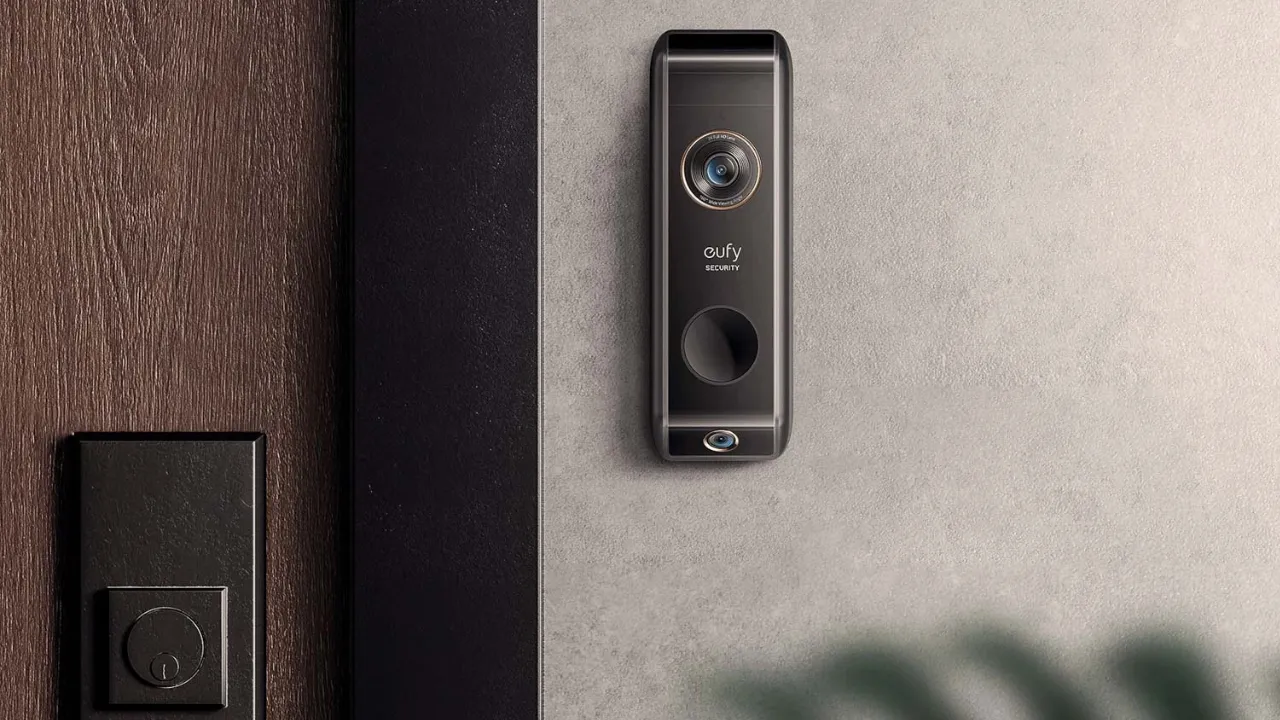
How to install a wired video doorbell
Kicking off with the harder set-up of the three, installing a wired video doorbell is slightly more complicated but it’s still easy to do. In general, you can set up a wired video doorbell yourself without professional help, although you’ll want to call an expert if your home has no existing wiring or you’re unfamiliar with electrical work.
The first step in installing a wired video doorbell – or any type on this list – is to turn off the power to your existing doorbell. This is for your safety and can be done via your fuse box. Once the power’s off, remove your old doorbell by unscrewing the unit with a screw driver and disconnecting the wires.
Next, position your new wall bracket over where your old doorbell used to be. Screw the bracket in place – you may have to add more holes with a drill if needed. From there, you can connect your video doorbell’s wires to the existing wires. Instructions for this will be found in the doorbell’s manual or in the app.
Once your video doorbell has been connected, turn the power back on. You can also sort out settings, like field of view and automated replies in the app that the video doorbell is compatible with, although I’d recommend downloading it first.
How to install a wireless video doorbell
Installing a wireless video doorbell is much easier and requires a lot less steps than a wired option. Start by fully charging the battery of the video doorbell using the charger it comes with – this may take a few hours.
Once your video doorbell is charged, I’d suggest downloading the app and connecting your video doorbell to Wi-Fi and the app itself. It’s best to do this before it’s mounted to the wall as you may need to scan a QR code on the doorbell for some brands.
Next, follow the steps for mounting the wall bracket as detailed above. Attach the doorbell to the bracket and you’re away! Similar to the wired option, you can then set up details in the app.
