Apple iOS 15.1 lets you shoot video in ProRes but should you?
Apple ProRes is available for the iPhone 13 Pro and allows you to achieve the very best from the video. It’s not for everyone though


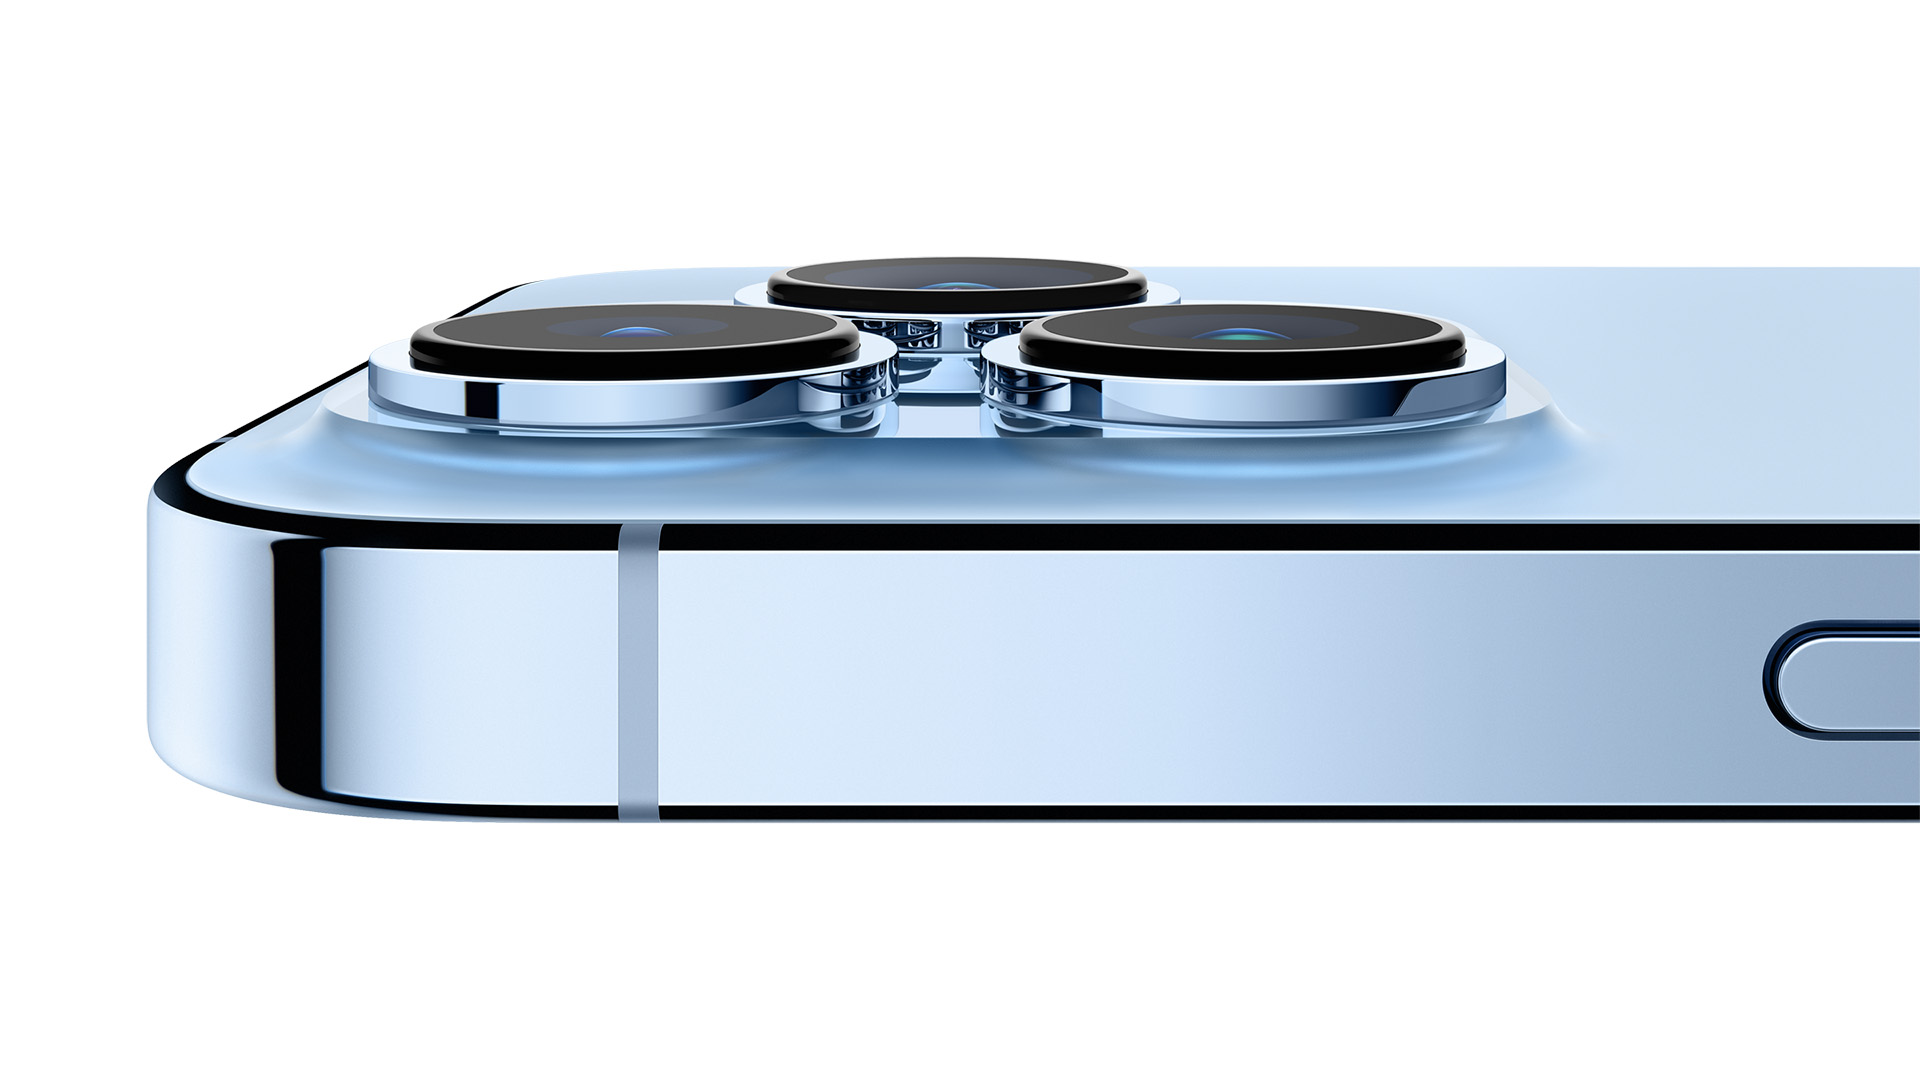
When the iPhone 13 Pro was announced it was revealed that both 13 Pro and 13 Pro Max would be able to shoot video using Apple’s ProRes codec. This was a further nod to the phone’s professional moviemaking abilities and no doubt it made some filmmakers sit up and take notice.
ProRes codecs can support a range of sizes and frame rates but the iPhone 13 Pro can shoot in 10-bit ProRes 422HQ at up to 4K at 30fps. The only exception is the 128GB model, which due to space limitations, can only shoot at 1080p at 30fps. Just one-minute of footage requires up to 1.6GB of storage for HD and 6GB for 4K, so the 128GB model would struggle to offer much shooting capacity at 4K.
For us non-professional users, the idea of shooting in ProRes is appealing. After all, who wouldn’t want to shoot at the very best quality? The thing is, unless you are planning to export your video clips to a professional editing software, such as Final Cut Pro X, for color grading, it might not be the best idea.
As with RAW images for still photos, the benefit of ProRes for professional shooters is that it uses the least image compression. It also produces a very flat-looking image that is better for editing, as this will avoid any highlights or shadows losing detail.
You can still edit the ProRes files on your phone, but you aren’t likely to see much improvement here over the regular HDR video setting. The Filmic Pro app has already announced that it will support ProRes for shooting but again, this is designed for exporting rather than editing in-phone.
Then there’s the storage issues. Even if you have plumped for the 1TB model, you will still only get a maximum of 8.6 hours of footage to completely fill your phone. And that’s if you have nothing else on it.
iOS 15.1 is currently still a beta but is likely to be on general release in the next few weeks, bringing ProRes to iPhone 13 Pro models. If you have a compatible phone and plenty of storage, I suggest you try it out, but don’t leave it as your default recording setting.
Get all the latest news, reviews, deals and buying guides on gorgeous tech, home and active products from the T3 experts

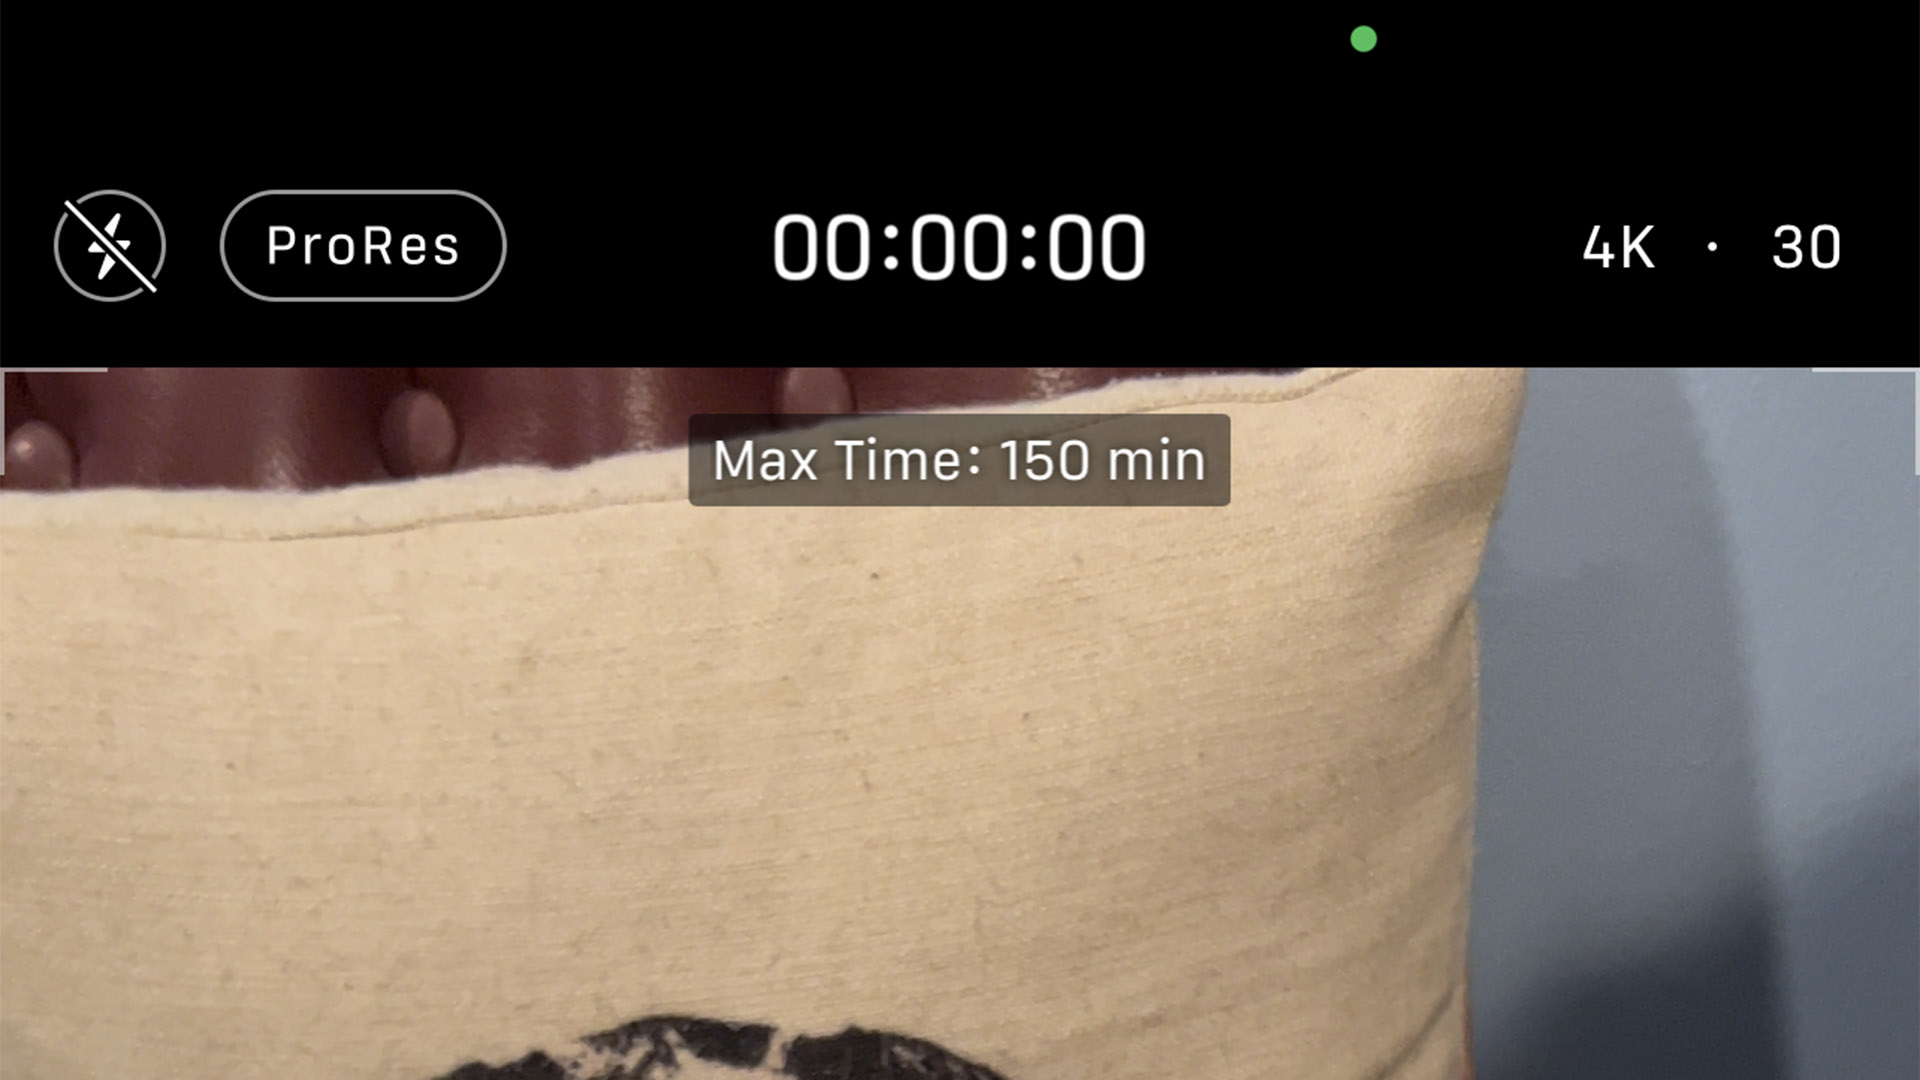
Camera view with ProRes activated
How to update to iOS 15.1
iOS 15.1 isn't out yet, but once it launches you can follow the steps below.
Before you upgrade, make sure you back up your device (just in case). To do this, you can either plug your phone into your computer or set your phone to backup to your iCloud account.
To turn on iCloud backups, go to your Settings and click on your name at the top. Click on iCloud and then scroll down to iCloud Backup. You’ll need a paid iCloud account if you want to back up anything more than your basic settings and contacts.
To install iOS 15.1 on your iPhone, go to Settings > General > Software Update. If an update is showing, click on download and install. The update to iOS 15.1 is big – 5GB big – so you may want to be on Wi-Fi and plugged into a power socket before installing.

How to turn on ProRes for video
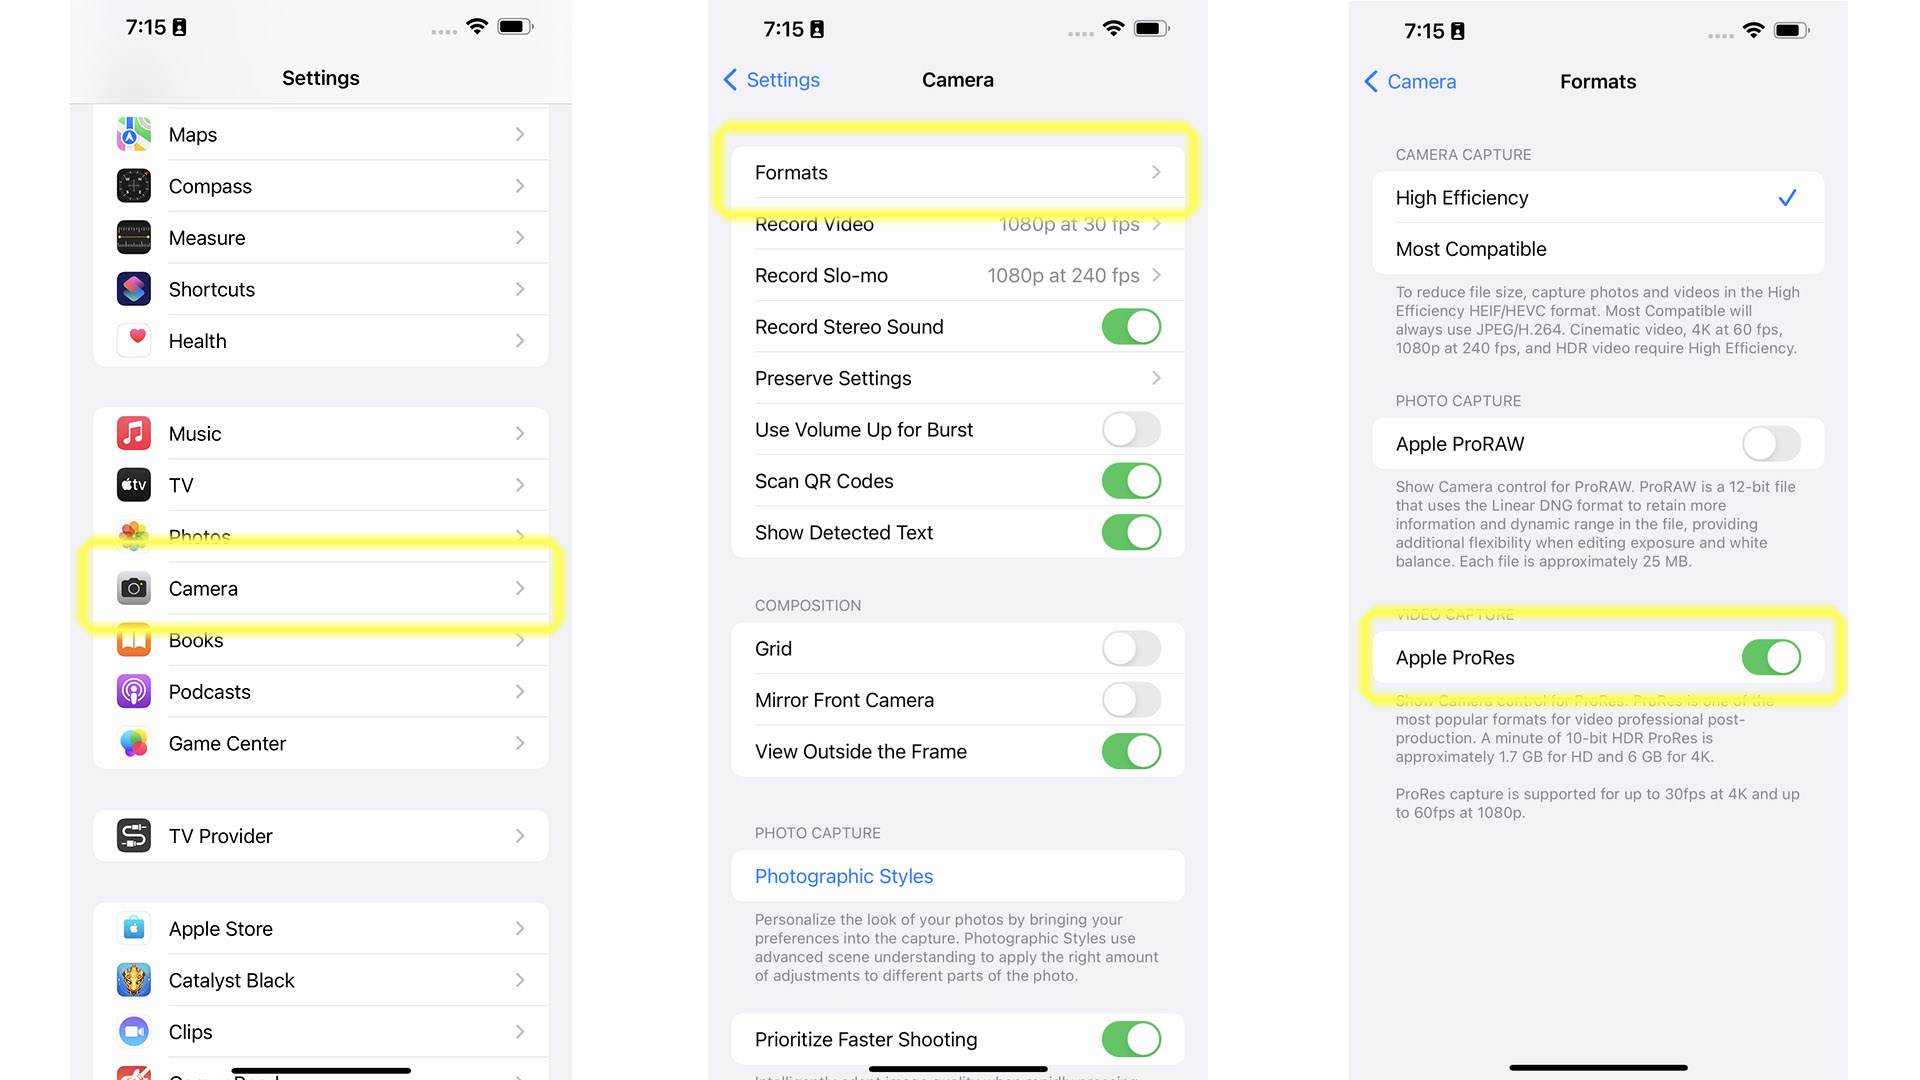
To set your camera to ProRes, go to Settings > Camera > Formats. At the bottom you will see a radio button under Video Capture marked Apple ProRes, switch this to the right so it shows as green. Now you're set to shoot.
When you switch your camera to the video mode you will see ProRes in the top left of the screen and a Max Time listed under the counter.

As T3's Editor-in-Chief, Mat Gallagher has his finger on the pulse for the latest advances in technology. He has written about technology since 2003 and after stints in Beijing, Hong Kong and Chicago is now based in the UK. He’s a true lover of gadgets, but especially anything that involves cameras, Apple, electric cars, musical instruments or travel.