How to start a smart home with Apple Home
For Apple fans and iOS users, here’s how to create your own smart home with Apple
Whether you have a smart security camera set-up or enjoy listening to music with the best smart speakers, it’s quickly becoming the norm to have a full ecosystem or a scattering of smart devices around the home. And surely, 300 million smart homes can’t all be wrong…?!
While creating your own smart home makes communicating with family, organising your calendar and automating your heating much easier, it can be tricky to decide what digital assistant is the one for you. But if you’re an iOS user, the simple answer to your conundrum is to start a smart home with Apple Home.
In our ‘how to start a smart home’ series, T3 has been looking at how to set-up your smart home using popular smart home platforms, and now it’s Apple’s turn. Below is a full guide to Apple Home, including what it is, what devices work with it and how to get your smart home started with Apple Home.
What is Apple Home?
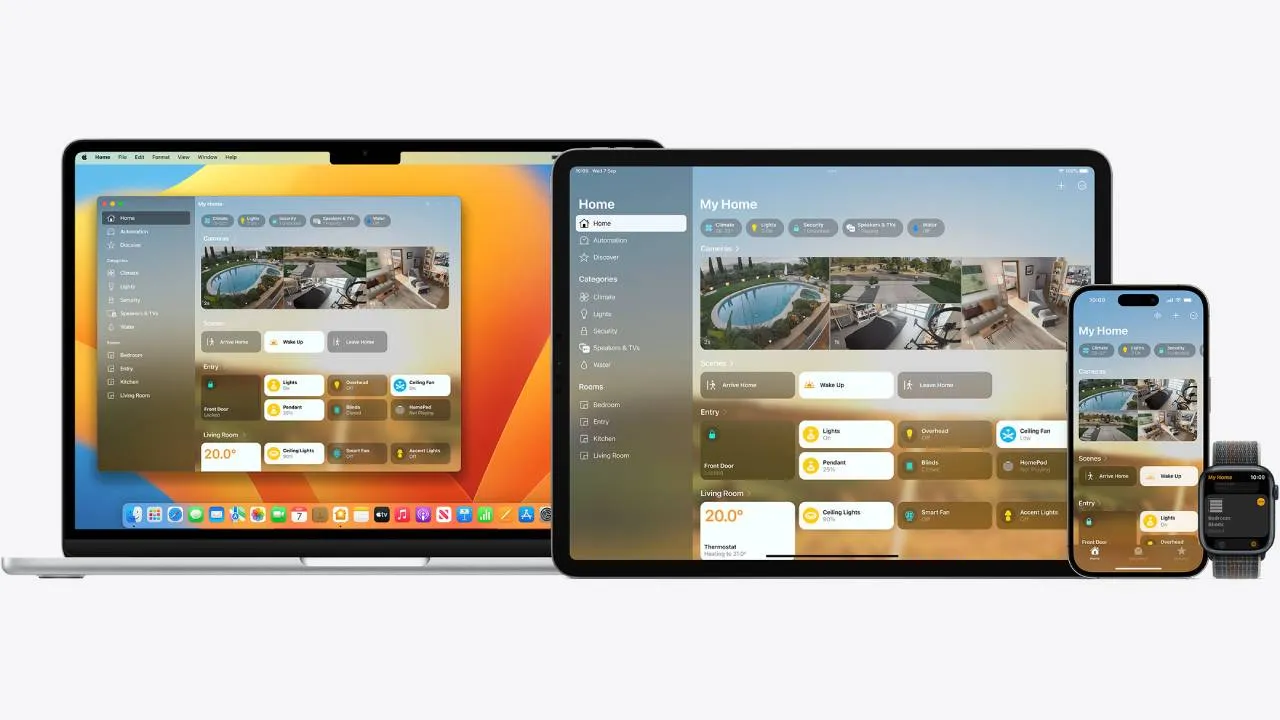
Apple Home or HomeKit is Apple's smart home platform and protocol that’s built into Apple devices. Introduced to iPhones and iPads in 2014 with iOS 8, Apple Home has since expanded to other Apple and compatible devices. The Home app is available on iOS devices and users can either use the app or Siri voice commands to communicate with their smart home products.
In the simplest of terms, Apple Home allows users to configure and control smart home products using Apple devices. The app keeps all your gadgets in one place, and you can design rooms, automations and actions so your home runs smoothly while you’re at the premises or out and about.
If you’ve already got an Apple or iOS product, Apple Home is the obvious choice when it comes to picking your smart home platform or ecosystem. But if you’re an Android user, the Apple Home app and configurations don’t work on Android devices, so you’ll want to pick Alexa or Google Assistant over Apple Home.
What devices are Apple Home-compatible?

Similar to Google Assistant (see how to start a smart home with Google Assistant for more details), there are two types of Apple Home devices. The first type of Apple Home devices are Apple's own products, including HomePod speakers, Apple TV 4K, iPhones, Apple watches, iPads, MacBooks and so on. To get the most out of Apple Home, investing in a HomePod, iPad or Apple TV is the safest option, but I’ll get to that later in the guide.
The second type of Apple Home devices are compatible products which are manufactured by a different company but can be commanded by Apple Home. to determine whether a product is compatible with Apple, keep an eye out for ‘Works with HomeKit’ branding. Examples of compatible devices include Philips Hue lighting, Eve, Arlo and Netatmo cameras, Tado and Ecobee smart thermostats, Eero routers and Nanoleaf. Apple can also support LG, Samsung, Sony and Vizio TVs, and the AirPlay streaming standard.
Unlike Alexa (see how to start a smart home with Alexa for all the info), Apple doesn't make many of their own smart home products. Other than its line of smart speakers, Apple doesn’t manufacture its own cameras, smart plugs or video doorbells, so if you’re looking to expand your smart home, you’ll need to pick compatible devices.
How to set up a smart home with Apple Home
If Apple Home is the platform for you, here’s a step-by-step guide to starting your smart home using Apple devices and the Home app.
Buy an Apple product
First things first, you need an Apple product that can act as your hub. This is the best way to use HomeKit and its app as you get the best features and the entire scheduling and automation process is much smoother.
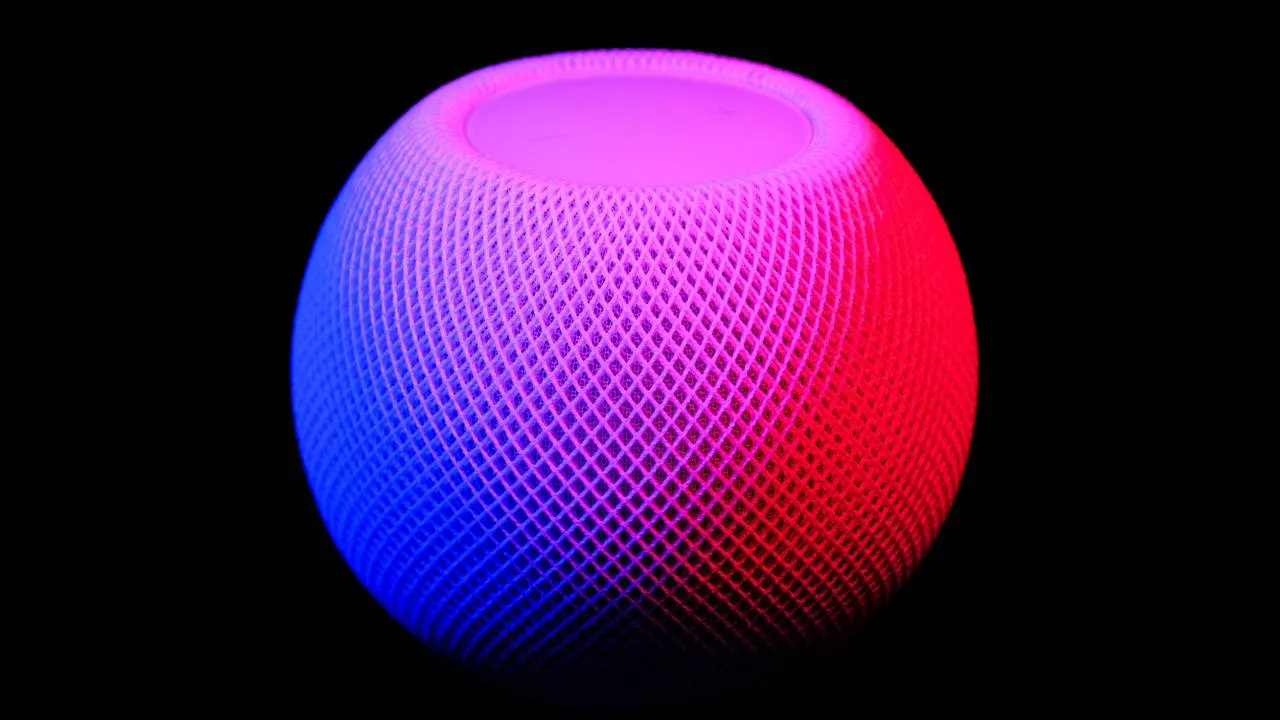
I’d recommend the Apple HomePod or the Apple HomePod Mini to use as your hub. The main differences between the two are the sound quality and size, so you can pick whatever device you think is best suited to your home. As these are speakers and not a display, it’s worth keeping in mind that HomePods don’t have a screen so you’ll have to use Siri commands or the Home app on your phone or tablet if you want to see a screen. Alternatively, you can use your Apple TV or an iPad.
Set up your product as a hub
For HomePods and Apple TVs, these devices automatically become home hubs once you’ve added them to your Home app. If you’re using a HomePod or your Apple TV, all you need to do is sign into iCloud with the Apple ID you used to set up the Home app with.
iPads also have a similar process, where again, you need to make sure you’re signed in to iCloud with your Apple ID in the settings. Check that Home is turned on under Apps Using iCloud, and turn on Use this iPad as a Home Hub. From here, you’re good to go on each device.
Add compatible devices to the Home app
Once you’ve got your hub and Home app set up, you can start adding compatible devices. I always recommend looking into smart cameras and doorbells first to improve your home security. But as Apple Home can be used to create Rooms, I’d suggest diving into smart bulbs from Philips Hue, Nanoleaf or Lifx.
To add devices to the Home app, tap Add Accessory. Here, you’ll be asked to scan a code on your device. Alternatively, you can download the accompanying smart light app, like the Philips Hue app and select Set Up with Apple Home. The two will sync and you can use Apple Home to control your Philips Hue lights (although you will need a Philips Hue Bridge for this). Once your accessory has appeared on the Home app, you can customise your lights, heating and cameras, and set up schedules in each room of your home.
Set up Rooms, Automation and Scenes
Once you’ve got multiple devices in the Apple Home app, you can start creating and scheduling your smart home into Rooms, Automation and Scenes. Rooms allow you to group devices based on the room they’re in so you can easily tap on your bedroom and be able to control your lights and speakers in the room.
Automation is where you can customise how you want your devices to react to certain scenarios at specific times or locations. For example, you can get the Home app to schedule your lights to dim when it hits 9pm, or you can get it to turn off your heating when you leave the house.
A clever feature of the Home app is Scenes. While Automations happen automatically, Scenes are something you have to trigger via the app or with your voice. For example, if you want your lights to dim, speaker to turn off and alarm to be set for the morning, you can create a scene called ‘Night Time’ and the Home app will do this for you. To create a scene, press the plus symbol in the app and select Add Scene. Add Accessories to choose the devices you want to be part of the scene, and most importantly, you’ll need to give your scene a name.
That’s everything you need to know before creating a smart home with Apple Home! Check out the best Apple HomePod deals in the widget below to get started.
