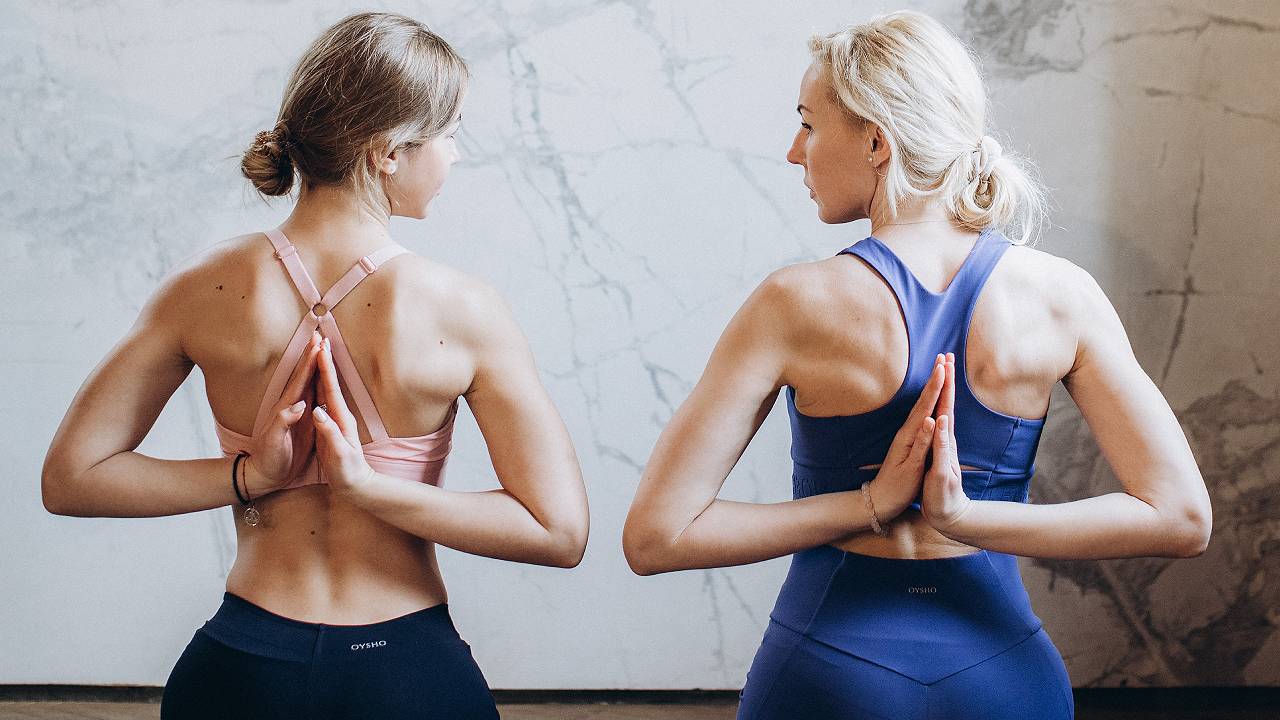
Having a 15 minute morning yoga routine has a host of benefits including warming up your physical body, helping to concentrate y our mind, encouraging self-care practice and helping to start your day from a stress-free place. These elements can lead to you having a more productive day, so grab the best yoga mat and dive into this energising routine.
When our minds are quiet yet focused, we're able to complete tasks efficiently. When we practice yoga, we learn to take care of ourselves, observe how the body and mind reacts in situations, and manage stress levels. We become able to recognize when we're overworked and need to rest. Taking a break can lead to more productivity rather than powering through. Yoga helps us connect to our body and watch our thoughts – these skills translate to being able to perform better in everyday tasks.
In this sequence, we start with a breathing technique to open the lungs before moving into standing postures which build strength, with an added bit of balance to help sharpen the mind. The use of downward dog during the sequence is to aid circulation and bring a stillness to the mind. We’ve also added a twist to help get the digestive system stimulated, which is perfect before breakfast (it’s advised to do this sequence on an empty stomach).
1. Kapalabhati breathing

Kapalabhati is a wonderful way to open the lungs and wake up the whole body. It can help to focus the mind which is beneficial to having a productive day. Kapalabhati is where we actively exhale but passively inhale, all through the nose. It’s a forceful expulsion of the breath on the exhale while the inhale remains relaxed and effortless. It can take a while to get used to so try this a few times and see how you get on. Patience is key.
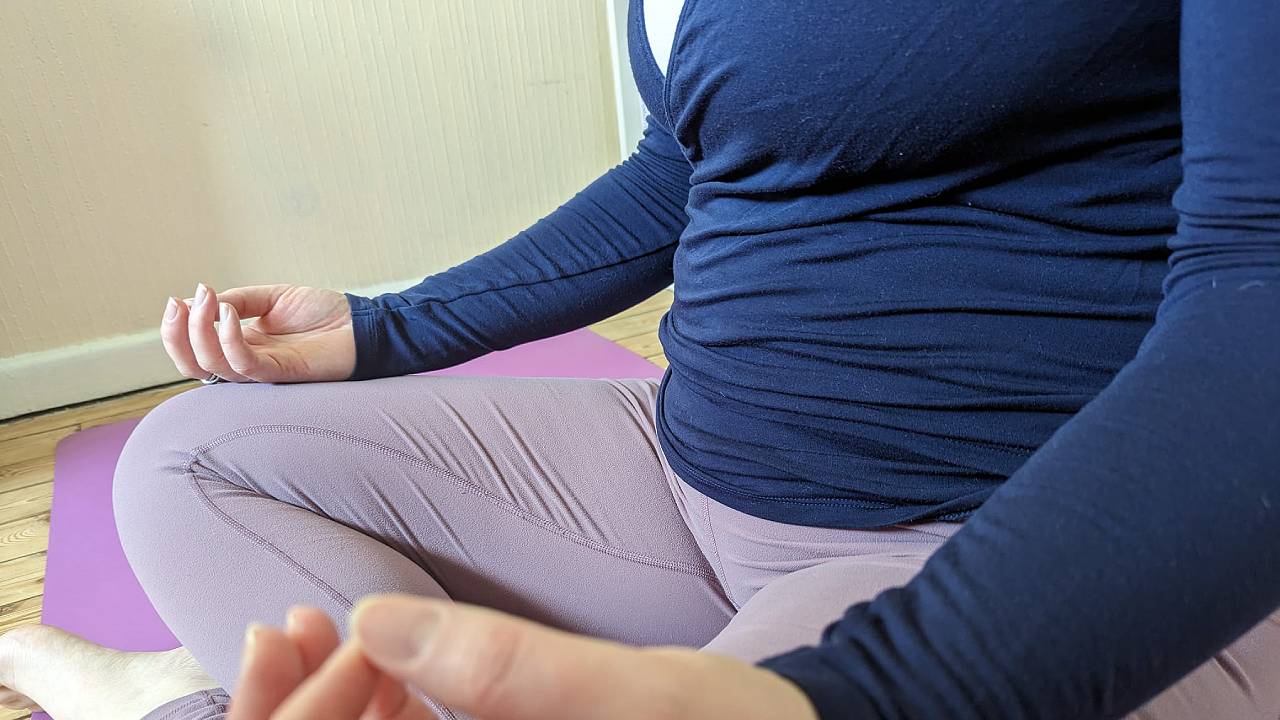
Step 1: Sitting in a comfortable seated position, ensure your spine is straight without effort. Relax your shoulders. Place your hands on your knees or touch the tips of the thumbs and index fingers together, palms facing up. This is known as ‘chin mudra’.
Step 2: Take a deep breath in through the nose and exhale slowly. We are preparing to begin. You can repeat this a second or third time, if you like.
Step 3: After your next exhale, take an inhale and then sharply exhale, drawing your abdomen towards your spine. You want to hear an expulsion of air through your nostrils. Relax your abdomen to inhale and repeat the forceful expulsion of air, through your nostrils, on the exhale. Repeat this 15 times before taking a normal inhale and exhale. You can practice this at a speed that suits you.
Get all the latest news, reviews, deals and buying guides on gorgeous tech, home and active products from the T3 experts
Step 4: Repeat this same procedure two more times, practicing 15 breaths with each round. After you have finished, take a few moments to inhale and exhale a few times, settling the breath back to its normal rhythm.
2. Downward facing dog

Downward dog can be used for many different things. Some people use it as a way to calm the mind and bring focus, as an inversion, and others as a way to transition smoothly from one posture to the next. We’re going to use it to do both.
Step 1: From an all fours position, spread your fingers wide and tuck your toes. On an exhale, begin to lift your knees and send your hips up and back, stretching into an inverted ‘V’ shape.
Step 2: Move around here if you feel you need to, stretching out your calf muscles, shoulders and back.
Step 3: Take three deep breaths here, holding your downward dog still and feeling all the parts of your body that need a little extra attention to release.
3. Warrior 1

Warrior 1 is quite a challenging posture so take it as you need. You can always exit the posture earlier if your body is suggesting you do so. Warrior 1 is a great way to concentrate the mind, incorporating balance and strength.
Step 1: From your downward dog, look forward and step your right foot into the space between the hands. If you cannot get your foot there easily, step your right foot as far forward as you can. Take your right hand on to the back of your ankle, helping with the hand to move your foot forward.
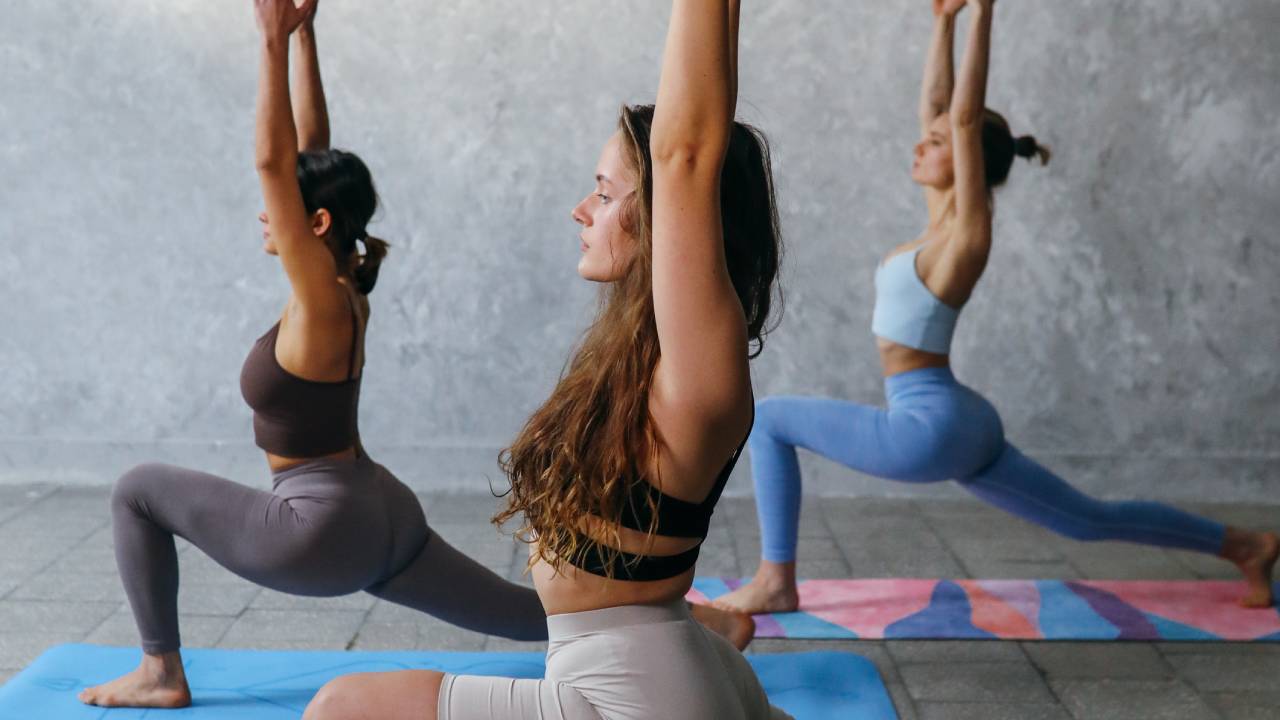
Step 2: Find your balance by pressing into your feet. Take your hands off the floor and begin to lift your upper body up, stacking your shoulders over your hips. Keep your right knee bent, lowering the back of your right thigh so it’s parallel to the floor, or working towards this.
Step 3: On an exhale, ground your feet and on an inhale, begin to lift your arms above your head, reaching towards the sky, palms facing each other. Keeping your right knee deeply bent, try and straight out the left leg, lifting the left thigh away from the floor so the back knee doesn’t collapse.
Step 4: Ensure your hips are facing the top of your mat. You can always place your feet on two train tracks, so to speak, to help this action. Your back heel does not need to be on the floor if this stops you from turning your hips forward.
Step 5: Take a few breaths and either go back into downward dog, or step forward, to swap your feet. Your left foot should now be in front, with your right foot towards the back of the yoga mat.
Step 6: Take a few breaths and then make your way back into downward dog.
4. Lunge twist

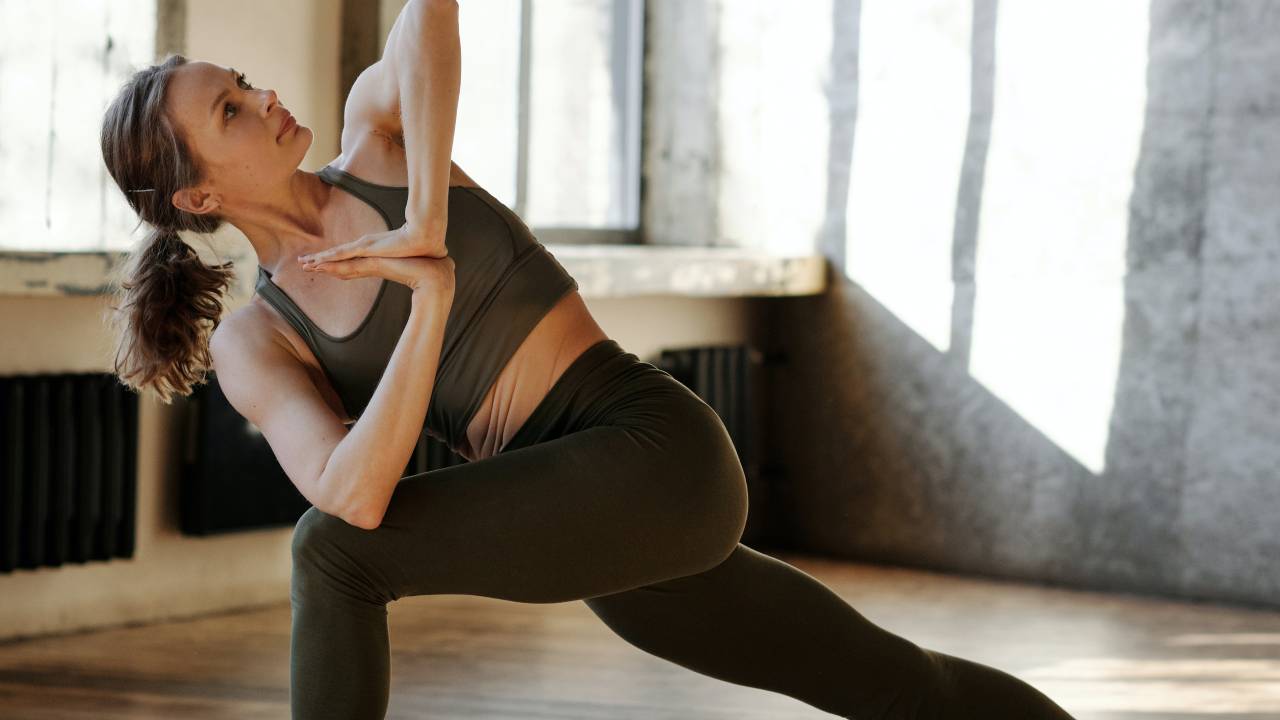
Twisting and lunging are beneficial for the body for many reasons. Twists offer you a chance to open your lungs and gain mobility in the upper body. Lunges help to strengthen the legs, open the hips and aid mobility. Combining both of these things mean this posture is great for energizing the whole body and removing any stagnant energy.
Step 1: From downward dog, step your right foot between your hands. If you cannot get your foot there easily, step your right foot as far forward as you can. Take your right hand on to the back of your ankle, helping with the hand to move your foot forward.
Step 2: Place your left knee on the floor and slowly lift up into a high lunge, finding your balance. Press your right foot down, engaging your right thigh. Activate your left leg muscles by pressing the top of your left foot into the mat. It can be a good idea to place a folded blanket under your left shin or knee for comfort (see the best yoga towels and the best yoga blocks for options).
Step 3: Once you’ve found your balance, bring your palms together in front of your chest. Inhale and place your right elbow on the outside of your left knee. If you can’t reach the knee, place your elbow on top of your left thigh. Take a few deep breaths here before turning back to the center.
Step 4: Place your hands down either side of your right foot and step back into downward dog. Repeat with the left foot between the hands, bringing your left elbow to the outside of your right knee, or resting it onto the right thigh.
Once you have finished this short sequence, rest in child’s or corpse pose, whichever you prefer, for a few minutes before starting your day.
Kat has 10 years of yoga teaching experience with further training in supporting injured students. She is qualified to teach Yin Yoga, Hormone Yoga Therapy and more traditional forms of Hatha yoga. She also has a certificate as a Yoga Therapy Practitioner.