10 cool iPhone hacks you didn't know about
Bend your iPhone to your will with these tricks for unlocking extra power

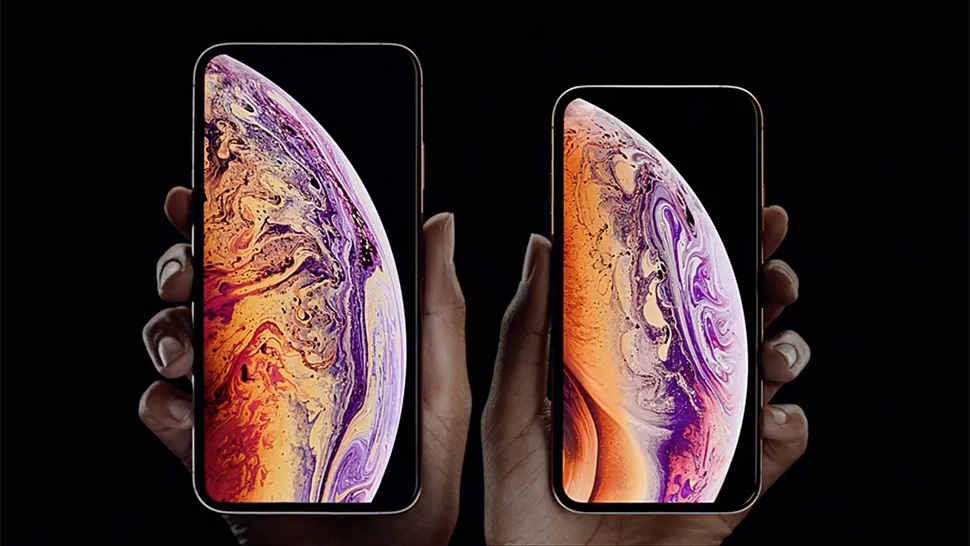
No matter whether you've got a shiny new iPhone XS Max or an older model, you'll want to make sure you get the most out of Apple's fancy phone.
Compared to Android, iOS is famously more locked down, with fewer options to tinker, but a lot of people don't realise how many extra options you can unlock, or what you can do beyond the obvious with it.
Article continues below- 12 hidden features you might not have found in iOS 12 yet
- 10 more tips and tricks for your new iPhone XS or iPhone XS Max
1. Launch apps from the Lock screen
The iPhone Lock screen has always been infamously simple, sticking to only notifications and some audio controls. We’ve always wanted a way to directly open the phone to certain apps, to save us time finding them. And, there is a way!
Swiping left to right on the Lock brings up a new screen, and this is where our shortcuts will sit. Here, you can have a big list of widgets for apps, which can display snippets of information or shortcuts to tasks. You add new options by scrolling to the bottom and tapping ‘Edit’.
It’s possible to add a widget that’s nothing but shortcuts to open apps you love. You need to download the free ‘Launcher with Multiple Widgets’ app, open it, and then choose to Add New. Here, you can find apps you use a lot – maybe Instagram, maybe Microsoft Outlook, maybe the TV app – and tap the plus sign to create a button that opens straight to the app.
When you add the Launcher widget on the widgets screen, the top four shortcuts you just created will appear – tap Show More to see the next four. Arrange it so the Launcher widget is in a prominent spot, and there you go – just a swipe and a tap to open any app from the Lock screen.
2. Zipping and unzipping files using Shortcuts

This is how your new zipping tool will look when you create it
There’s no tool for zipping and unzipping compressed folders in iOS, though there are apps that can do it. That’s more hassle than we’d like, though – ideally, you should be able to do this within the Files app. And you can, thanks to Apple’s powerful new Shortcuts app in iOS 12.
This app is a lot like Automator on the Mac, for those that know it. Basically, it’s a way of building custom tools and processes in iOS, putting together multiple parts that trigger one after the other. This even includes a load of options you can’t normally do in iOS, including zipping and unzipping files.
Get the free Shortcuts app from the App Store, then create a new shortcut. To create our Unzip option, first tap the button at the top-right that looks like two switches, then turn on ‘Show in Share Sheet’. Tap ‘Accepted Types’ and make sure only ‘Files’ is selected. Give it a name at the top here, too. Tap Done.
Now, at the bottom of the screen are the actions you can add. Search for ‘Archive. Choose ‘Extract Archive’. Now search for and add the 'Save File' action. And we're done. Now, when you have a zip file, tap the Share button, then Shortcuts, then the tool you just made. A screen will pop up asking where you want to save the unzipped files to.
For a tool to create zip files, do the same as above, but instead of adding the 'Extract Archive' action, add the 'Make Archive' action. Now, in the Files app, select a couple of files, tap the Share button, then Shortcuts, then your tool. You'll then choose a place for the zip file to be saved.
3. Create a PDF version of any document

It's easy to turn anything you can print into a PDF on iPhone, it's just not obvious
If you want to send a document to someone in a way that preserves all your formatting and design choices, it’s usually best to do it as a PDF. However, not many document apps provide this as an exporting option, despite its usefulness. There is a cheat, however.
If an app can print a document, then it can also secretly export a PDF. Choose the print option in the app, and on the Printer Options screen, use 3D Touch to hard press the preview of the document at the bottom. This will pop open a new view of the document that’s been converted to PDF. Tap the Share button at the top right, and email it or save it out to another app.
4. Turn on a notification light
Some phones have notification lights, so even if your phone was on silent and out on a table, you can see if you have notifications waiting. iPhones don’t have this feature… except that they do! Go to Settings > General > Accessibility and find ‘LED Flash for Alerts’ on this screen. Tap the option and turn it on, and now the camera’s LED will light up when you have notifications. It’s not customisable for different notifications or anything, but it does the job.

This is a grab from an iPhone XS Max, so you can probably imagine how extremely readable this text is…
5. Make text bigger or smaller as standard
In fact, while we’re in the Accessibility options, look for the option called ‘Larger Text’ and tap it. There’s a slider at the bottom of the screen you can use to make standard text in iOS larger (for those with weaker eyesight), or smaller, in case you have eagle eyes and want to fit as many lines of your emails on-screen as possible. As you move the slider, the text displayed further up the screen will show you the effect instantly.

Here's the underlying machinery of our little shortcut to create a custom Do Not Disturb timing
6. Activate Do Not Disturb for a custom length of time
iOS 12 adds some useful options for activating Do Not Disturb, so you’re not interrupted by notifications in meetings or at dinner. But there are only a few presets: what if you have a specific length of time you want to turn it on for? The Shortcuts app can help us again here: let’s build a tool for this, which you can then activate from the Shortcuts widget. The end result will pop up a box asking you for a number of minutes, and when you tap ‘Done’, it will turn on Do Not Disturb for that long.
First open Shortcuts and create a new Shortcut. In the Actions box at the bottom, search for ‘Date’, and add this action. Make sure ‘Current Date’ is selected. Now, search for ‘Adjust Date’ and add this action next. Tap the ‘0’, then Variables, then tap ‘Ask When Run’, then ‘Done’.
Finally, tap ‘Seconds’ and choose ‘Minutes’ from the pop-up menu. What we’ve done here is create a tool that looks at the current time, then pops up a question on-screen to ask you to specify a number of minutes. It adds the number of minutes to the current time, and stores the result, ready for our next step.
Let’s add our final action: search for ‘Set Do Not Disturb’ and add it. Tap the switch in this action so it turns green – that means Do Not Disturb will turn on. Tap ‘Until’ and choose ‘Time’. Tap ’Time’ – ‘Adjusted Date’ should appear at the top of the options (if it doesn’t, tap ‘Variables’ and select it). This step gets the time information we stored earlier (the current time plus the number of minutes you specified), then tells Do Not Disturb to turn on from now until that time. Hey presto – you’ve just created a programmable Do Not Disturb shortcut.
7. Save time with text shortcuts for addresses
There a very handy feature of iOS called Text Replacement. We took a quick look at it for expanding common phrases in our 7 killer features you didn't know your iPhone had guide, but it's great for productivity hacks, especially saving time when typing out long things like postal or email addresses.
Go to General > Keyboard > Text Replacement, then tap the plus in the top-right corner. ‘Phrase’ is the longer thing; ‘Shortcut’ is what you’ll type, that will be instantly replaced with the longer phrase. So, maybe stick in your email address, and then set the shortcut to ‘myeml’. We also use it to store addresses of GIFs we like to use often. Don’t judge.

Add the essential sites (ahem) right to your Home screen
8. Add websites to your Home screen
If you have websites you visit all the time, or even web apps you use for work or fun, it might be handy to have them accessible right from your Home screen. Go to a website in Safari, tap the Share button, then tap ‘Add to Home screen’. There will now be a new app icon on your Home screen that, when tapped, opens Safari in a new tab straight to that site.
9. Make buttons clearer
iOS features a lot of buttons that only appear as text, so there may be times it’s not 100% clear whether something is a button or not. Go to Settings > General > Accessibility and turn on ‘Button Shapes’. Now, buttons in the operating system will have an underline, like a link on a website, so it's clearer what you're supposed to tap.
10. Convert videos to GIF
There are lots of apps that can do this, but you can create a snappy built-in tool too, using the Shortcuts app! The good news is that you won’t need to create this yourself – search the gallery for ‘Video to GIF’ (though you can take a look at how it was built to see what it’s many moving parts are) and add it to your Library. When you select it, it shows your videos, and you can select one to trim it to the length you want, then turn it into a social-ready GIF.
