7 killer features you didn’t know your iPhone had
The little-known features than can help you get more from your iPhone

Get all the latest news, reviews, deals and buying guides on gorgeous tech, home and active products from the T3 experts
You are now subscribed
Your newsletter sign-up was successful
Your iPhone is so easy to use that you don’t have to think about it. On the other hand, it’s also easy to miss stuff buried in settings and options. While you’re wondering if there’s an app for that, the feature could be under your nose.
Here we unearth seven things you might not have guessed you could do with your iPhone – so now you can.
1. Scan a document with your iPhone

Ever taken a photo of a document as a quick way to scan it? iOS helps: if you open the Camera app and hold your iPhone horizontally, like over a desktop, two crosshairs appear, and by the magic of gyroscopes they’ll align when the phone is level, giving you a nice flat image.
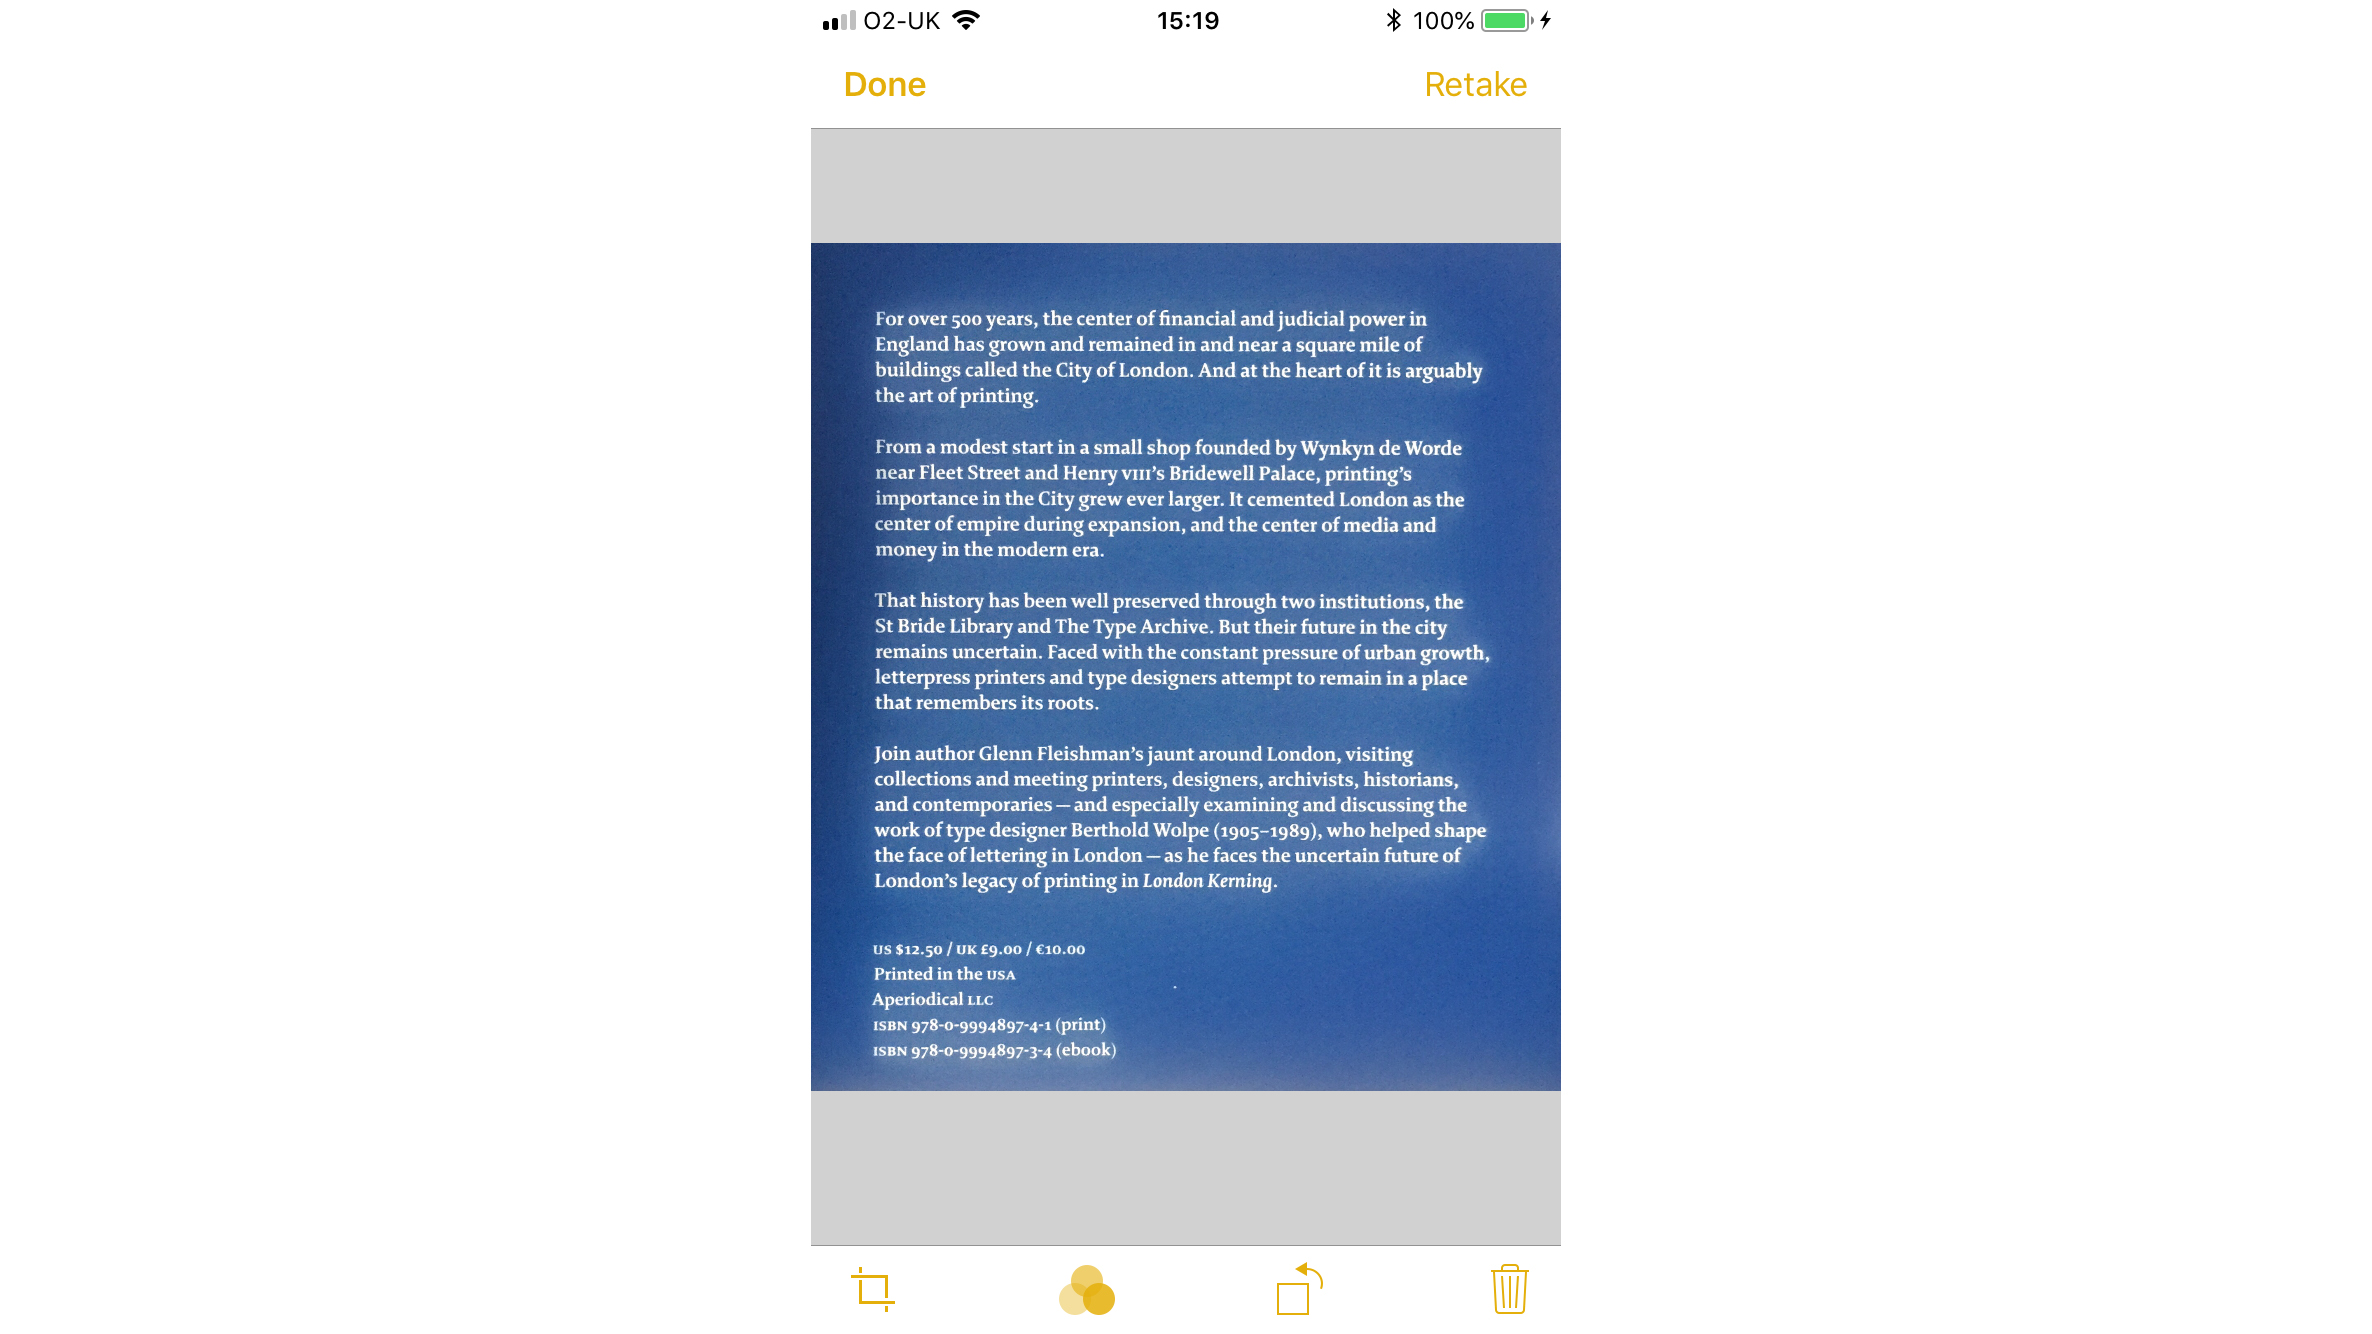
But there’s a more foolproof way. Open the Notes app (in iOS 11 or higher), tap the pencil box icon at the bottom right for a new note, then tap the plus sign above the keyboard and pick Scan Document.
Point at any rectangular document until a yellow box appears. Tap the round button and an outline with corner handles recognises the edges. Tap Keep Scan and it’s straightened up.
2. Sign a document with your iPhone
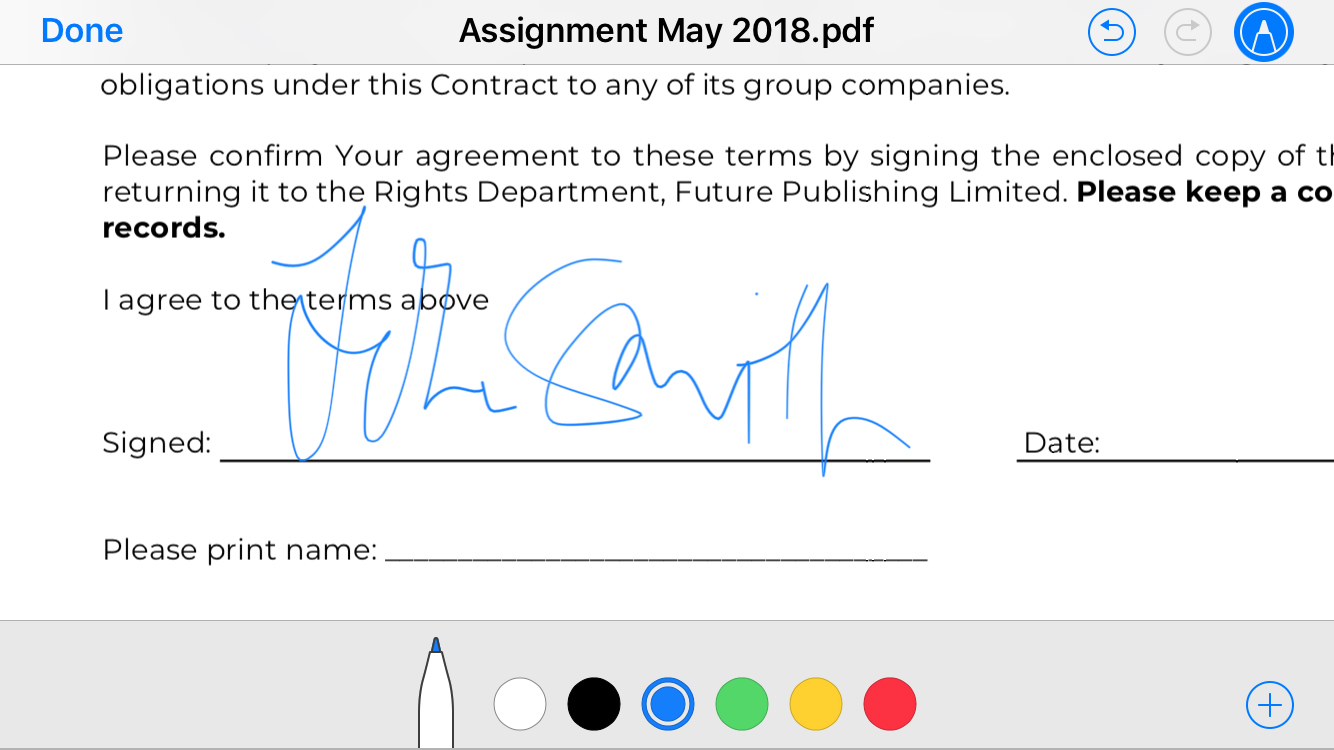
When you receive a document on your iPhone demanding you sign and return it, there’s no need to reach for the Print button. Tap to open the email attachment, then tap the pen tip icon at the top right for Markup.
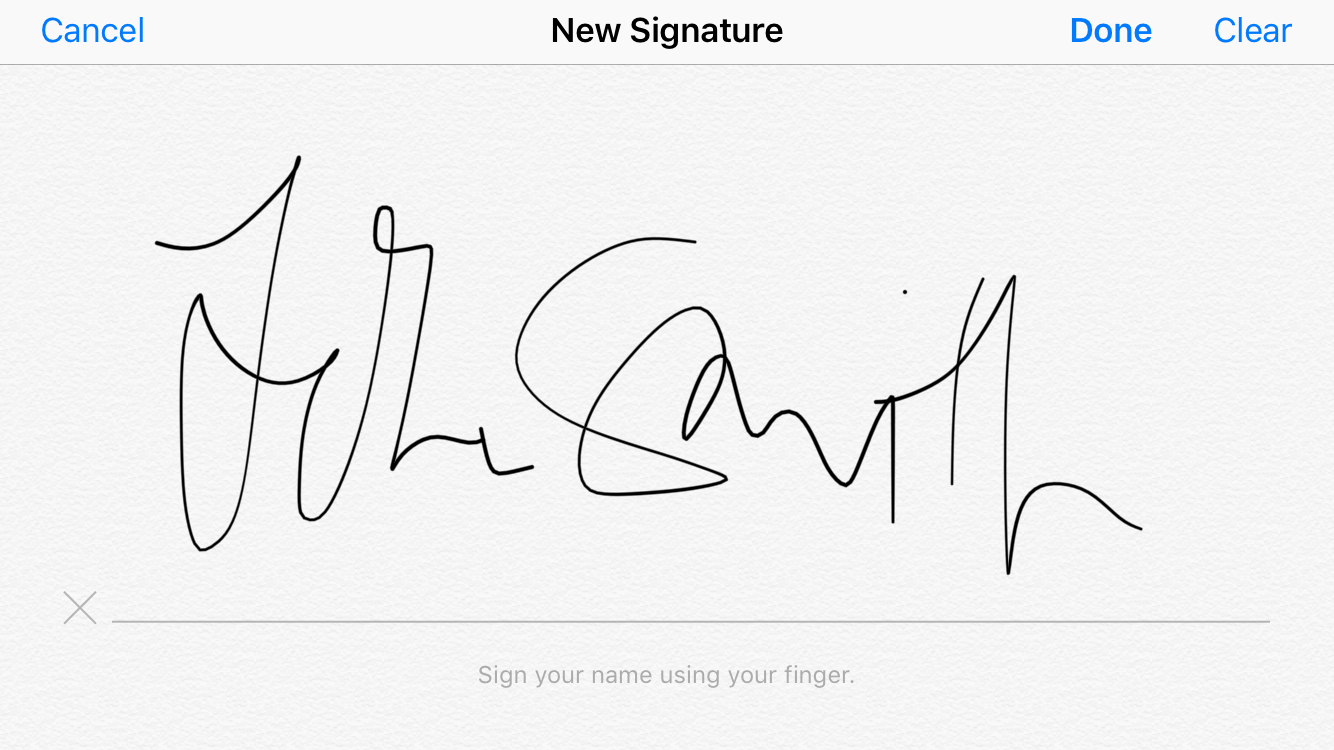
Tap the plus sign at the bottom right and pick Signature. Sign your name with your finger – it’s easier if you turn the iPhone sideways. Tap Done and your John Hancock appears in a box, which you can size and position. You can even change the ink colour.
Get all the latest news, reviews, deals and buying guides on gorgeous tech, home and active products from the T3 experts
Add the date and anything else required by tapping the plus again and picking Text; format the text using the controls at the bottom. Finally, tap Done and you’ll get the option to reply to the original message with your signed document or attach it to a new email.
3. Set up text replacements
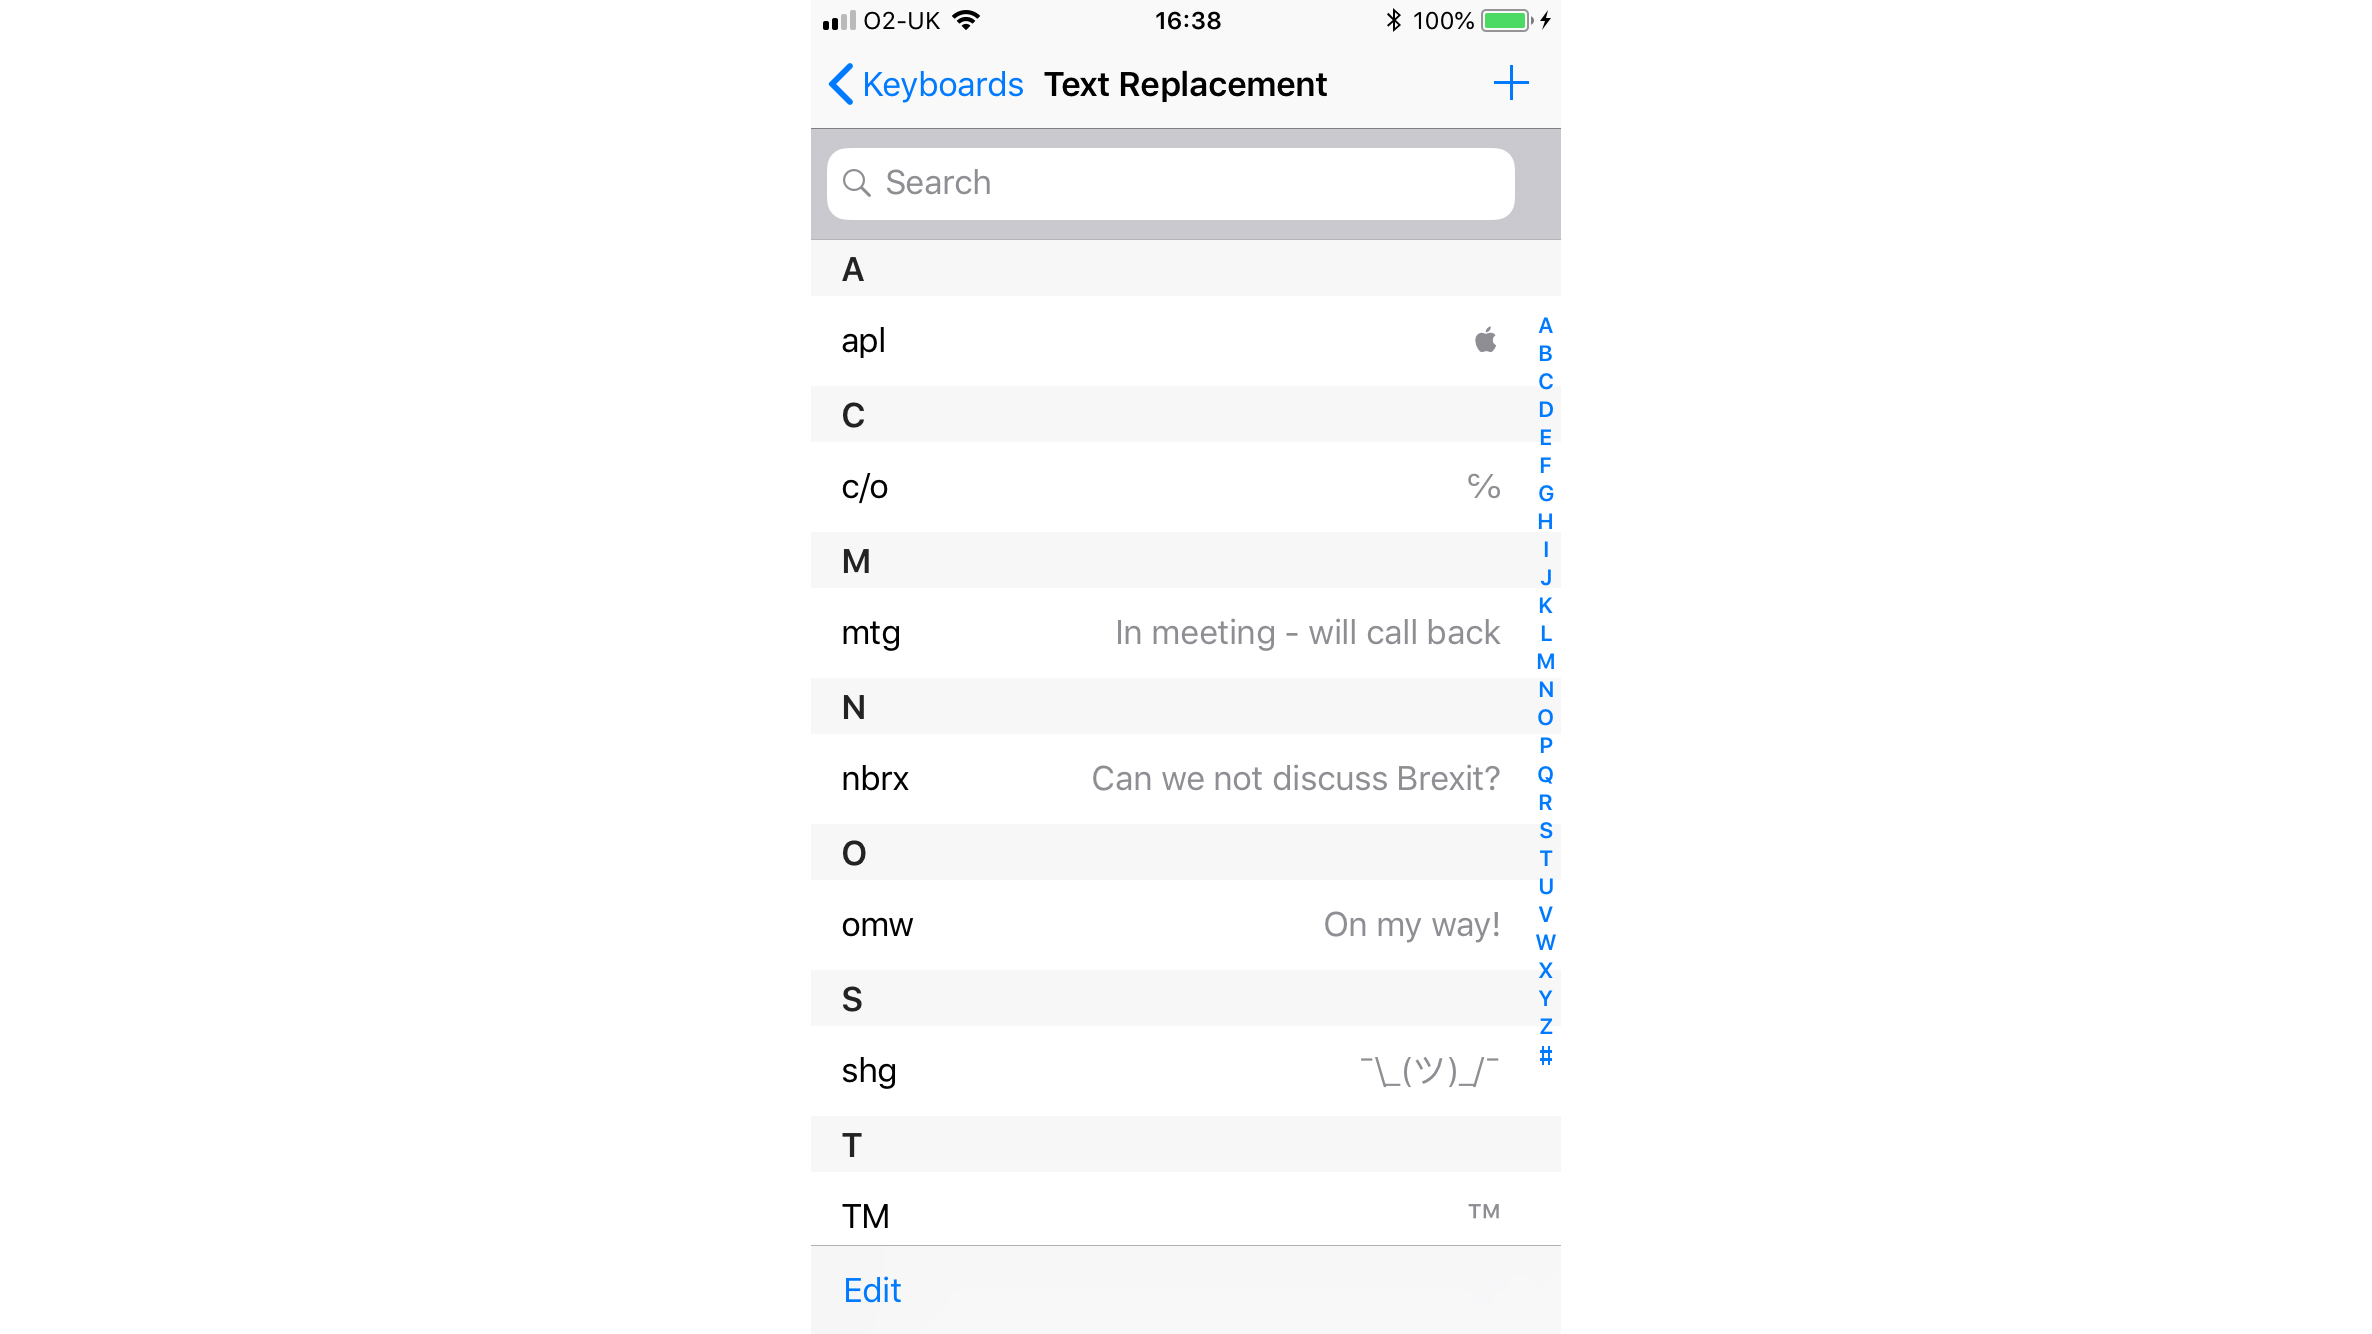
Autocorrect can be so ducking random it makes you feel I’ll, but Settings > General > Keyboard lets you take back control. While turning off Auto-Correction entirely might be a stap too fur, some other options are helpful. The big one is Text Replacement.
Tap the plus sign at the top right and enter a phrase of any length with a shortcut of a few letters. Whenever you type this, you’ll get the phrase. For example, copy and paste the ASCII ‘shrug’ emoji ¯\_(ツ)_/¯ and add something like ‘shg’ (as long as it’s not a word) as the shortcut, and you can use it irritatingly easily.
Entering a phrase with no shortcut is meant to tell iOS not to correct it, but sometimes it still does. If you watch the predictive suggestions that pop up as you type (also turned on and off here), and repeatedly select your intended spelling, iOS will learn. If it’s somehow learned a bunch of wrong, use Settings > General > Reset > Reset Keyboard Dictionary.
4. Use your iPhone as a magnifying glass

In Settings > Control Center > Customize Controls, scroll down and tap the green plus sign next to Magnifier. Next time you swipe up the Control Center from the bottom of the screen (or down from the top right on iPhone X), tap the magnifier icon and you’ll get a macro camera view tweaked for close focus.
Tap the lightning bolt for more light, drag the slider to adjust the zoom, tap the live view to refocus, or press the round button to freeze the image. You can also long-tap the view and choose Save Image.
5. Handy iPhone keyboard shortcuts
You know you can hold down letter keys to get accented characters, right? You probably even know you can tap Shift once to write a single capital letter, twice to set CapsLock, or simply hold it down while typing as many caps as you need.
But did you know that instead of tapping the 123 key for punctuation, then tapping ABC to return to the letter keys, you can just swipe from 123 to the punctuation symbol you want, then release to go straight back? Well, you can.
And by holding down the emoji key, you can go straight to Keyboard Settings and add an extra keyboard. That might be for an alphabet such as Arabic or Cyrillic, or a third-party keyboard you’ve installed via an app, such as the popular SwiftKey or Google’s Gboard, which integrates search. You can then switch to these via the emoji key.
6. Save time with Assistive Touch
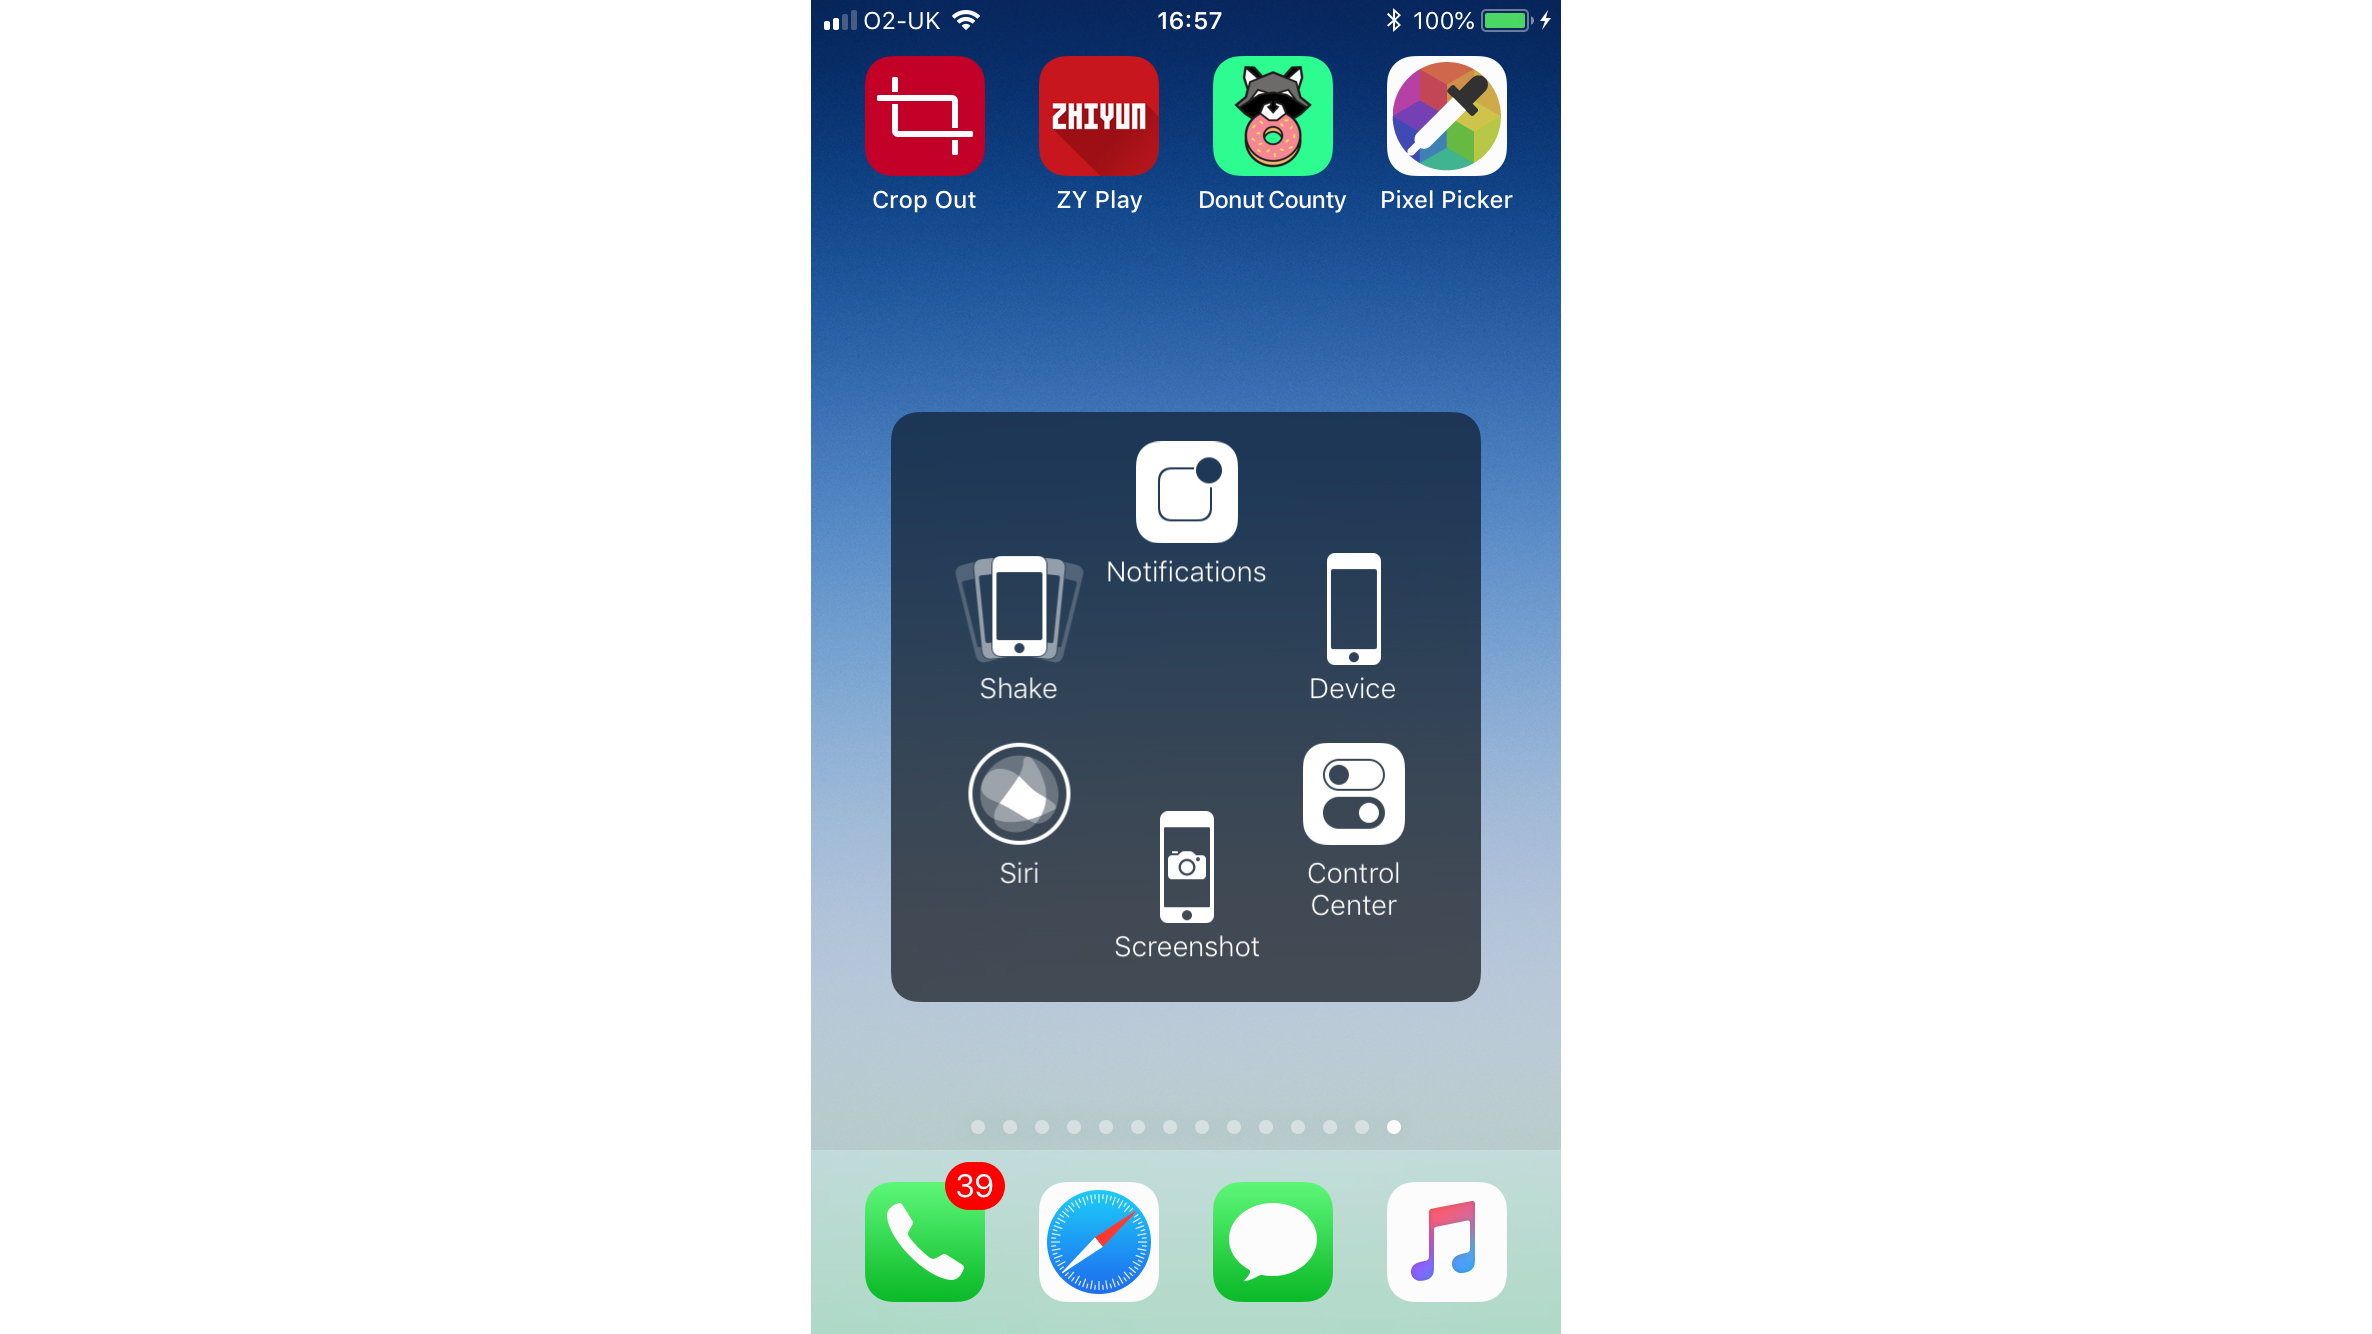
In Settings > General > Accessibility, tap AssistiveTouch and turn the switch on to make a magic blob appear. Tapping this pops out up to eight commands to activate with a tap. Choose them from the list in Customize Top Level Menu, and optionally set Custom Actions so that just tapping the AssistiveTouch blob activates a favourite command.
This is most useful when the standard gesture or button-press for a command is awkward, such as shake to undo or the easily fumbled Home+Sleep combo to take a screenshot. It’s also a life-saver if your Home button stops working.
Having set up AssistiveTouch, you can move the blob around the screen, but it may be annoying. Turn AssistiveTouch off, then go back to Settings > General > Accessibility, scroll down to tap Accessibility Shortcut and tick AssistiveTouch.
You can now triple-click the Home button at any time to get your blob back. (If more than one Accessibility Shortcut is ticked, triple-clicking shows a menu to pick from. On iPhone X, triple-click the side button instead.)
7. Use Speak Screen to listen to messages
Although Siri is a good listener, it’s reluctant to read stuff out to you when your ears are free but your eyes are busy. In Settings > General > Accessibility > Speech, you can turn on Speak Selection to read out text when you select it, but that’s not something you’d attempt while driving, for example.
Instead, turn on Speak Screen. Swiping down two fingers from the top of the screen will read out everything currently displayed (apart from fixed user interface text). When you hear a text notification come in, it’s easy to do that without looking. You’ll need Settings > Notifications > Messages > Show on Lock Screen and Show Previews turned on.