10 pro tips to get amazing photos from your iPhone
iPhone photography tips to ensure you get the best results every time

Get all the latest news, reviews, deals and buying guides on gorgeous tech, home and active products from the T3 experts
You are now subscribed
Your newsletter sign-up was successful
The best camera is the one you have with you, but if you don’t know how to get the best out of it, it’s just so many ounces of metal and glass.
Let us help, but know that mastering the technical aspects of your iPhone is just half the battle. Study photography, book yourself onto a course, learn composition, travel, and most of all, understand the stories you’re trying to tell with each shot.
- The best photo printers: from instants on the go to professional quality
- History of the iPhone 2007-2018
Before we begin, some real basics that are nevertheless important: Clean your lens. ‘Zoom with your feet’ – that is, walk closer, don’t crop. Have patience. Understand and use the rule of thirds – you can turn on a grid in Settings. And put the light source behind you. Great photographers – and that’s you too – break these, but start by obeying them.
1. Photos are free – take them!
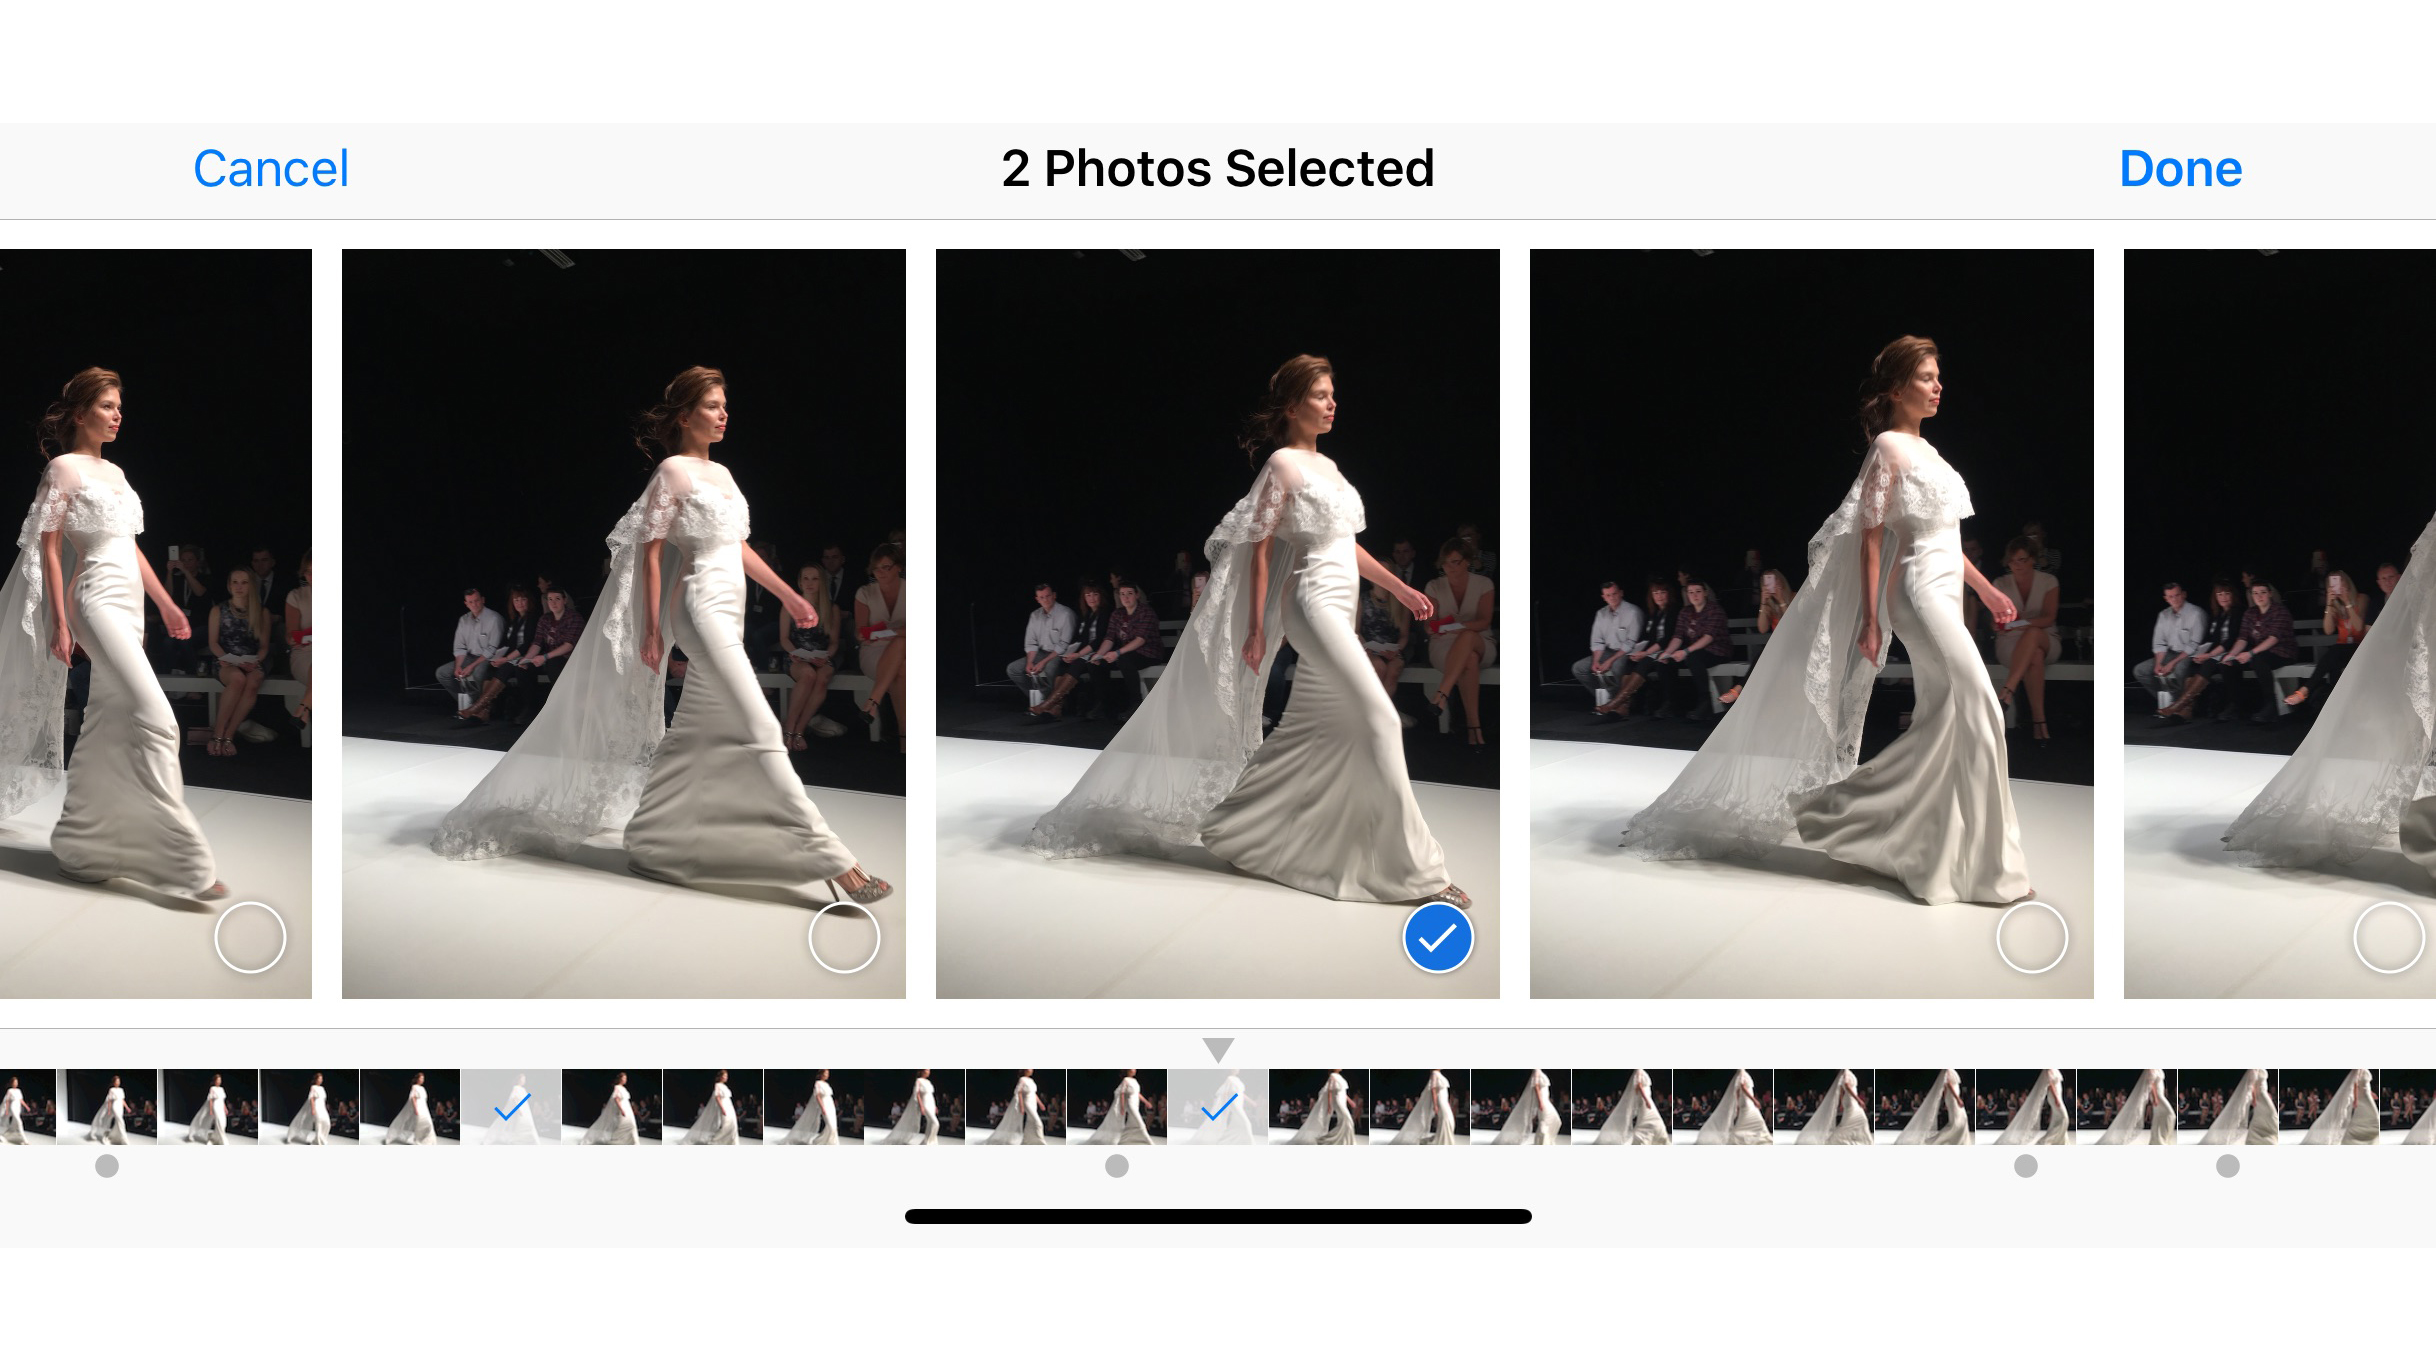
The single thing that separates most pros from the rest of us is that they have no shame in using burst mode to take dozens, hundreds of photos at once, and then picking out the one.
It is the way to capture special images full of character and stories. Press and hold the shutter – and just remember to select your chosen frames and discard the rest in Photos.
2. Edit
The other ‘secret’ of the pros is that every shot gets edited. It might be filters, or the surprisingly comprehensive editing tools built into Photos (make sure you tap Light, Colour and B&W to show the full richness), but it could be as simple as cropping for a more dynamic or focussed composition, or using the straighten tool to correct a wonky horizon. It’s not cheating; it’s photography.
3. Quickly access different shooting modes
To make sure you don’t miss a shot, add the camera icon to Control Centre. Now you can swipe down (iPhone X and later) or up from anywhere to show Control Centre, then hard-press on that icon to jump instantly to selfie, video, slo-mo or, if supported, Portrait mode.
Get all the latest news, reviews, deals and buying guides on gorgeous tech, home and active products from the T3 experts

Whether you’re shooting a runway show or your dog playing with a ball, use burst mode to get the shot – and trash all the others
4. Exposure compensation
Tap the scene in Camera to choose what’s important; your iPhone will expose for and focus on that, but if it gets it wrong, slide the little starburst icon next to the focus square up or down to change the brightness. It’s better to do this here than editing the shot later.
5. Lock the exposure and focus
Tap-and-hold on the scene to lock the exposure and focus so that even if the light levels change or you recompose, subsequent images or videos looks the same. Handy when doing multiple takes of a video to edit together, or shooting lots of objects in the same space.
6. Embrace (but control) High Dynamic Range
Smartphone cameras still don’t have the dynamic range – capturing all the detail from the very brightest to the deepest dark areas – of dedicated cameras, but you can fake it, a bit, with HDR.
This takes three shots at different exposures and stacks them together into one. It’s best to manage this manually, so turn of Auto HDR in Settings > Camera, and then toggle to force it on or off – or leave it on Auto, which is different – in Camera.
In Settings, ensure Keep Normal Photo is on; HDR is usually better in, for example, very sunny daytime scenes, but it can sometimes produce dull photos, so having the normal, non-HDR shot as an option is a boon. Just delete whichever one you like least.
7. Shoot in raw
Proper pros shoot in raw, which gives you more flexibility in editing, since it just records all the data the sensor sees unmediated, rather than, as with JPEGs, having the camera system ‘process’ it.
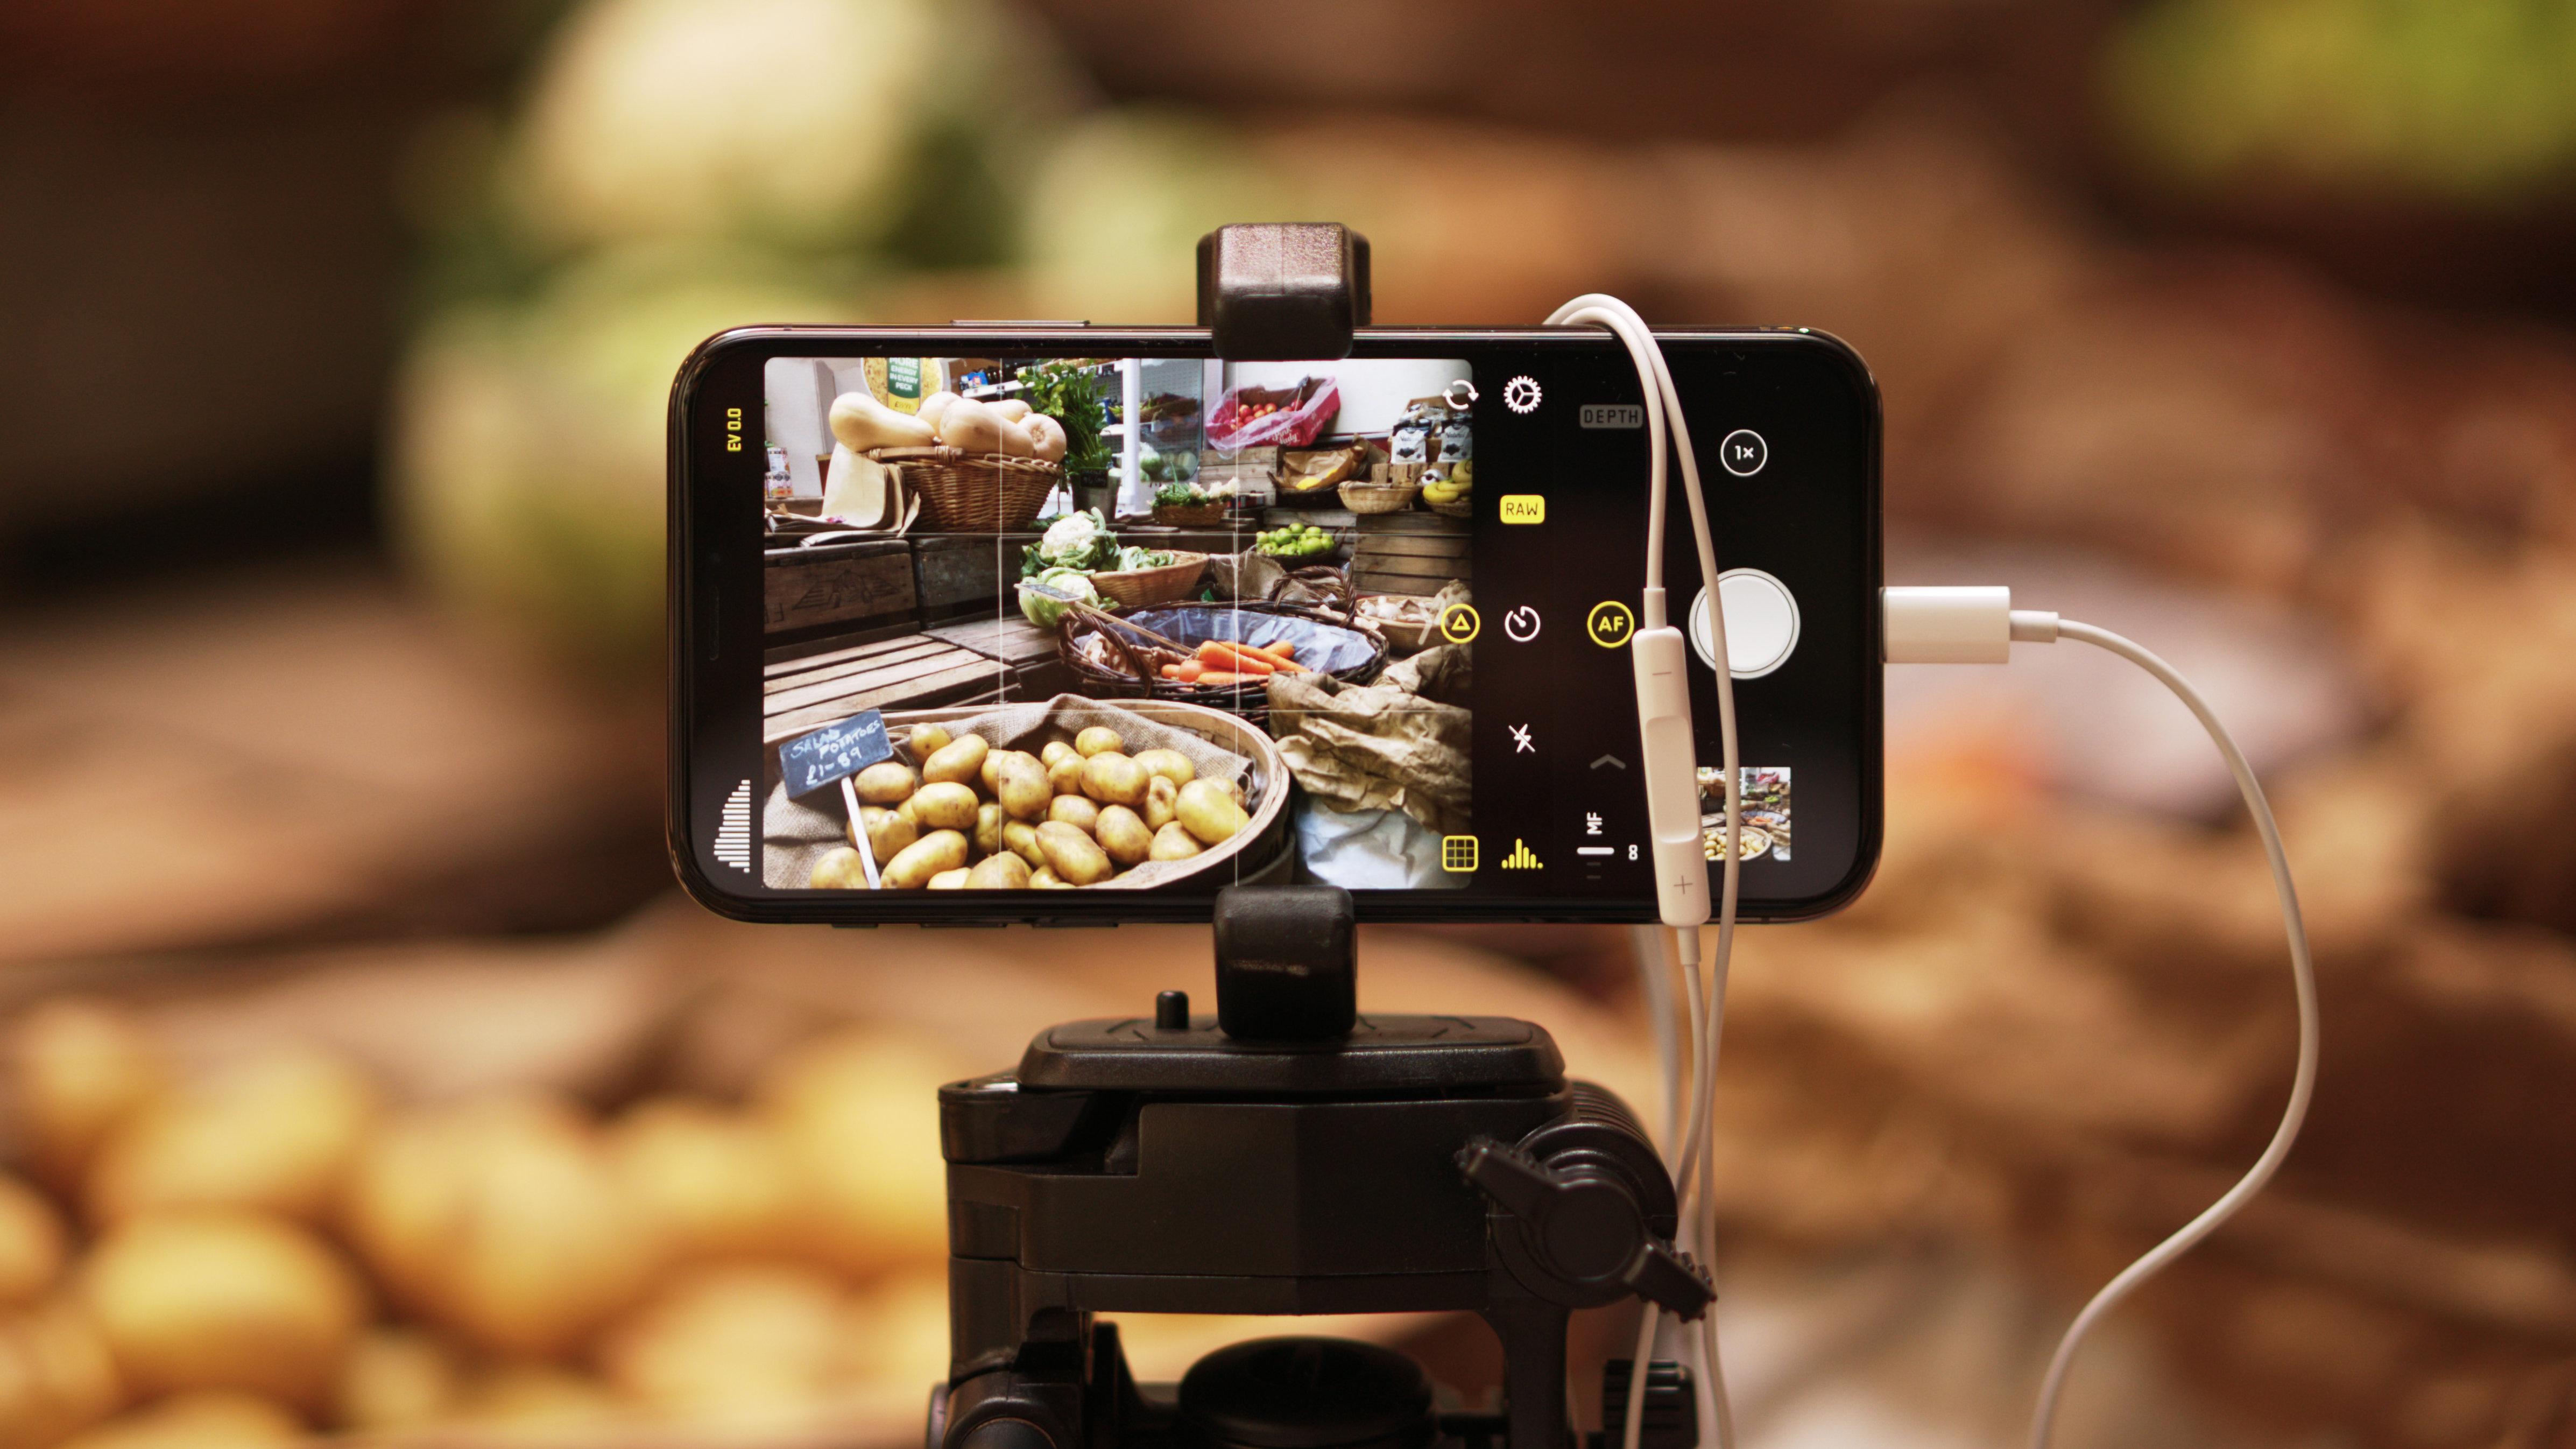
This means you get more information to play with in editing, for higher quality shots – and you will want to edit, because unprocessed raw shots can look flat. Files are bigger, too. You can’t shoot raw with the built-in Camera, but apps such as Manual and Halide unlock this ability.

You might edit a shot to add drama or add to the story you’re telling, but even a simple thing such as cropping can hugely improve your shots
8. Use a hardware shutter
Connect up the headphones that came with your iPhone – or indeed any wired or wireless headphones that have volume controls – and you can press the volume up or down buttons to take a shot.
Pro photographers use remote shutters like this to ensure they’re not touching and shaking the camera at the moment the shot is taken, which is especially important in low light.
Prop your iPhone up or mount it on a tripod for stability – and if you have an Apple Watch, remember it can operate not just as a remote shutter with optional 3-second delay, but also a remote viewfinder to check the camera’s looking at what you think. (This also means you can use the higher-quality rear-facing camera for selfies!)
9. Add extra hardware
Lenses from the likes of Moment and olloclip, the tripod mount you see at the top of this post from Studio Neat, lights, mics, and a whole constellation of other hardware add-ons can make your photos dramatic, intimate, special and more.
10. Transform your device with apps
Embrace how your iPhone can be transformed into a thousand different shooting and editing powerhouses with apps. Halide (for raw and manual), Lightroom CC (the editing choice of pros on desktop), VSCO (Insta-style filters and manual editing with style), Camera+ (with its ace macro mode), Apollo (an astonishing way of re-lighting photos recorded with depth taken with dual-camera iPhones) and countless others are essential tools in your workflow. There’s no one app. Be promiscuous; mix and match to get what you need.
And we mean it about taking photography courses and analysing photos you think look amazing. Match technique with a good eye for composition and a good subject, and you’ll be unstoppable.