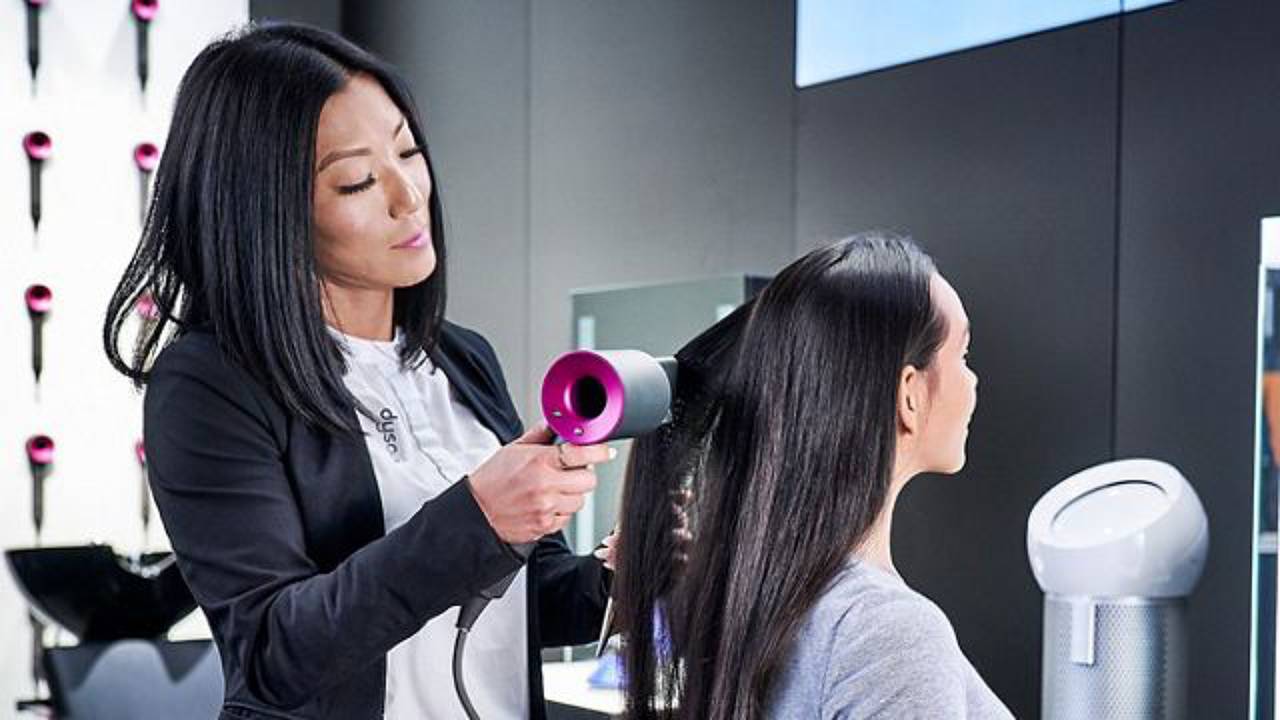
Celebrity hair stylist gives 6 tips on achieving the perfect blow dry
Whether you want a big, bouncy blowout or sleek, shiny tresses, these handy hints will help you get your desired style at home


If you’re anything like me, you’ll know how hard it can be to recreate a professional looking blow dry at home. Give me a pair of the best hair straighteners or the best hair curlers and I can rustle up a pretty decent hair style in under 20 minutes. But put one of the best hair dryers in my hands and I seriously struggle.
It doesn’t matter how much I’ve practiced over the years, the disappointing results I end up with are never worth the awful arm ache I get from wrestling with a hair dryer and a round brush for over an hour. But, thankfully, that’s all changed since I experienced a blow dry masterclass with top celebrity hairstylist Michael Douglas.
The tips I picked up from Douglas blew my mind (pun intended), so much so that I want to share his secrets so you too can up your styling game and achieve a salon-worthy blow dry from the comfort of your home. Get ready to transform the way you dry your hair for good!
Step 1: WORK WITH FRESHLY WASHED HAIR
You need to prep your hair before placing a fingertip on your hair dryer, and that starts with washing your tresses to remove any build-up of grease, dirt, debris, and dead skin so your blow dry lasts for longer.
"You should really wash your hair at least every other day to keep your hair clean, fresh, and as healthy-looking as possible," says Douglas, who has over 30 years’ experience in all things hair. "Don’t forget to give your hair a good detangle with a vent brush to remove all knots before you get it wet."
This, says Douglas, is important because hair is much more vulnerable when wet. "Damp hair has more elasticity in it, meaning it can stretch up to 30 per cent it’s length when wet (as opposed to only five per cent when it’s dry), so it’s more prone to breakage and damage," he explains. "In short, be gentle with your hair when it’s damp!"
For the actual shampooing, Douglas says you should let the shampoo do the work by massaging the scalp, not the hair, to avoid being too rough with your locks. "You need to push the shampoo into the roots and massage the scalp thoroughly, then allow the shampoo to work it’s way down the mid-lengths and ends, because rubbing the mid sections and ends will only cause friction and knots" he says, before adding, "remember to take your time, and try to rinse your hair for 30 seconds longer than you normally would using fresh running water i.e. not in the bath."
Get all the latest news, reviews, deals and buying guides on gorgeous tech, home and active products from the T3 experts
A post shared by Joanna Ebsworth (@joglows)
A photo posted by on
Step 2: APPLY THE RIGHT STYLING PRODUCTS
As someone who has tended to the hair of supermodels like Kate Moss, Claudia Schiffer, and Naomi Campbell, Douglas knows everything there is to know about hair products, including what to use and when to use it.
Douglas says your hair needs to be thoroughly damp all over to begin with, otherwise it might become too dry to style. "If you put your hair up in a towel for too long, you could be left with kinks that are hard to remove later, especially at the front of the hair," he points out. "So, if it is too dry, spritz it all over with water, then evenly distribute a heat protection product through the roots and ends. I prefer using a cream as it adds softness and shine as well as thermal protection."
Next, it’s essential that you spritz a blow dry spray from root to tip to give your style body and long-lasting hold (insider tip: Douglas used the reasonably priced Arkive The New Form Blow Dry Spray on my hair and my style lasted for days, smelt divine, and felt super soft).
"But whatever blow dry spray you use, make sure it contains an ingredient called PVP/VA copolymer, because that’s the ingredient that essentially acts like scaffolding for your hairstyle," he advised, before noting that while PVP/VA copolymer is the ingredient that can make your hair feel crispy and stiff, using it is the price you have to pay for longevity and amazing hair that’s full of body and volume when you look in the mirror.
"Just remember, it’s all about finding the right styling product for your hair," he says. "Equally, the product might be fine – you might just need to use less of it. And if you start with wetter hair, the more diluted the product will become."
Step 3: DECIDE ON THE STYLE YOU WANT
Before you start drying your hair, Douglas says to use a wide tooth comb to distribute the product evenly through the hair and then spend some time deciding what kind of style you want and before putting the style roughly into place.
As someone who spent her teen years idolising the huge, voluminous 90s hairstyles of celebs such as Cindy Crawford, Claudia Schiffer, and Pamela Anderson, I’d love get some volume in my hair – I just don’t know how. It’s at this point that I ask Douglas for advice on where I should wear my parting, as I’m aware of the many TikTokers who say that centre partings make you look young and trendy, while side partings make you look older and ‘dated’ (even though centre partings look awful on me). He responds with a genius reply.
"I always say that no parting is the right parting, especially if you want volume. Because when you part your hair, the hair around that parting ends up lying flat to the head, which is the opposite of the desired result," he explains. "Instead, dry your hair up and forward, so that when you push it back, you get lots of volume wherever the hair falls."

Step 4: GET READY TO ROUGH DRY
When previously attempting to blow dry my hair at home, I have always blasted my hair with the hottest heat at the highest speed possible to get it dry ASAP, and then tried to style it afterwards. But this, says Douglas, is a big no-no.
"The styling process only really takes place as the hair goes from damp to dry, so while there’s no point in trying to style your hair when it’s wet, you do need to take it to that to that point where the heat will hold the style in place," he says. "That’s because heat only works once on hair so, for example, you can’t curl your hair, then straighten it, and expect the style to hold. Although your hair will revert to type if you put moisture in your hair."
To get volume into my roots, Douglas spent at least 15 minutes rough drying my shoulder-length hair, very much concentrating the medium heat, medium speed air flow at my roots, which also helps to take some of the water out of the lengths of my hair.
"For amazing volume, you can either dry your roots while having your hair upside down or try lifting the hair from the roots at a 90°angle away from the scalp and dry it there to set the volume in place. You almost want to take it to that point where your hair looks dry, but you know there’s still some moisture in it before you begin the actual styling process," he adds.
Step 5: SELECT THE CORRECT ROUND BRUSH SIZE
Contrary to popular belief, I find out from Douglas that using a big barrelled round brush doesn’t equal a big bouncy blow out. "If your round brush is too big, you might not be able to get close enough to the root to get a decent amount of lift or the desired amount of bounce," he says as he works through my hair in sections from the back of my head towards the crown.
Indeed, when he’s adding the finishing touches to my hair, he switches to an even smaller round brush to get right into the roots of my hair, while explaining that using a bigger brush would take him further away from my roots. It all makes a lot of sense.
In another top tip, he advises me to use a round brush with a metal barrel at home (rather than a wooden one), because when the metal heats up, it helps to cut the styling time in half, and the metal barrel acts like a curling tong to deliver a much smoother result.
Step 6: CHOOSE THE RIGHT HEAT WHEN STYLING
If you intend to blow dry your hair on the regular, it’s worth investing in one of the best hair dryers so you have all the attachments you need to style your hair, along with a good range of heat and power settings.
Having heat and power flexibility is especially essential if your hair is damaged, coloured, brittle and dry, or very fine, because you’ll need to use a gentler setting where possible to reduce further heat damage (Douglas says you should add a quick spritz of blow dry spray to a section before styling for added heat protection and increased hold capabilities).
Equally, your hairdryer should come with a nozzle diffuser to concentrate the hot air down the hair shaft as you pull the brush through the hair (this is where the mdlondon BLOW hair dryer is so great, because the nozzle measures the same width as standard round brushes so you can style more hair in one go).
To finish, Douglas advises that you shouldn’t aim for perfection if you want the best results. "If you smooth each section of hair too much, you will lose the frizz and make your hair super smooth, but you’ll also lose all the volume because super shiny hair can actually look really flat. To compromise, don’t be so perfect on the bottom layers of your hair, but really smooth out the top hair for a shiny finish that still packs volume."

Jo is a London-based freelance journalist and content creator specialising in fitness, health, lifestyle and beauty. With a degree in Journalism, Film & Broadcasting from Cardiff University and almost 20 years’ experience in the industry, she interviews celebrities and Olympians for a living, while testing out the latest beauty, hair, wellness and fitness gadgets. As a Level 3 Personal Trainer and author of several fitness guides, she gets to try the coolest workouts while reviewing active travel destinations and writing investigative features about the wonderful world of wellbeing for many of the UK’s top magazines, newspapers and digital publications. When she’s not sitting at her laptop, Jo likes exploring new walking spots with her beagle, gardening, and DIY. She is also one of the few people on the planet still obsessed with what’s coming up in Phase 5 of the Marvel Cinematic Universe.