TV wall mounting tips: what you need to know before you get the drill out
Get your TV up on the wall without any damage to you or it by giving our key tips a quick read


One of the great advantages of the flatscreen revolution is that today's TVs can be really easily housed on the wall using one of the best TV wall mounts, saving you precious space in your living room.
Almost every TV comes with its own stand, but modern ultra-thin models really lend themselves to wall mounting – a lot of the best TVs, and especially the best OLED TVs, are designed with this in mind.
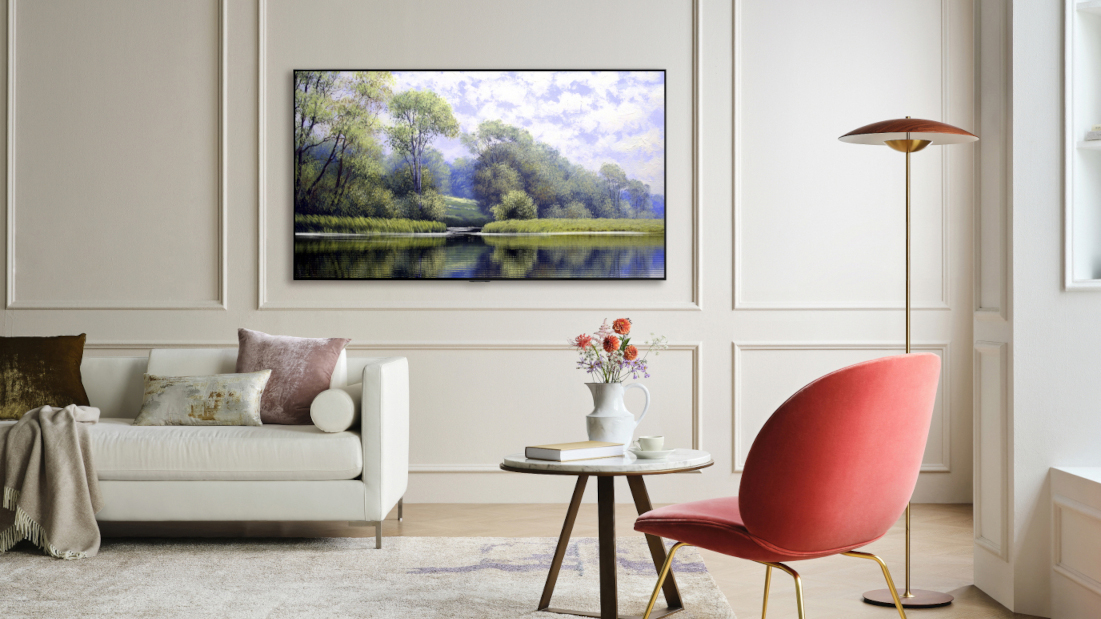
Done correctly this not only saves space, but also looks very elegant – it's especially great if you're looking at the best 55-inch TVs, best 65-inch TVs or above, since it can mean the larger size of set doesn't dominate the room so much. So here are some installation tips for easily and safely wall mounting your TV.
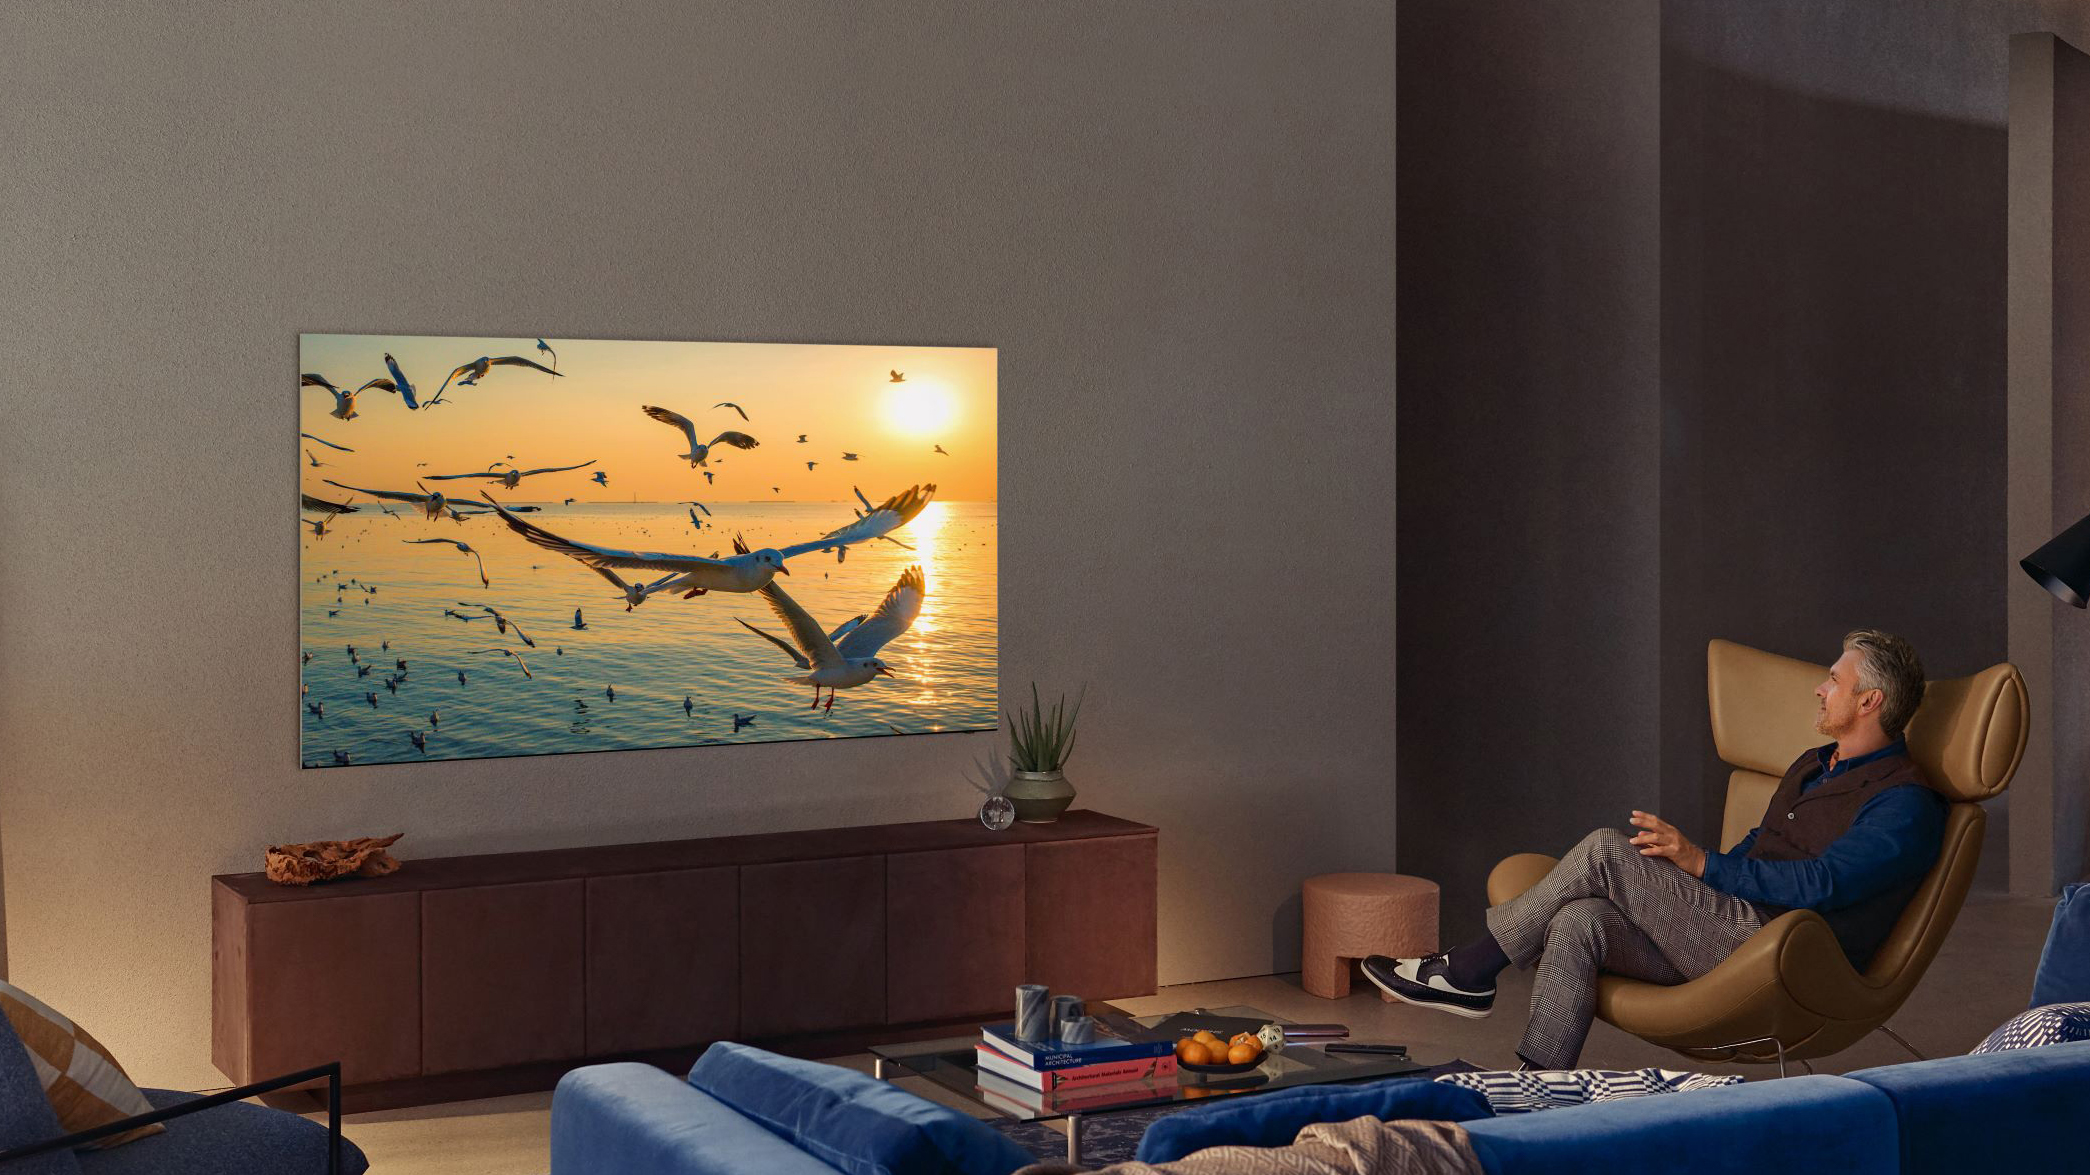
First, you need to establish where to position your TV. This might seem obvious, but people often mount their TVs in less-than-ideal locations. For a start, try not to install your TV opposite a window, because sunlight will wash out the image during the day, making dark scenes unwatchable (because all you'll see is what's out the window).
It’s also not always great idea to mount your TV above a fireplace, though this is fairly popular. If your fireplace is tall, you're somewhat straining your neck looking up at the screen. In addition, LCD TVs often have narrow optimal viewing angles, so you're not seeing it at its best if you're at a low angle. You can address this last point with a tilted bracket, correcting the viewing angle. You should also make sure the TV isn’t exposed to any heat from the fireplace below – we'd only recommend people do this with non-working fireplaces.
What you really want is a wall that’s not bathed in direct light, and has sufficient space for the TV to be mounted at approximately head height when you’re sitting down. Where you sit is entirely up to you, but as central to the screen as possible is ideal.
If all you have is a TV, you can then move on to the more practical aspects of mounting, but if you’ve got a soundbar you’ll need to consider where that goes relative to the screen. Directly underneath is best, and most of the best soundbars can be wall mounted using included brackets included with them.
Get all the latest news, reviews, deals and buying guides on gorgeous tech, home and active products from the T3 experts

Wall and bracket tips
The biggest factor when it comes to actually mounting the TV is the wall itself. If it’s a brick, concrete or block wall then all you need is a pencil, spirit level, plugs, screws and a good drill bit. If there’s plasterboard attached to the wall, avoid over-tightening the screws or it might crack.
If you’re looking at a stud wall, things get a bit trickier. Generally it’s best to avoid a stud wall when mounting a TV, especially if the TV is large and heavy, but it’s not impossible and there are specialist fixings for this purpose.
Always use a flat bracket when mounting a TV on a stud wall. If you use a cantilevered bracket that can be tilted in different directions or pulled away from the wall, the weight of the TV will act as a fulcrum and tear the bracket off. Then all you’ll have is a hole in the wall and a broken TV.
Whether you’re choosing a flat or cantilevered bracket, never go cheap on the mount. It’s always best to pay for a good-quality brand and high-quality fixings, after all you don’t want to smash your expensive new TV just to save a few bucks.
Modern flat-panel TVs adhere to a set of bracket fixture standards created by the Video Electronics Standard Association (VESA). In order to pick the right bracket for your TV, you’ll need to work out which type of VESA mount it’s compatible with.
To do this you can check your TV’s specs, or you can work it out yourself by looking at the back. You’ll see four tapped holes arranged in a square or rectangle, and these will correspond to screw-holes on the matching VESA bracket.
Since the different variants of VESA mounts are standardised, just measure the distance between the holes on the back of your TV, and you’ll know which type of bracket to buy. So if the holes are in a square and separated by a distance of 200mm, you need a 200x200 VESA mount.
If you plan on wall mounting an OLED TV, keep in mind that the VESA holes aren’t usually centred, but instead are further down the back of the panel. You need to allow for this when planning your bracket height, or you’ll end up with a screen that’s higher than you originally intended.
Samsung offers an optional bracket for some of its higher-end TVs that’s designed to fit flush with the wall, while LG’s new G Series of OLED TVs are specifically designed for wall mounting, and so come with a dedicated flush-to-the-wall bracket in the box (feet for standing it on furniture are actually an optional extra).
Finally, don’t forget cable management. If you own a Samsung TV with a One Connect box you’re in luck because all the sources go to the box, which then connects to the TV via a single cable – very tidy. Otherwise you’ll need to have at least two cables (power and HDMI) going to the TV, and maybe more.
There are a few ways to hide these cables, and if you’ve mounted against a stud wall it’s fairly easy to cut holes at the top and bottom and run the cables down inside the wall. You could even attach face plates over the holes to give your installation a professional finish.
If you’ve mounted your TV on a solid wall, you have two choices for tidier cable management. You could chase (bury) the cables into the wall, but that could get a bit messy. Alternatively you can just buy adhesive D-Line trunking (aka: a plastic channel for the cables that sticks to the wall) to quickly, easily and neatly hide the cables from view.
There are plenty of custom installers who would be happy to professionally wall mount your TV, and a number of retailers offer a similar service for newly purchased TVs. But if you’d prefer to do it yourself, keep our tips in mind and you'll get a positioning you're happy with for years to come.

Steve Withers is a professional calibrator and freelance journalist who regularly contributes to T3, reviewing audio and video products, and writing articles. Steve has been writing about audio and video products for over ten years and, along with T3, he also contributes to TechRadar, Trusted Reviews, Expert Reviews, AVForums, Pocket-lint, Home Cinema Choice, and Wired. Steve is Level 2 certified with THX, the Imaging Science Foundation (ISF) and the Home Acoustics Alliance (HAA). As such, he remains abreast of all AV technology developments and the latest industry standards as we transition into a new era in home video and audio.