How can I print high-quality photos at home?
Want to print high-quality photos at home? Here's how!


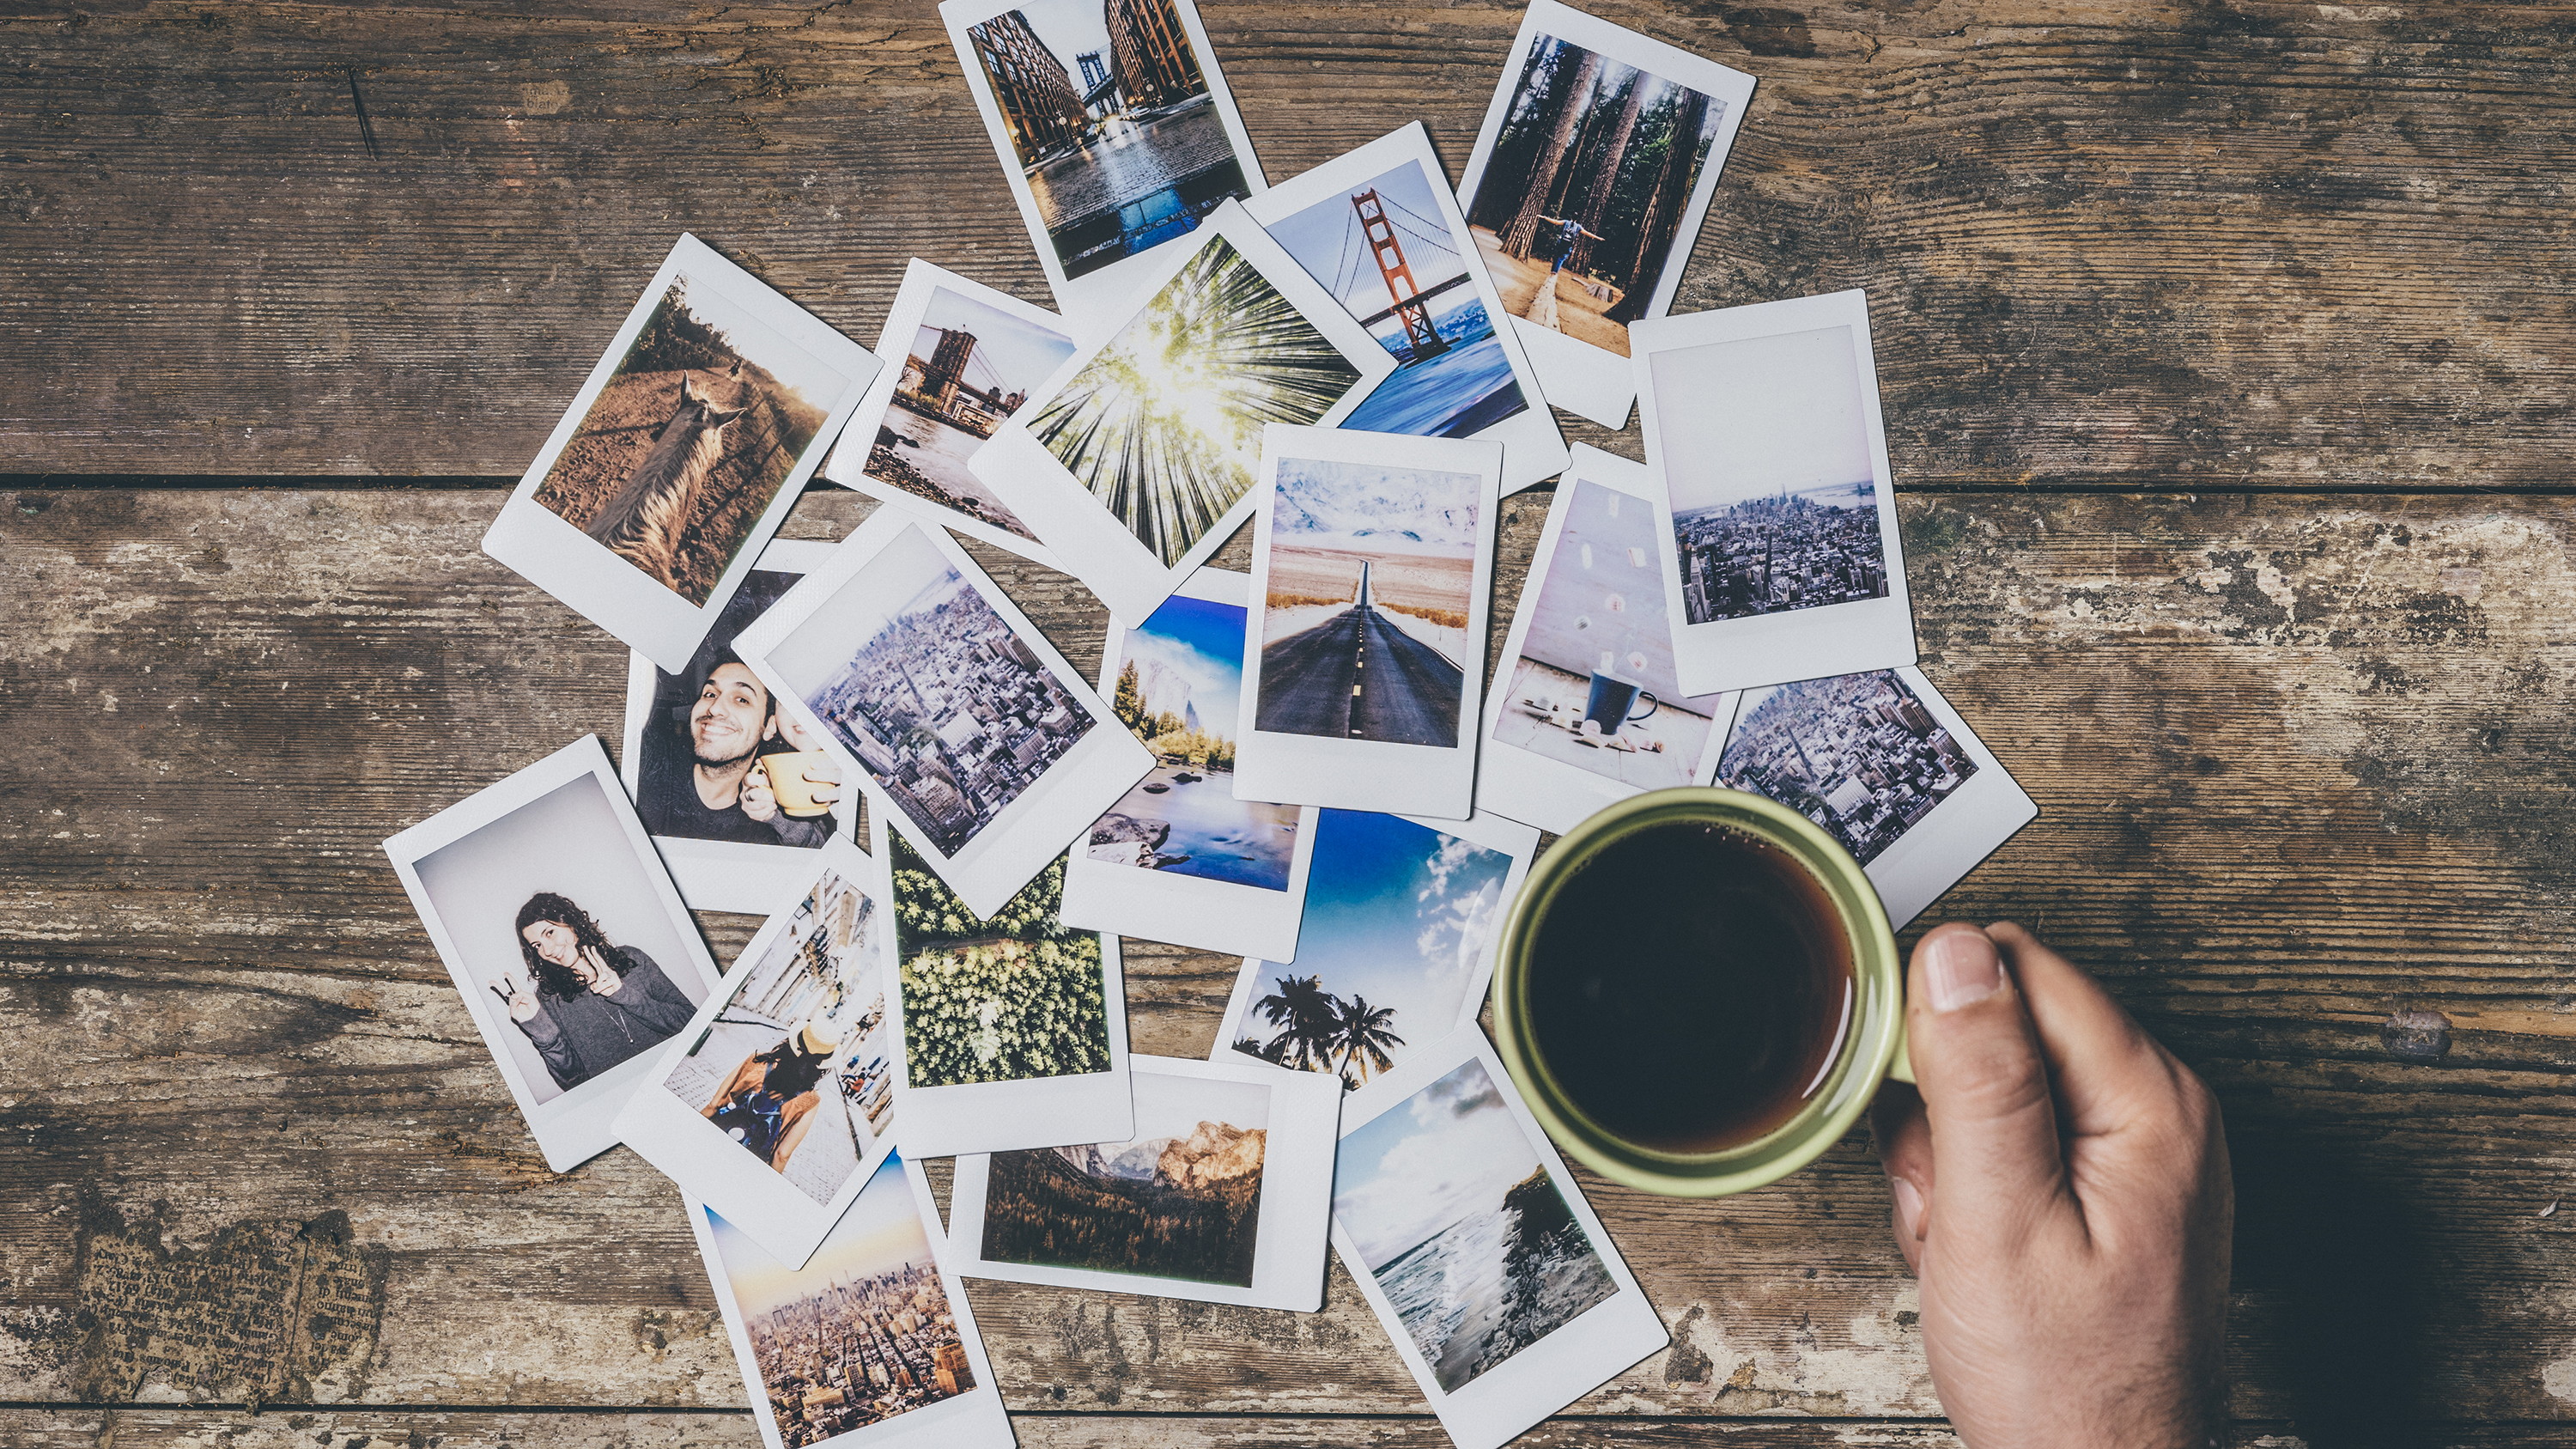
We’ve all spent much more time at home these past couple years – perhaps more time than we’d have liked – but that time on our hands has finally allowed many of us to sort through a heap of photos on our hard drives and camera rolls and decide which, if any, are worthy of displaying as a print or preserving as a physical keepsake.
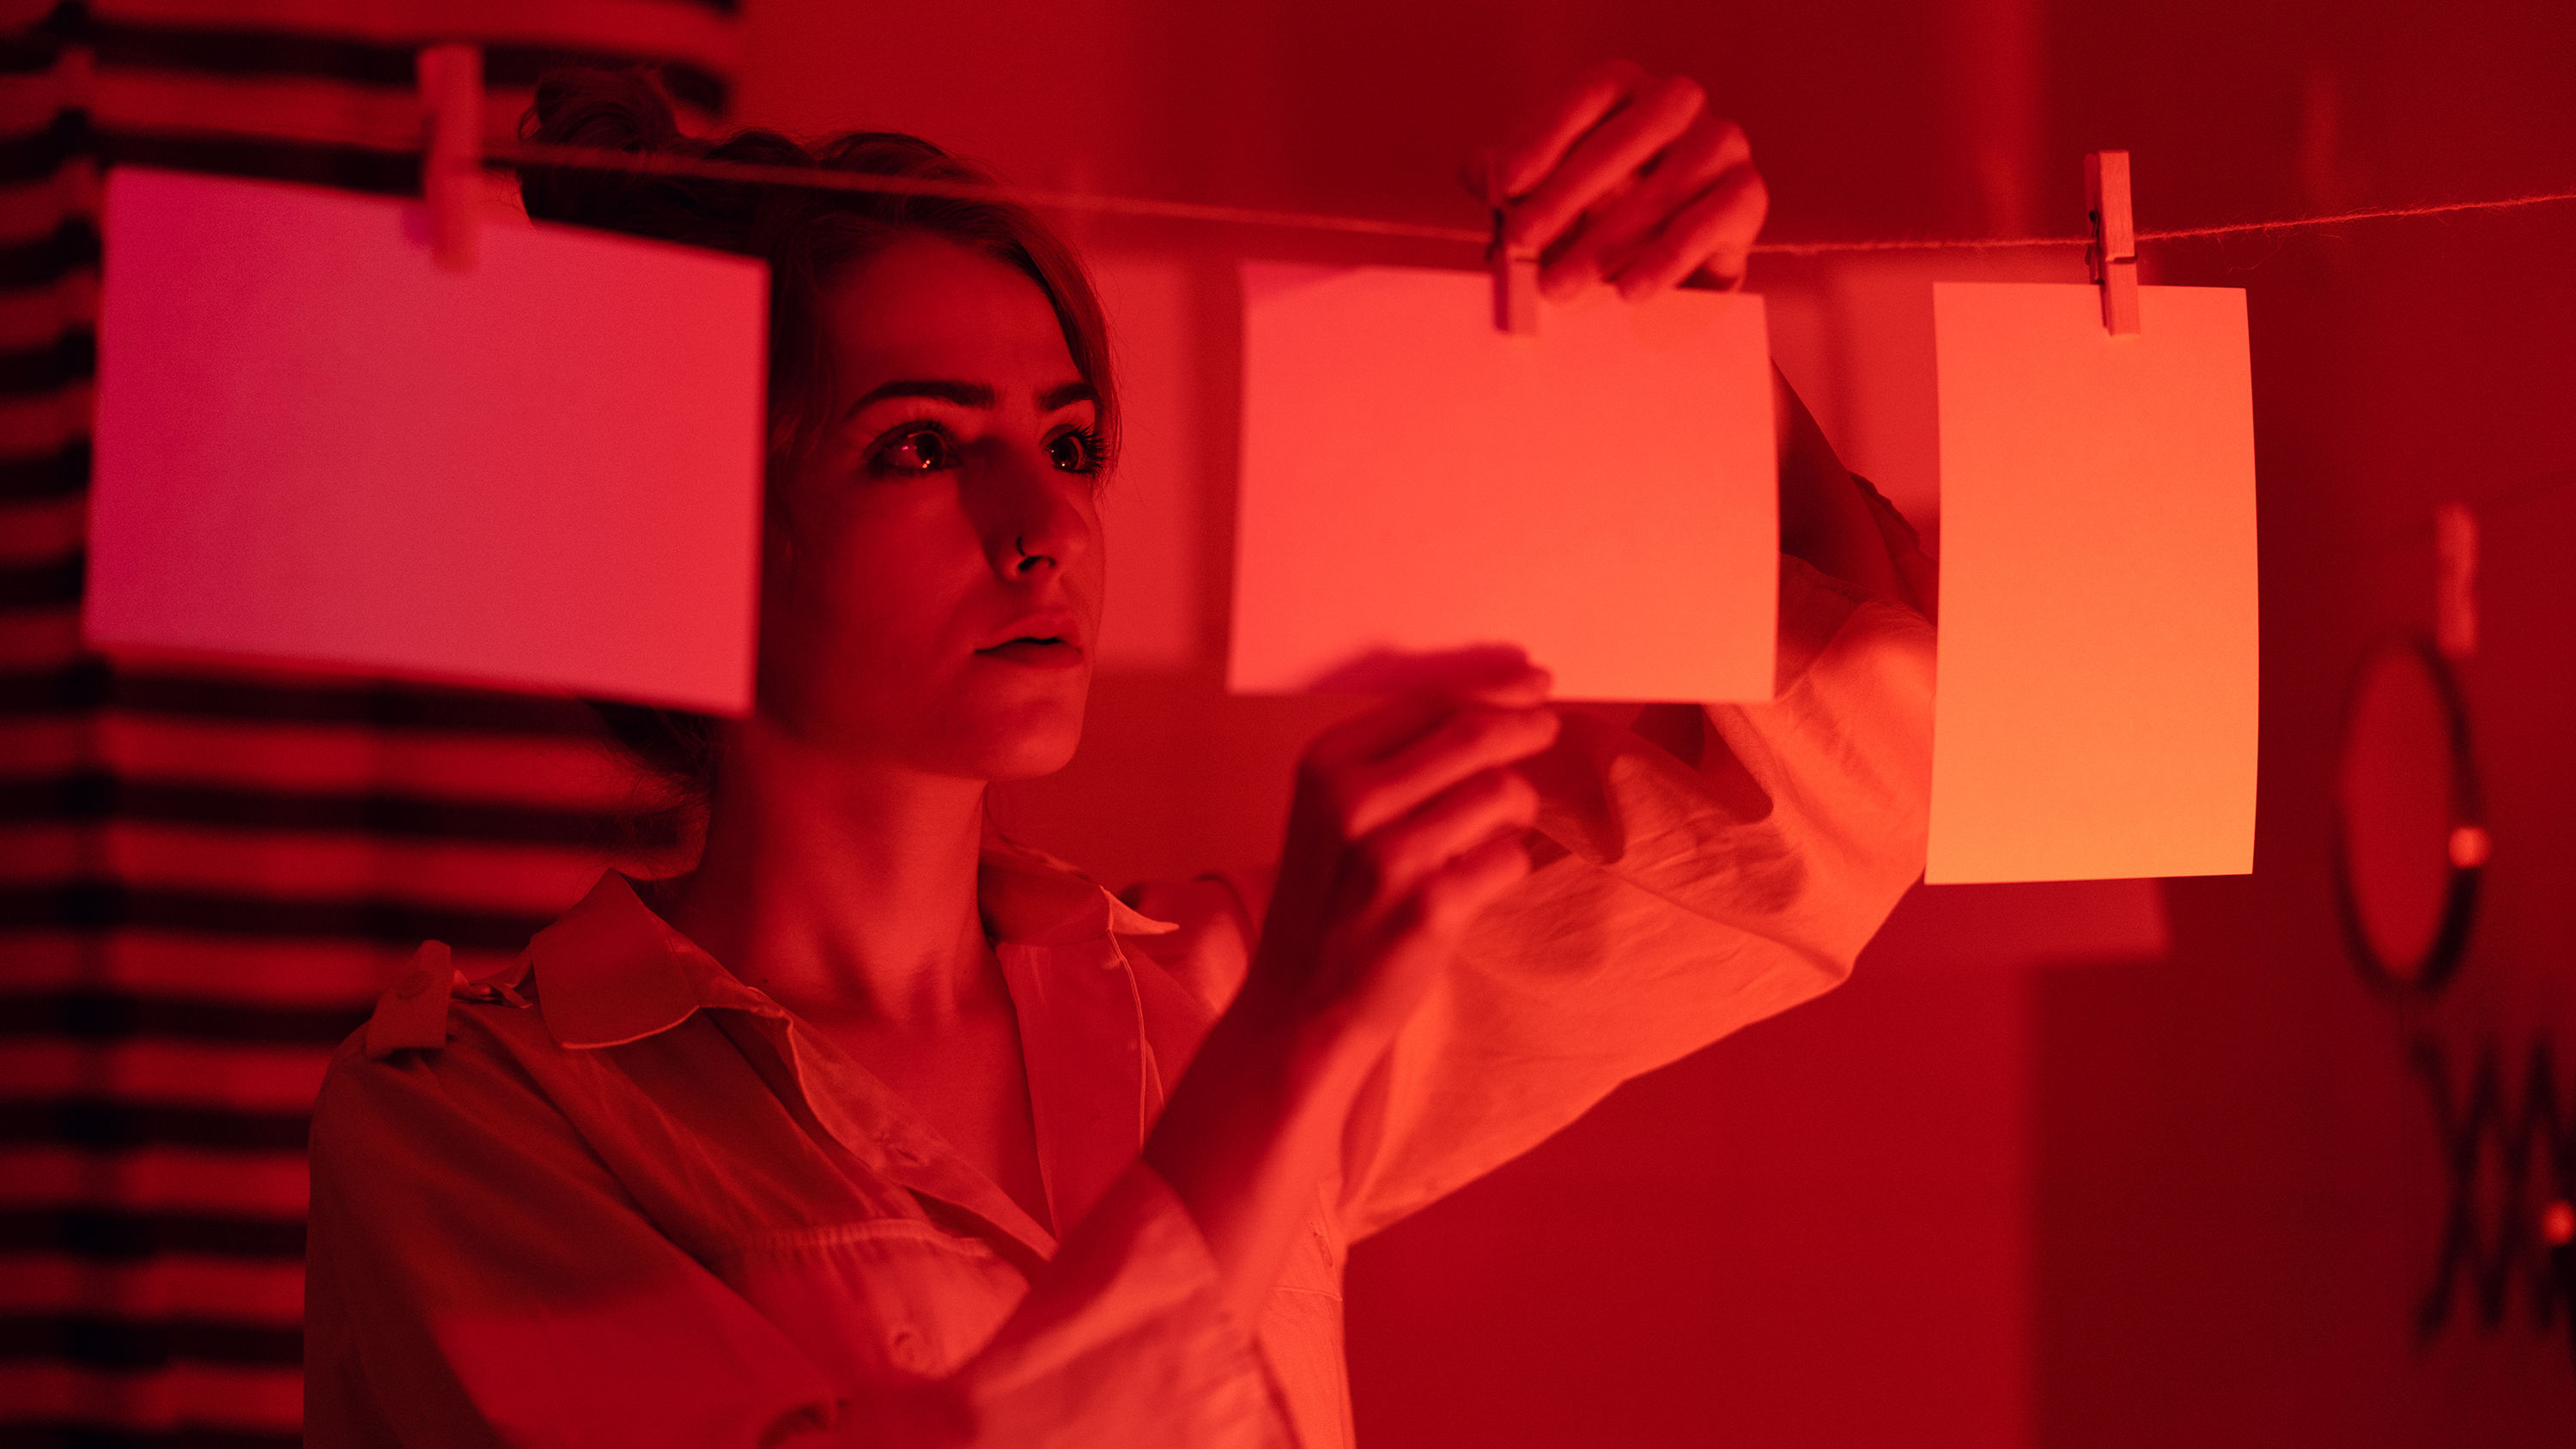
While there’s a plethora of local camera shops and minilabs offering click and collect services, as well as dedicated online photo processing sites that will process our orders and post them back to us, there’s a chance that our renewed enthusiasm for photography has prompted us to consider printing at home. And not just digitally; recent times have also witnessed a renaissance in the shooting on and processing of film, with a ‘wet’ darkroom and trays of chemicals required – just like in those 1970s cop movies. The latter is much more complicated and involved than digital printing for sure, and involves a degree of trial and error, but for its acolytes, the labour and eventual satisfaction involved is very much part of the appeal.
- Best photo printing services: online photo printing reviewed
- Best photo printer: get the best printed snaps possible
In short, choosing to print at home, then, is choosing to be able to exert maximum control over the output and quality of our prints.
Be aware from the start though that printing at home will cost us more per print in terms of materials, not to mention time, than asking an online photo lab to do it for us instead. That’s because they are dealing in bulk, buying in bulk and so are making bulk savings, some of which are passed onto customers to generate business; we, typically, are not, cannot and won’t.

Digital photo printing at home
Photo printing starts with having a high-quality image to print in the first place, and choosing to print it at a size that will expose its detail, without exposing its flaws.
In this age of 50-megapixel cameras that shouldn’t be a problem at all – even if shooting basic JPEG rather than top quality Raw – and, in any event, it’ll soon become clear when we attempt to print if our image isn’t up to snuff and we need to re-size, re-edit or think again.
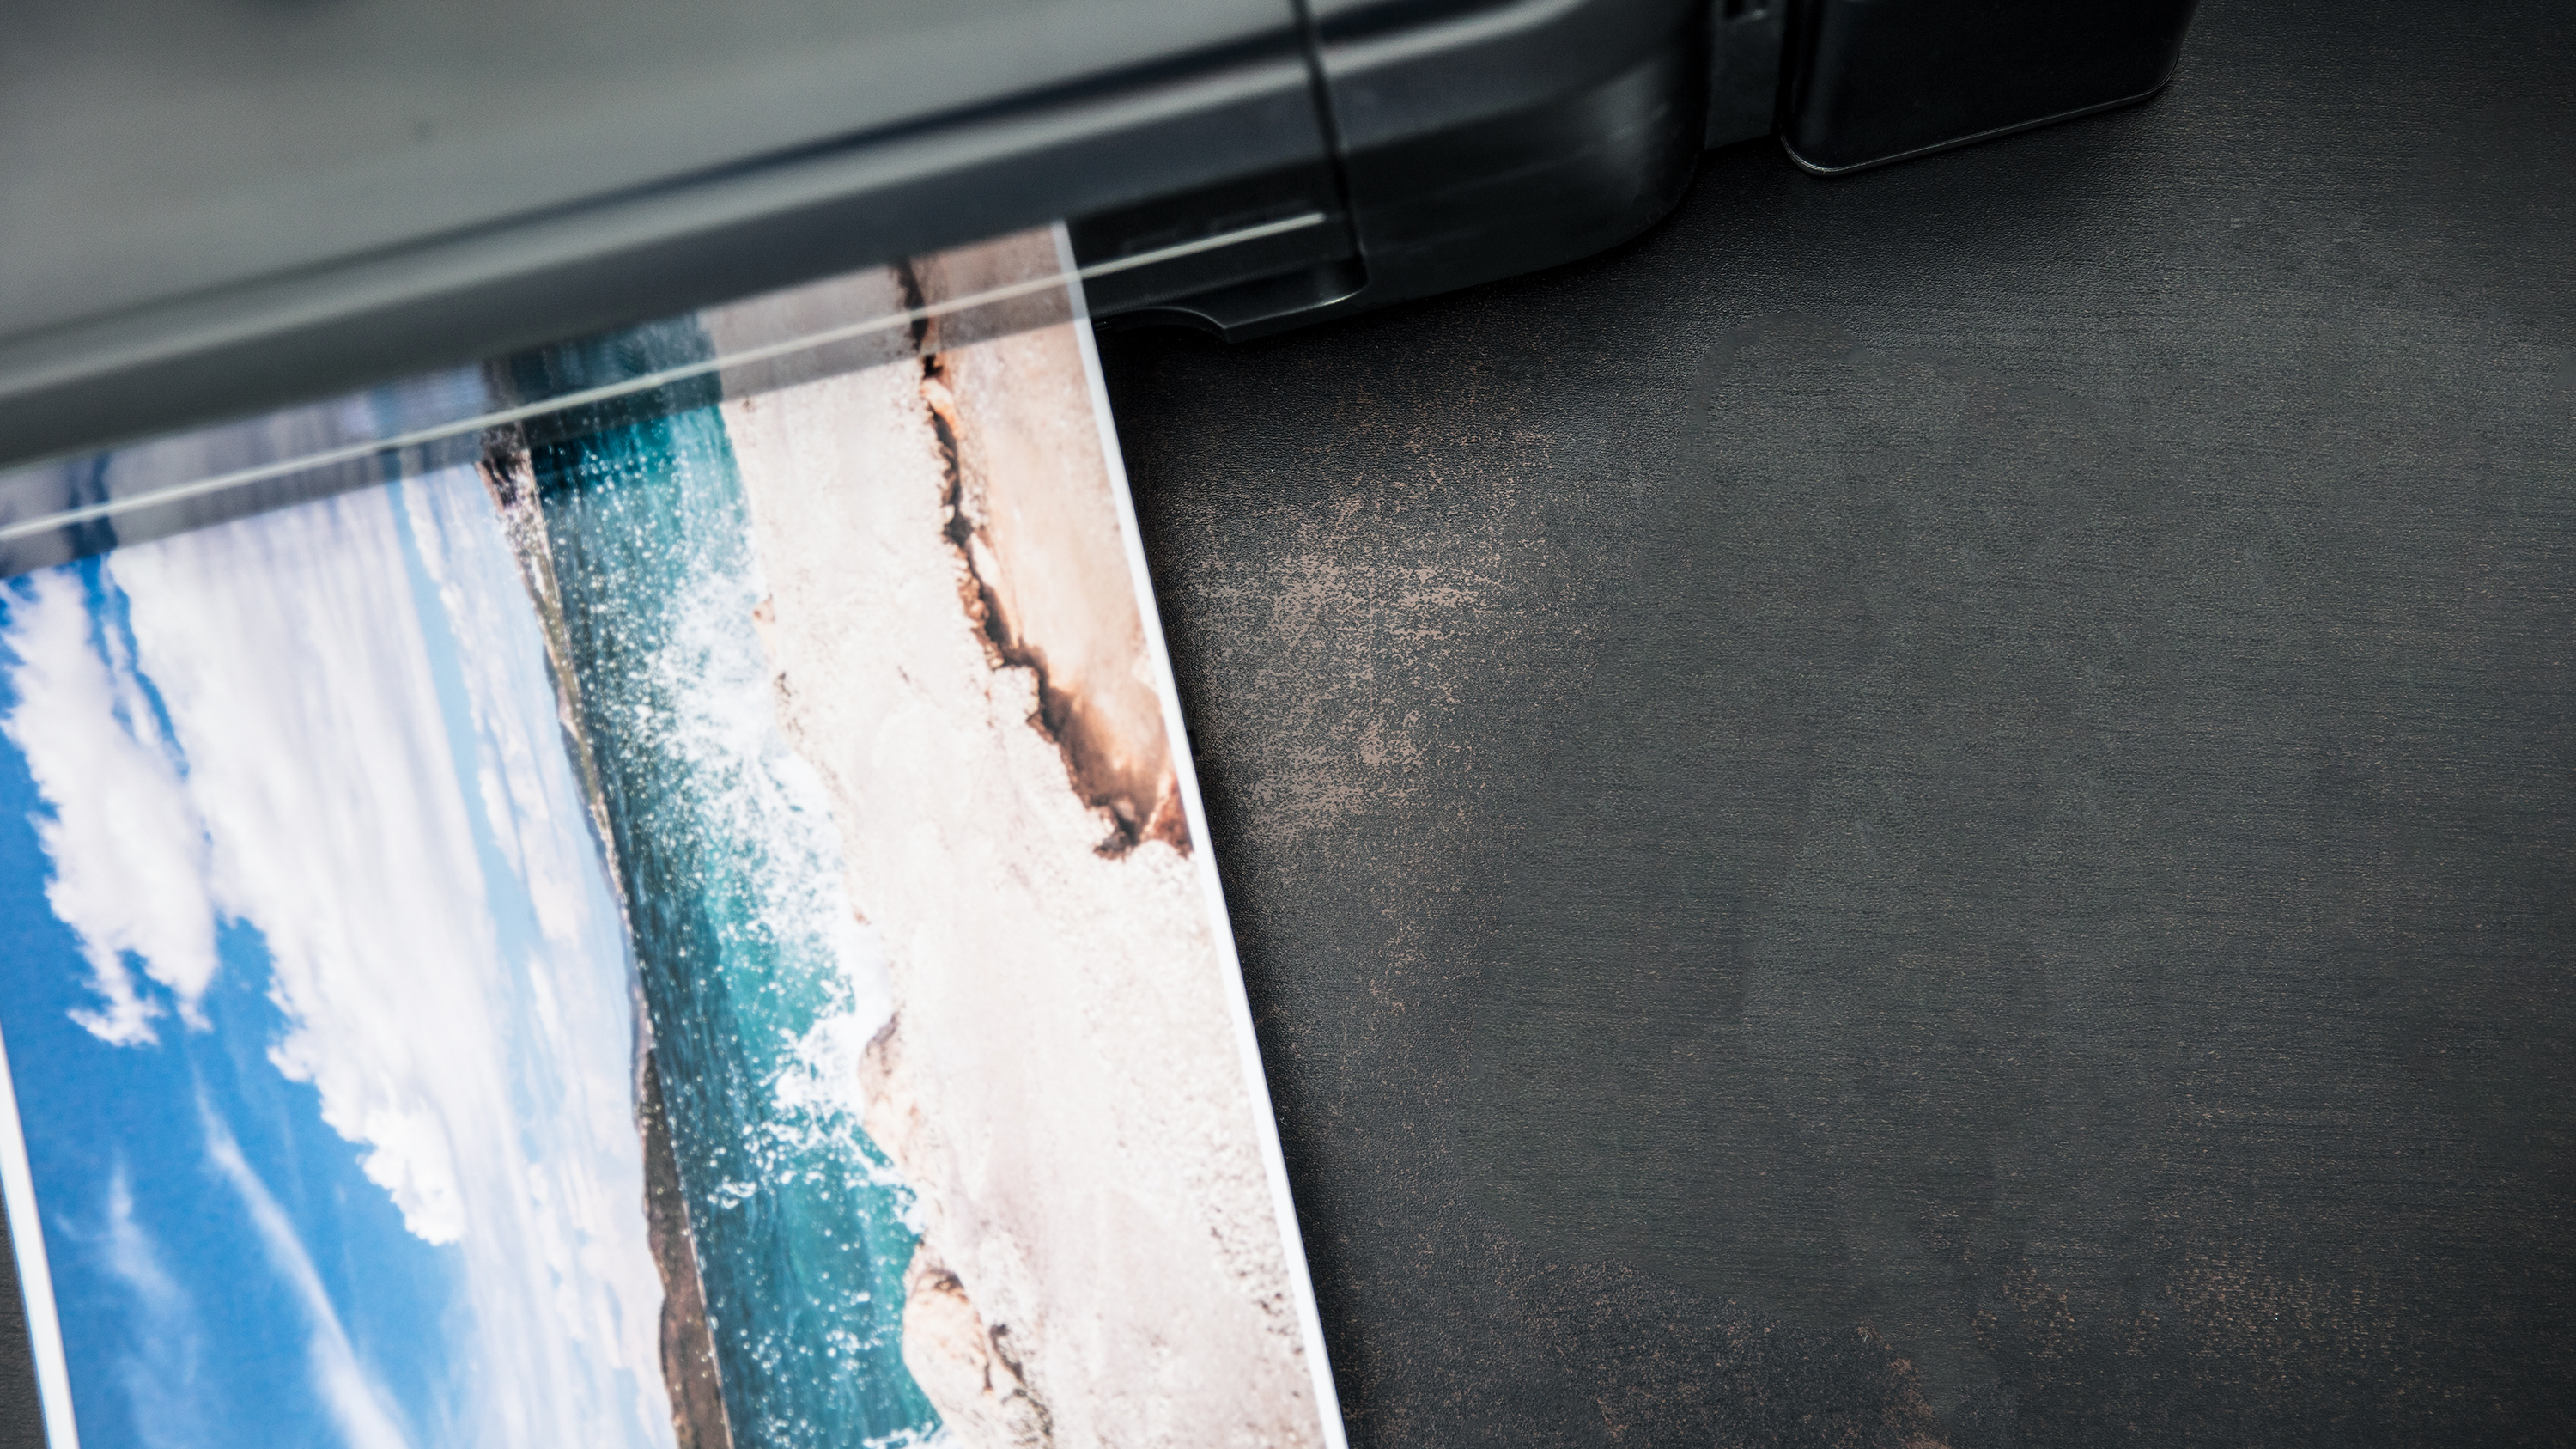
To produce high-quality digital photo prints for ourselves, all we need is our smartphone, PC or Mac plus a decent photo quality printer. By ‘decent’ we mean the best we can feasibly afford at the time. Look out for the familiar photo brands like Canon and Epson and examine the dedicated inkjet printers on offer that are squarely aimed at the photographer, rather than just the home office user.
Get all the latest news, reviews, deals and buying guides on gorgeous tech, home and active products from the T3 experts
We may be tempted by a multifunction machine that provides the ability to copy and scan, as well as print; this certainly saves desktop space for the home worker, but the print capability of such devices tends to be basic, if adequate, for the occasional 6x4-inch or A4 print. For regular photo quality results, a more sophisticated machine that utilises a greater number of inks and a print head that can produce finer more accurate dots is the ideal. For hobbyist use, these inkjet printers, as opposed to the smaller more rudimentary 6x4-inch or credit card-sized pint alternative of heat transfer dye sublimation or ‘dye sub’ printers, start at A4 or A3+ in size, though much larger wide format and even roll sheet printers are employed by photographers who regularly want to make landscape sized prints of their work to sell. The bigger footprint of the latter typically needs a studio space to house it though – not just a back bedroom.
Once armed with our inkjet printer of choice, and having installed a fresh supply of inks, the next task is to choose our print media in question. For most people this will come down to a choice of glossy (shiny) or matt (plain) surfaced photo paper – with the manufacturer of our printer typically recommending we use their own brand, the reasoning being that their printers’ inks are optimized for use with their inkjet paper. Selecting the optimal setting on your printer is also key. While choosing photo quality, rather than draft mode, is obvious, make sure you’re also selecting a print quality of at least the standard 300dpi – dots per inch, or pixels per inch – to keep print quality looking sharp.
We probably don’t need to get into colour spaces and debate between RGB and CMYK here, and at consumer printing level this typically won’t come up at all, except to say that CMYK is the preferred option for when printing. Those of us who want to delve deeper into home printing may additionally like to consider a monitor calibration device of some sort, such as a Datacolor Spyder, so that what we see on screen in terms of colours is exactly replicated when it comes to the finished print, and we achieve a like-for-like match.

Film printing at home
Digital photography and digital printing is one thing. But, for anyone learning the art of photography from scratch who has been inspired to take up shooting on film, the next step is, rather than sending said roll of film away to be processed by a third party, attempting to finish the job by self-developing the roll of film already exposed when we took our shots.
Unfortunately, or, perhaps, thrillingly, for the novice or aspiring enthusiast, this means buying a load of equipment at once, as well as, if going the full hog, setting aside a backroom or walk-in cupboard to create a light-tight space; in other words one which is pitch black and where any intrusion of daylight can be 100% avoided.
To develop film at home, before you can even think about printing, you’ll need your exposed film, a developing tank with reels, a dark bag for loading the film onto the reels and of course developer fluid. Once the film spool is retrieved from the tank, the strips of negative will first need to be allowed to dry, before prints are attempted. As we can see this is something of a more involved, time-consuming process – and something that digital photography and the introduction of the digital darkroom – or home PC into the process – was supposed to make a heck of a lot easier. Still, there are those who prefer the more mindful, meditative approach to image creation.
Verdict
Printing at home can be as straightforward or as complicated as we wish to make it – depending on the scale of our ambition for our prints. A huge part of the appeal, especially when it comes to printing from digital, is near-instant results and output, along with the ability for us to exert hands-on control over every part of the process – acting as, in effect, our own quality control department.
Liked this? If you're also thinking about upgrading your camera then we'd suggest you take a look at our guide to the best mirrorless camera, best DSLR and best compact camera.

Gavin Stoker has been writing about photography and technology for the past 20 years. He currently edits the trade magazine British Photographic Industry News - BPI News for short - which is a member of TIPA, the international Technical Imaging Press Association.