How to install Windows 10 on Raspberry Pi 2: 6 steps to bake a micro computer
Thinking of baking a Windows 10 Pi? Grab your apron and read this

Introduction
Windows 10 is out. In case you didn't know, you can get a free upgrade if you currently run Windows 8, Windows 8.1 or Windows 7. You lucky things.
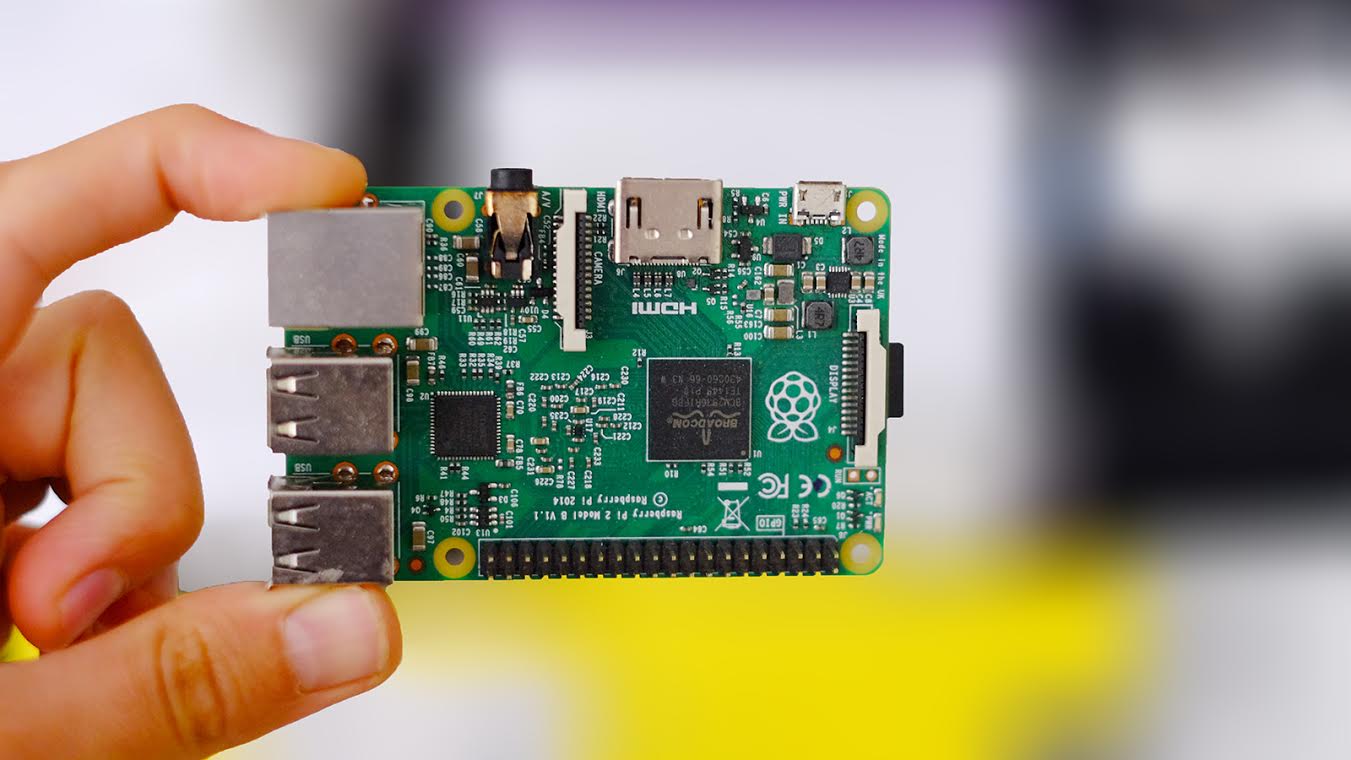
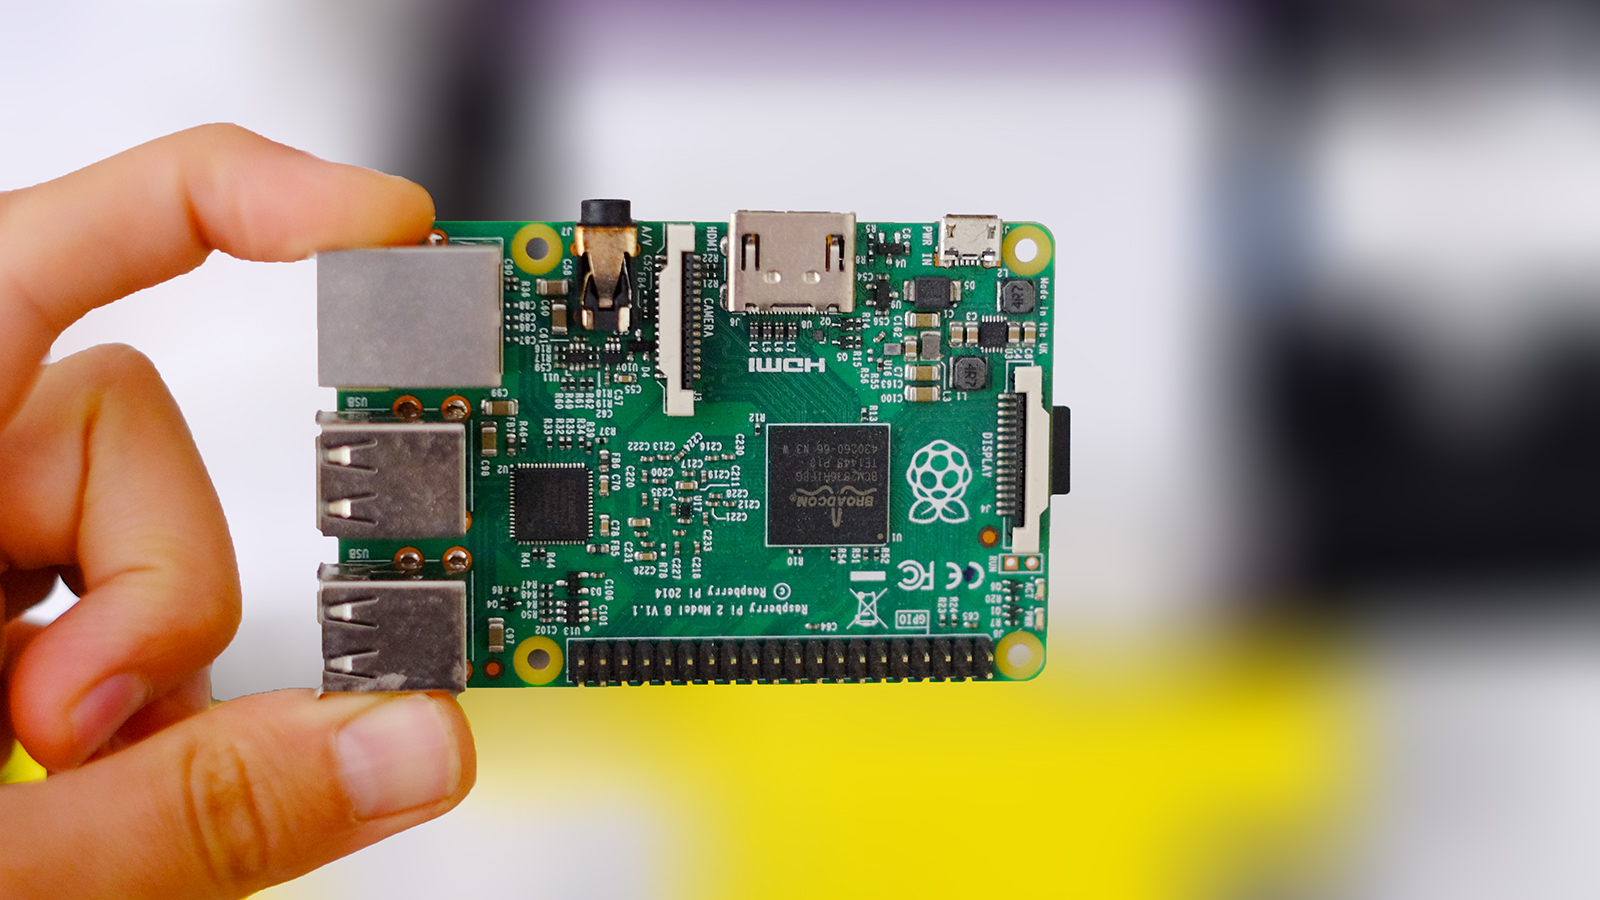
However, Microsoft has also made a totally free version of Windows 10 for Raspberry Pi 2, the super-affordable circuit board computer.
It's easy to get, too. We went from a bare Raspberry Pi 2 to one with the IoT version of Windows installed in under half an hour. And, at the risk of sounding dead cheesy, so can you.
All you need is a Raspberry Pi 2, a microSD memory card with SD adapter (Microsoft recommends at least 8GB), and a Windows computer with an internet connection and an SD card slot or USB reader. Unfortunately, one of the steps requires an .exe file, and the process won't work with Mac computers.
One thing to note before you get too excited is that Raspberry Pi 2 runs a special developer version of Windows 10, designed for IoT devs. It's a very cut-down take that can't run apps in the way the full version can.
Check out the rest of our Windows 10 coverage:
1. Download and mount the ISO
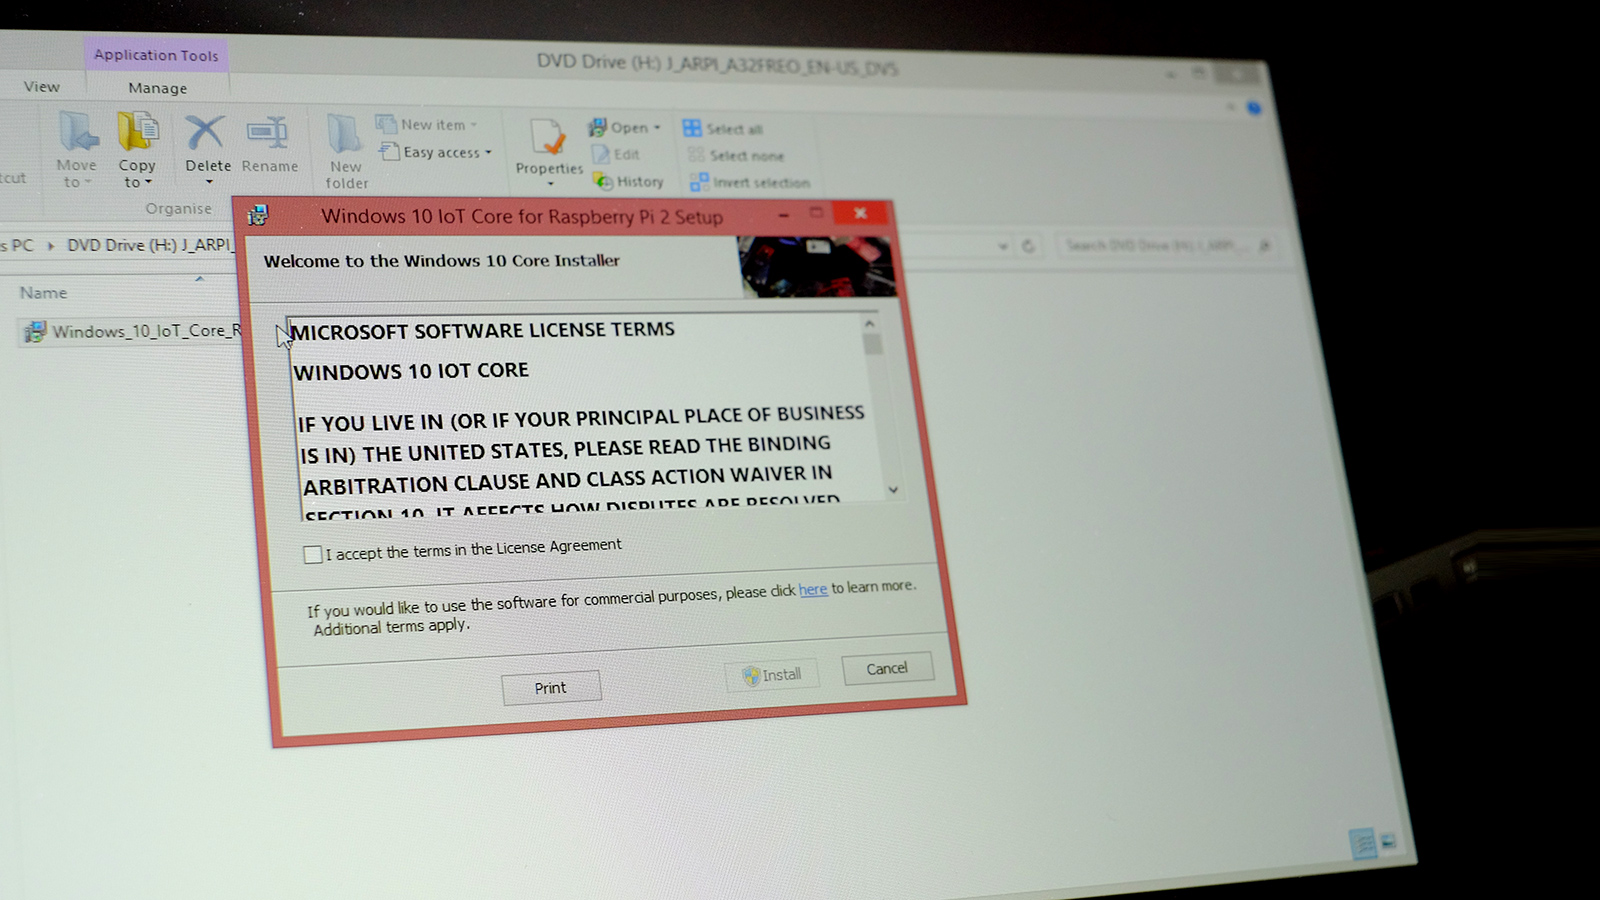
Installing Windows 10 on Raspberry Pi 2 is easy because Microsoft has made a single disk image containing everything you need. It's downloaded from a Microsoft github resource, and takes up 517MB. It isn't too heavy.
Download this to whatever directory you fancy, then 'run' it. If you're using Windows 8, 8.1 or 10, this will mount the disk image as a virtual optical drive. Go to Windows Explorer and it'll look like there's an optical drive with the ISO's content on it.
Running Windows 7? Our machines are a bit too up-to-date to test with that older OS, but you should be able to get this working by using a disk mounter application like Daemon Tools.
2. Run the right apps
In the virtual disc drive, you should see an installer application called Windows_10_IoT_Core_RPi2. Run this and a couple of apps will be installed on your machine.
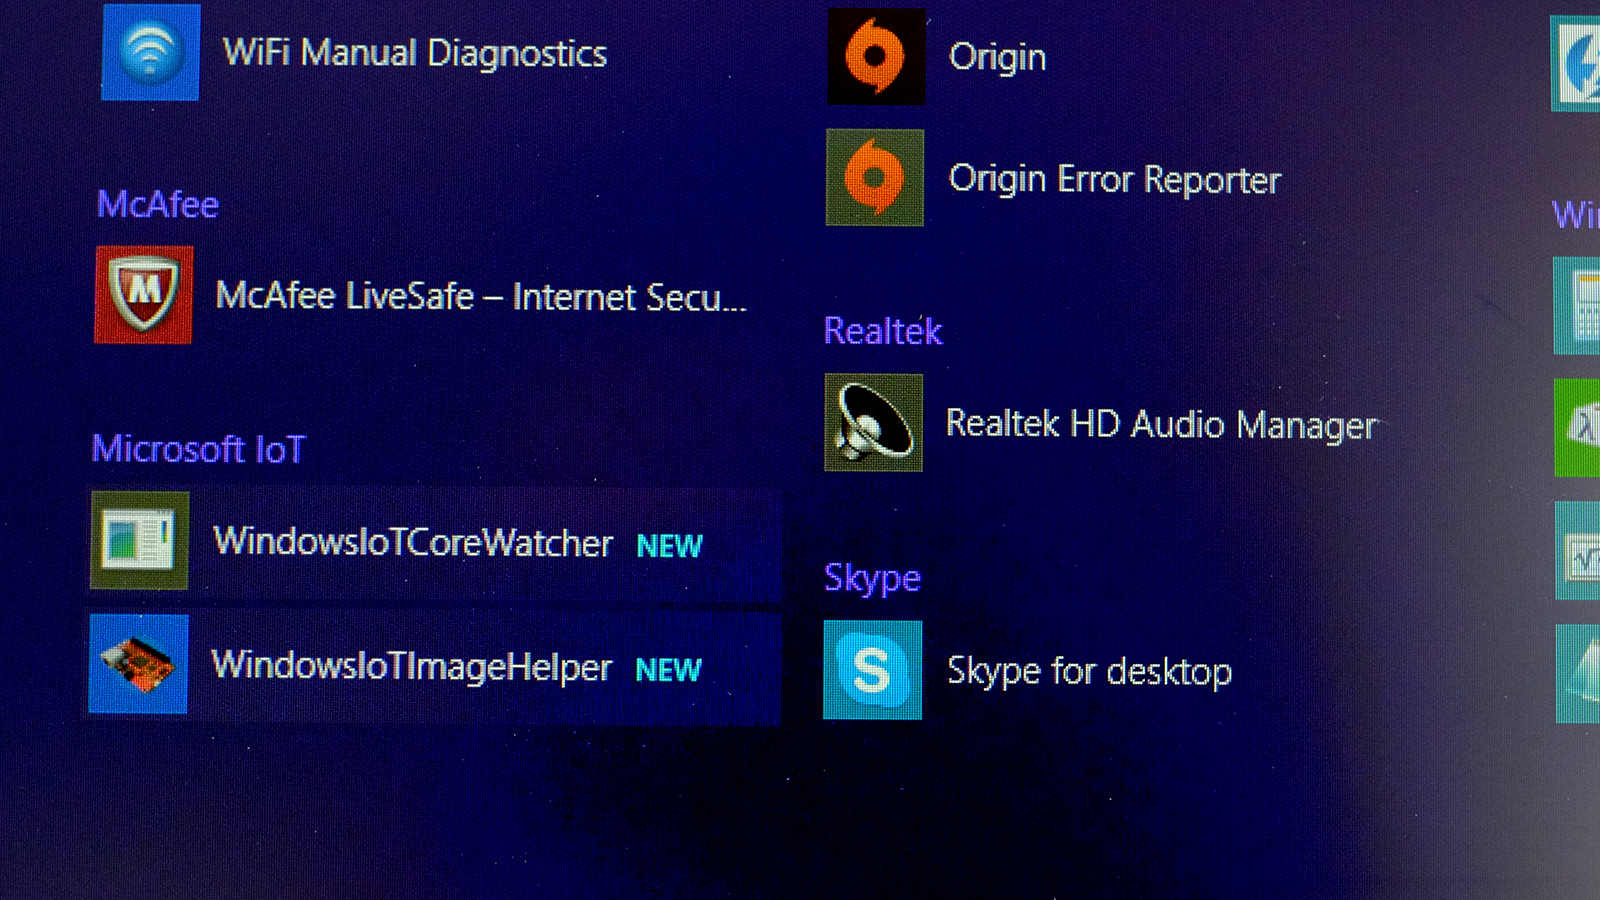
They'll appear in the apps menu, under the Microsoft IoT header. They're called, catchily, WindowsIoTCoreWatcher and WindowsIoTImageHelper.
We want the second one. Run it.
3. Making the ISO
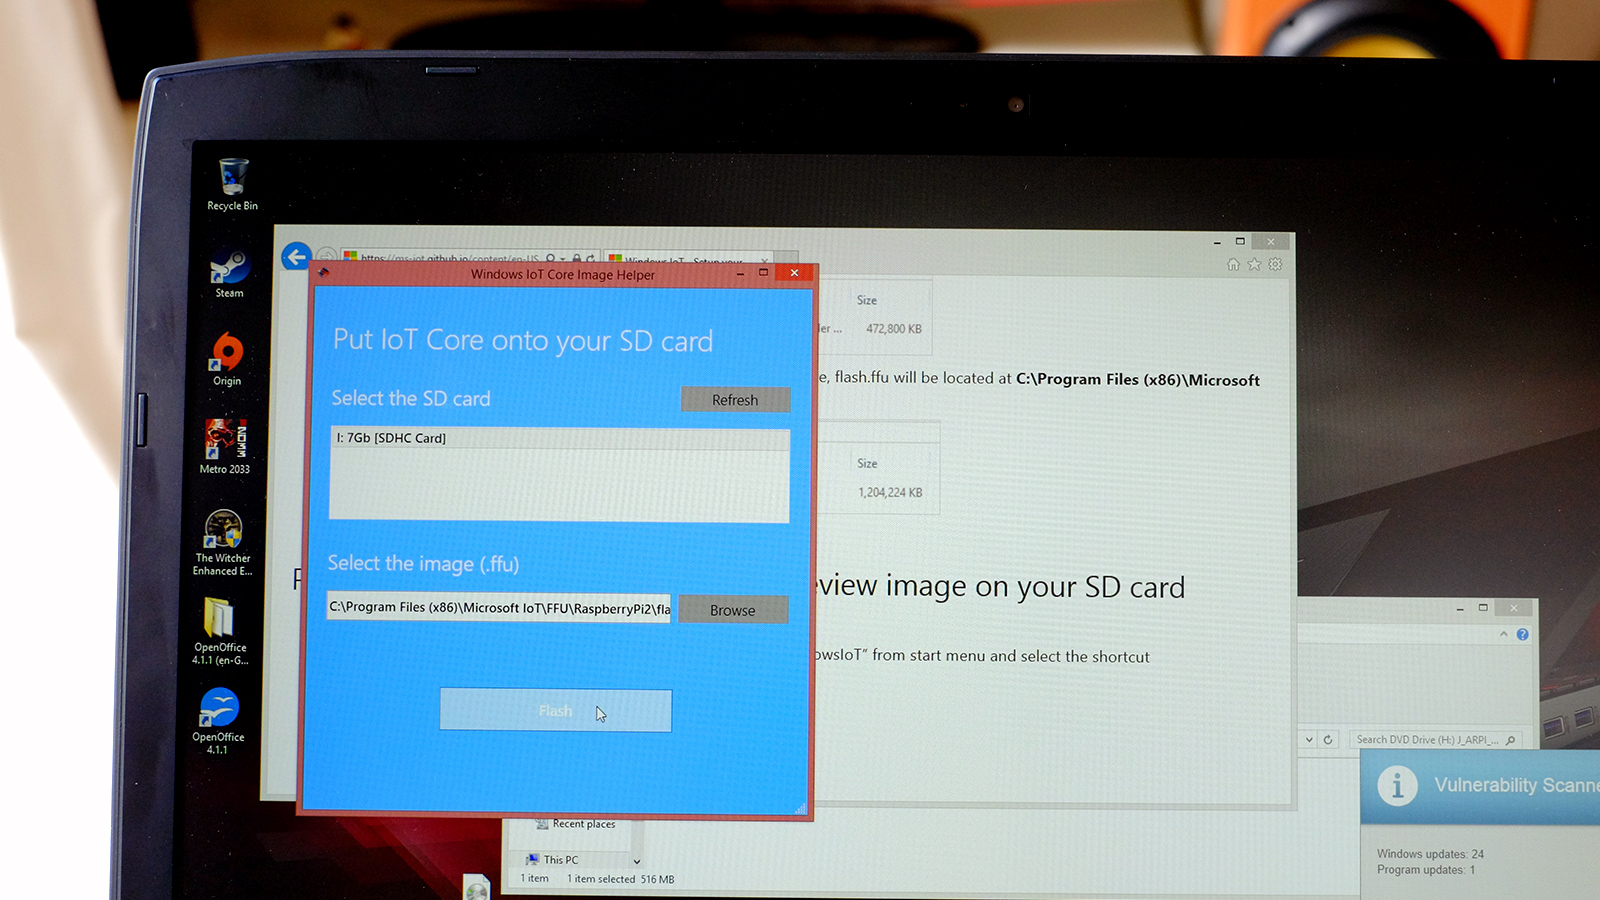
Now you need to prep your microSD, which will basically form the hard drive of the Raspberry Pi 2. The UI of this tool couldn't be any easier.
Just insert your microSD into your computer, using an SD adapter or a card reader, and it should appear in the application. Now we need to select the disk image to write. It has actually been dumped on your computer already, left there when you ran the application from the virtual disk drive.
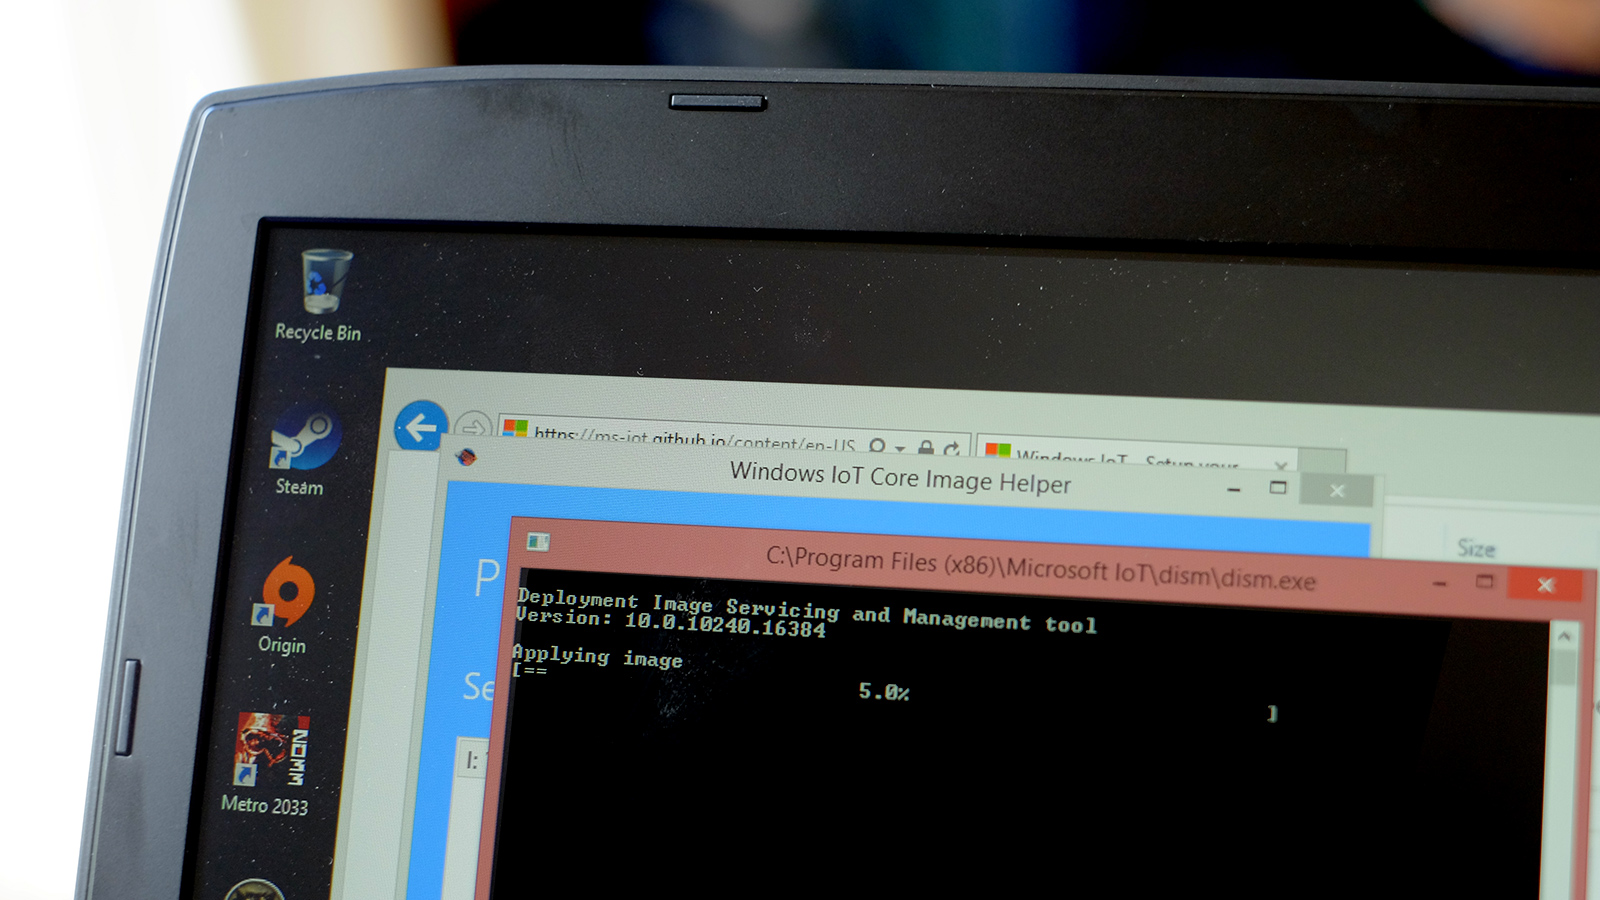
You'll find the image you need, flash.ffu, in Program Files > Microsoft IoT > FFU > RaspberryPi2. Now you're ready to hit the Flash button, but bear in mind this will also delete everything on the card. Backup if you don't want to lose anything.
4. Running the Windows 10 IoT Pi
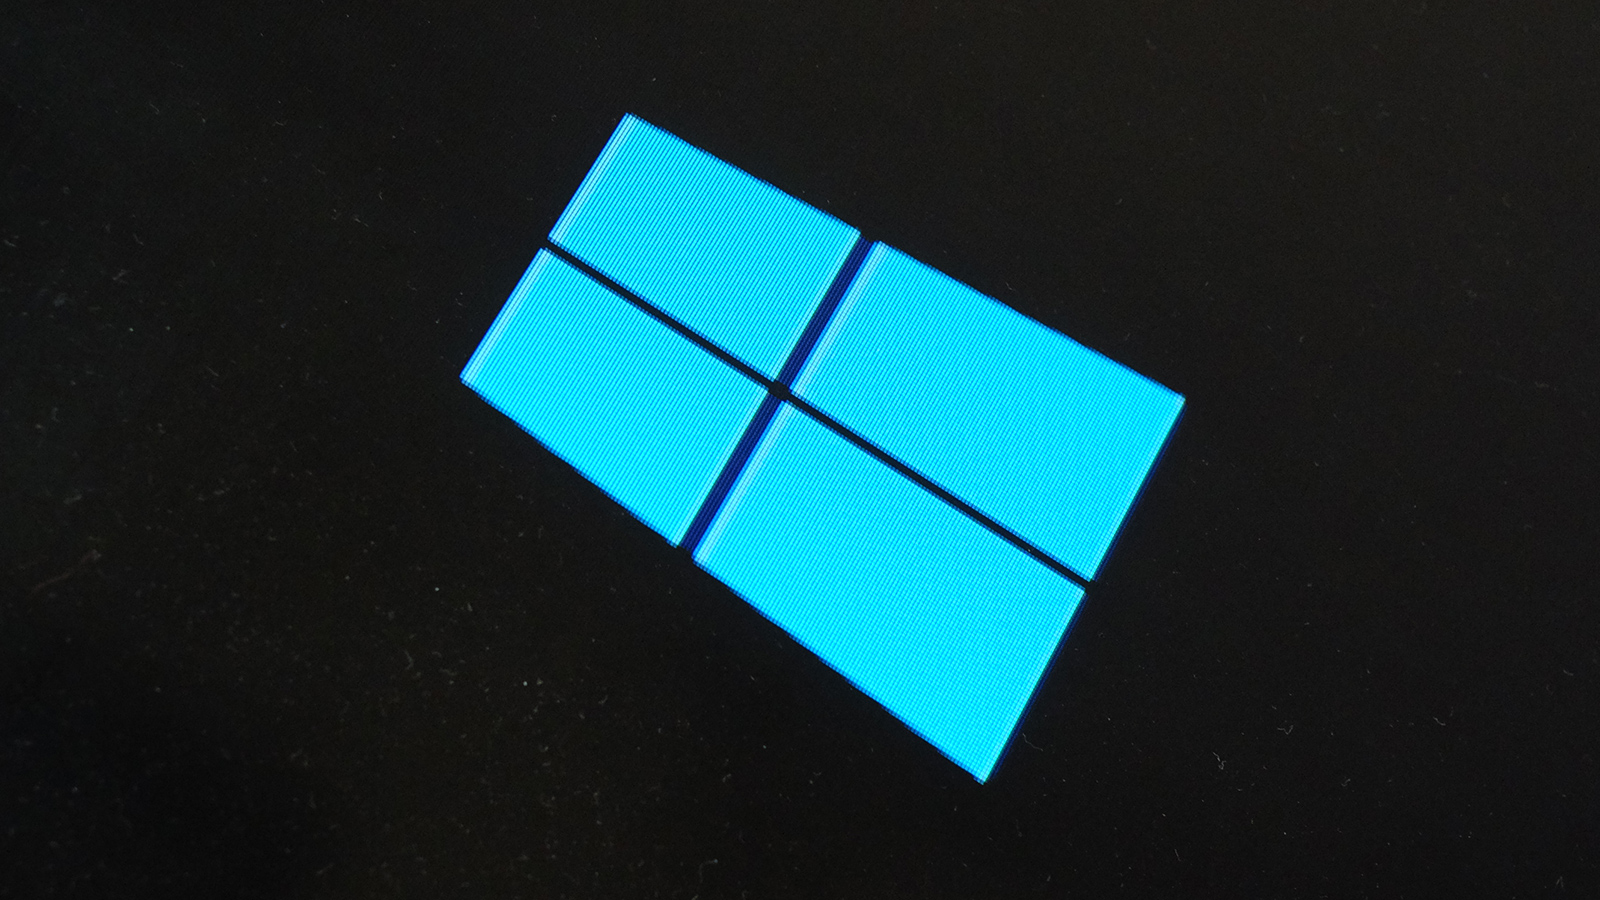
All done? Eject the card before ripping it out of your computer, then plug it into your Raspberry Pi 2. Turn it on and you should see a Windows 10 logo flash up a bit before leaving you with a blank screen for a while.
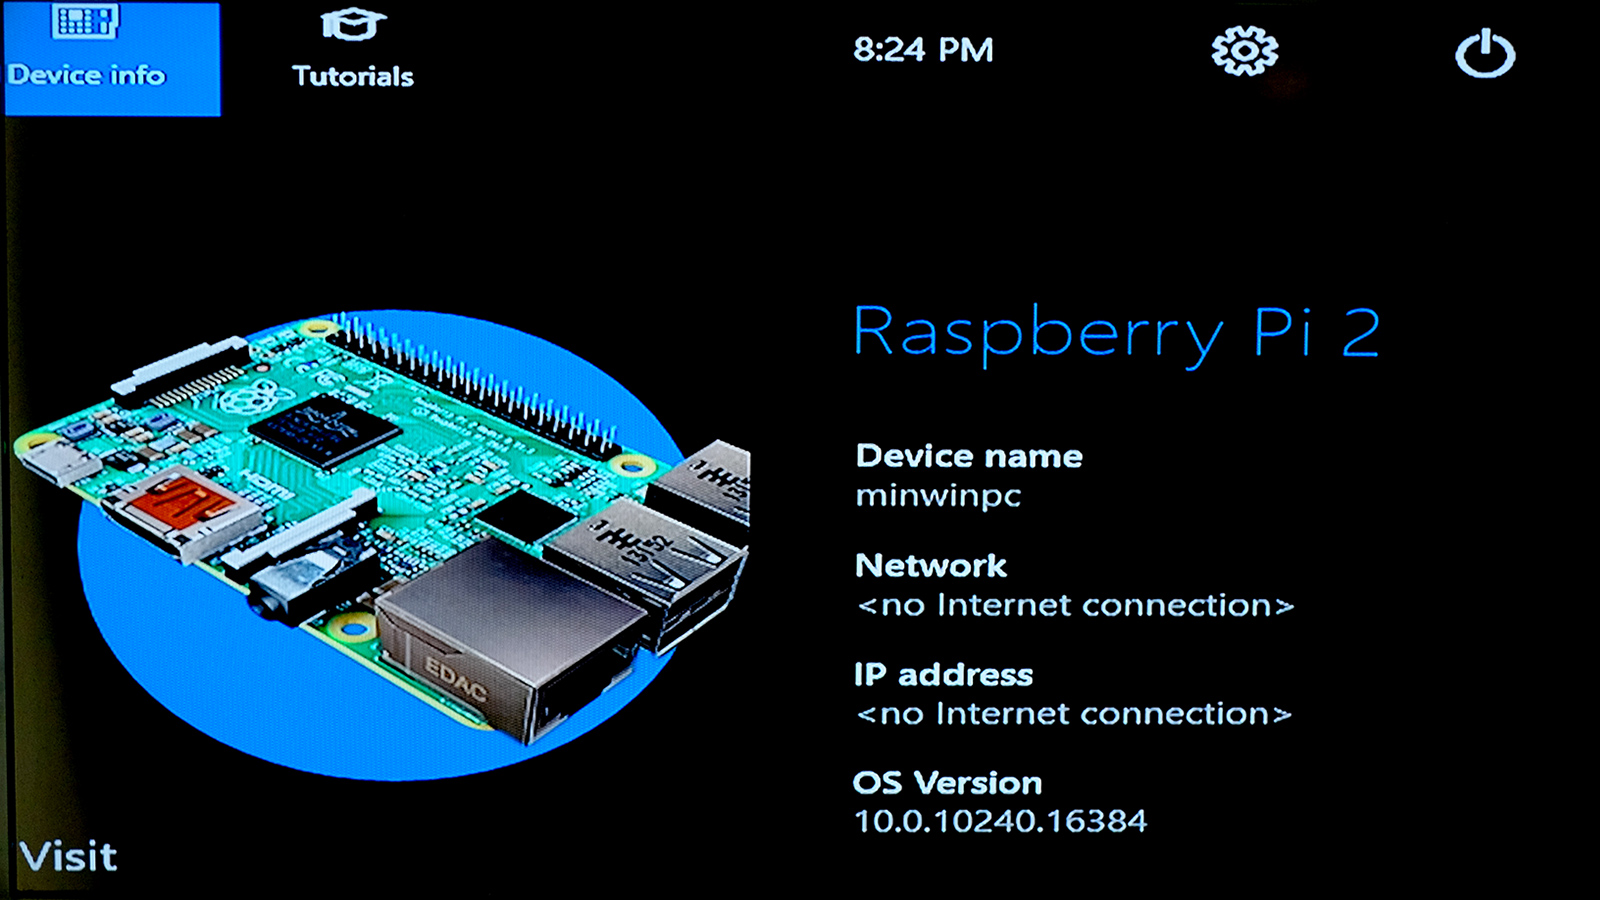
Don't assume after waiting for a few minutes that something has gone wrong. Be patient - make a cup of tea, come back later. In the end, you'll see a basic front-end for Windows 10 IoT.
Here's where your heart may sink. Windows IoT doesn't have a proper GUI that you can run apps from. It's far less friendly than the Linux-based interfaces available for Raspberry Pi. It initially appears like a dead end.
5. Get started with Windows 10 IoT
Want to keep on ploughing on with Windows 10 on Raspberry Pi 2? You'll need to install a development environment on your main computer, which will let you send over application data to run directly on the Pi.
If that sounds hopelessly complicated, you might be better off heading toRaspbian, the 'native' Raspberry Pi 2 environment, and one we find a fair bit easier to get on with.
Otherwise, you'll want to download Vistual Studio Community, the free version of the Visual Studio dev tools, from Microsoft. This is what's used to create programs for the IoT devices through Windows. Pro versions cost $1200 and up.Following this, installWindows IoT Core Project Templates, which provides the framework for IoT apps.
6. After the install
Before sending over any application data to the Raspberry Pi 2, you'll need to set upPowerShell,to let your computer and Raspberry Pi 2 talk over your home internet. As the Pi doesn't have Wi-Fi built-in, it'll also need to be connected to your router with an Ethernet cable. Microsoft offers good tips on getting PowerShell working on its developer portal.
You're now ready to start the arduous but interesting task of programming for Pi. Because that's what the IoT version of Windows 10 is really about (well, Pi, and other IoT-ready devices).
Is it all starting to sound like hard work? Why not turn your Raspberry Pi 2 into a retro game console instead?
Get all the latest news, reviews, deals and buying guides on gorgeous tech, home and active products from the T3 experts

Andrew is a freelance tech and entertainment journalist. He writes for T3, Wired, Forbes, The Guardian, The Standard, TrustedReviews and Shortlist, among others.
Laptop and computing content is his specialism at T3, but he also regularly covers fitness tech, audio and mobile devices.
He began writing about tech full time in 2008, back when the Nintendo Wii was riding high and smartphones were still new.