3 trickiest yoga poses to master... and how to get started
Wheel? Crow? Headstand? Here are three of the most difficult yoga poses, plus our tips for started with their modified versions

While yoga isn’t about making the bendiest, most difficult shape you can, there’s something to be said for challenging yourself in your practice. Giving tricky yoga poses a go helps to build your confidence in taking on new challenges. However, it’s also important to remember that when we use the term ‘master’ this doesn’t mean it happens overnight.
Yoga is a continuing practice. Don’t be hard on yourself if you can’t do these postures the first time. Keep going, keep trying and take the small steps towards the end goal. Having one of the best yoga mats can help keep things comfortable as you find your way (as well as providing reliable grip, which is especially important in precarious poses), and if you're wearing a pair of the best yoga pants you won't find your clothing getting in the way.
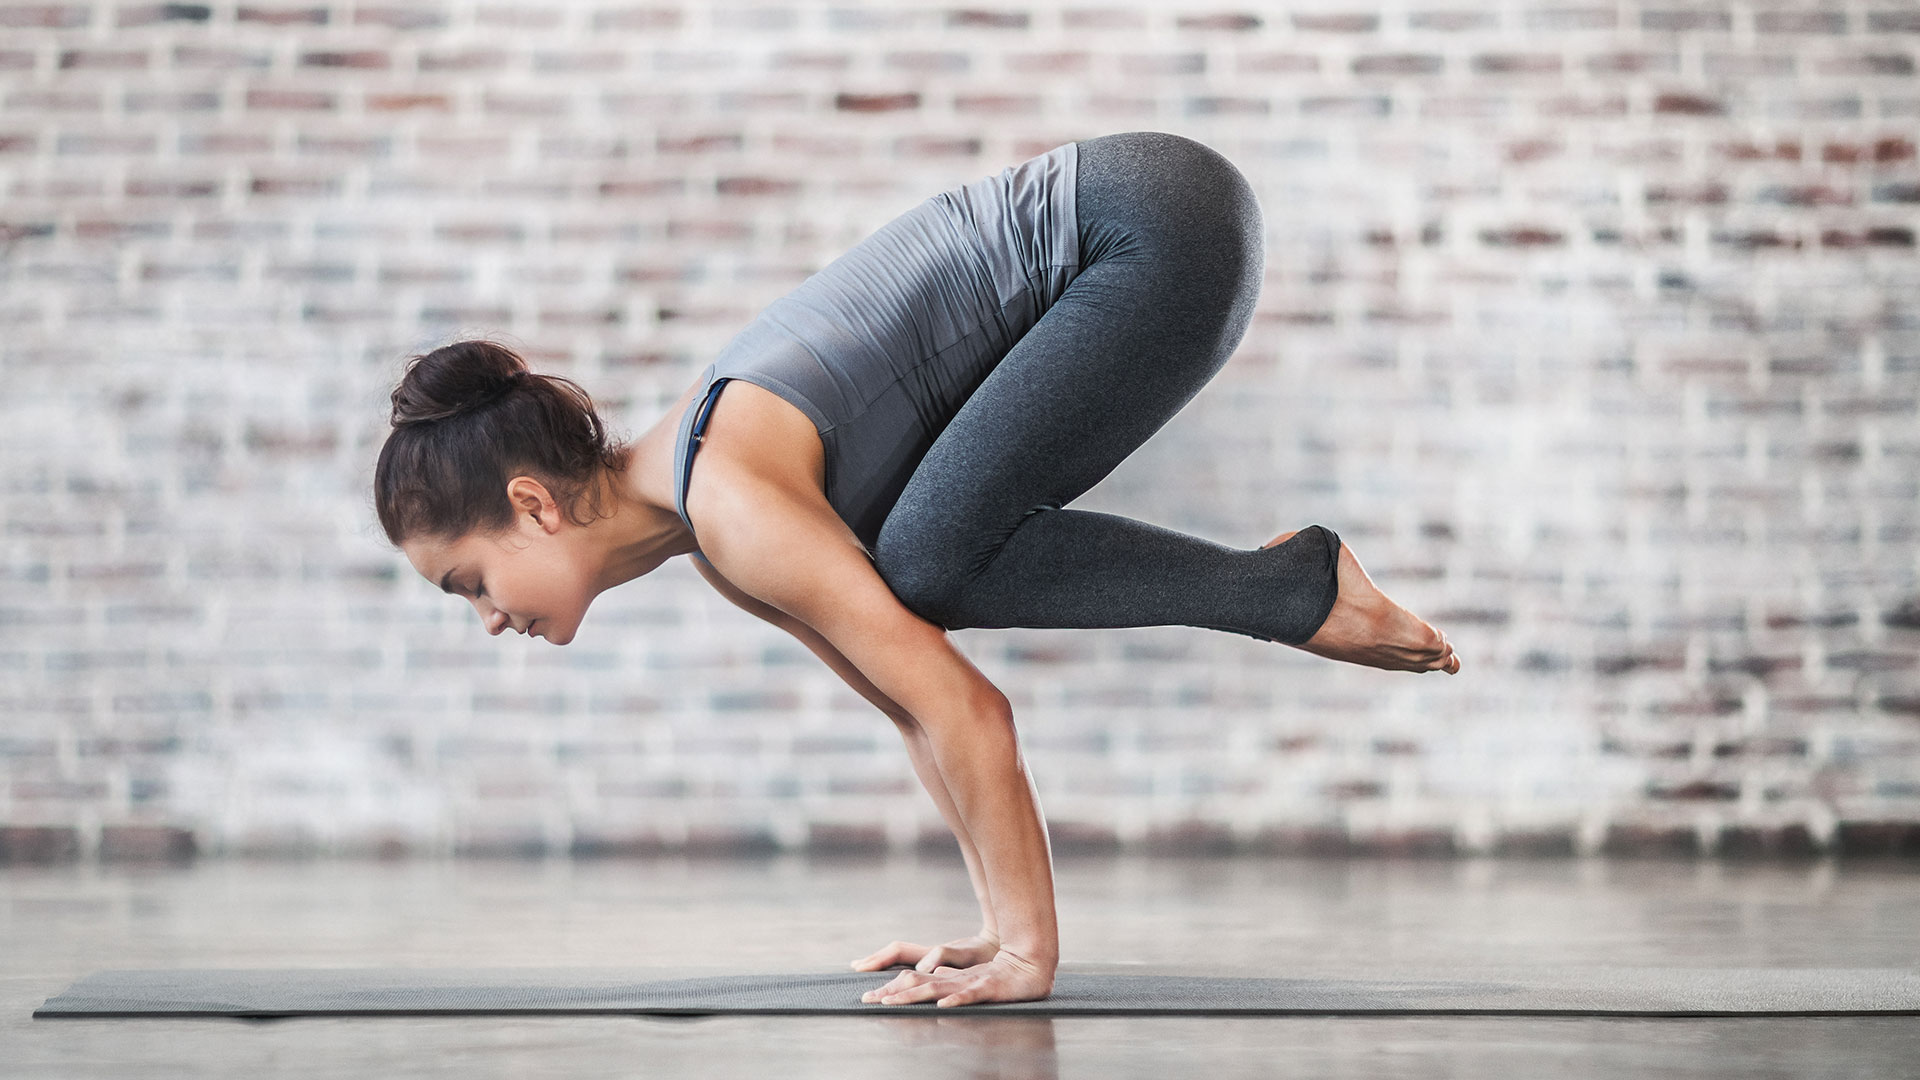
Balance: crow pose / Bakasana
How do you do it?
From a squat position, place your hands shoulder distance apart in front of you, around a forearm’s distance from your feet. Turn your hands in slightly and keep a bend in your elbows. Be on your toes and send your sit bones to the sky. Do this by beginning to straighten your legs, just a little. Work with a book or yoga block under your toes if you find it difficult to bring your hips high.
Start to lean your weight up and forward into your hands, making sure your fingers are spread wide to bear the weight of your body. You can grip with your fingertips to get the muscles around your wrists fired up if you prefer.
It’s important to connect your knees to the outside of your upper arms or into the armpits as you lean forward, keeping the knees and elbows bent. Play around first with the shifting of your weight and by taking one foot off the floor and placing it back down. Lift the other foot up and place it back down. Continue to do this until you feel confident in taking both feet off the floor together.
Don’t forget to keep looking forward ahead of your hands – there’s no need to check where they are, they haven't moved! If you feel a little nervous about falling, place a soft cushion in front of your hands so if you do fall (and that's OK too!), your head will land on something soft.
Get all the latest news, reviews, deals and buying guides on gorgeous tech, home and active products from the T3 experts

What is it good for?
Crow pose is great for building your confidence as it’s a tricky balance to master. When you’ve managed it once, you’ll feel amazing as it proves to us that what seemed impossible is possible. It’s an arm balance posture meaning it’s wonderful for building arm, shoulder and wrist strength. Crow pose certainly tests your ability to bring your knees to your ears, helping to increase hip flexibility in time.
Extra tips: If you can’t get your knees to upper arms comfortably then practise more hip openers. It’s also wise to practise wrist and forearm strengthening exercises to ensure you can bear your body’s weight on your hands.
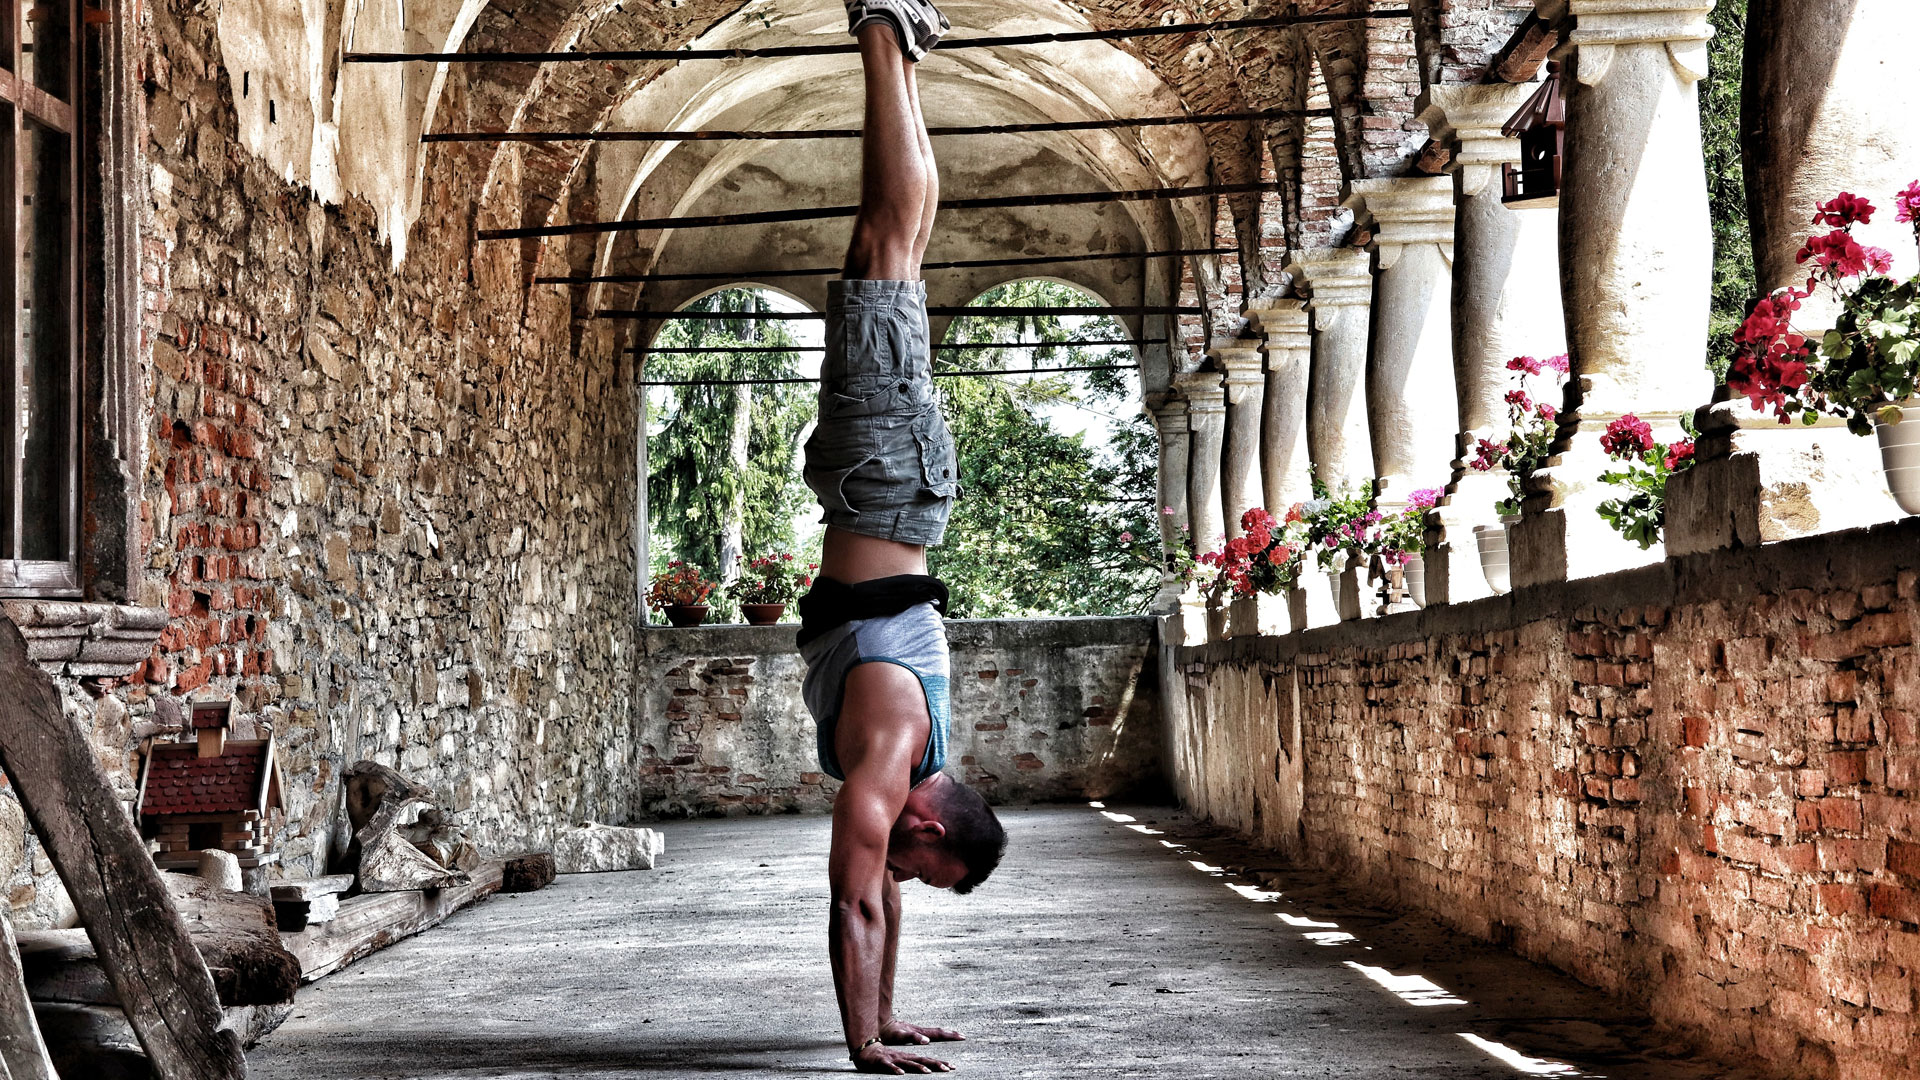
Upside Down: handstand / Adho Mukha Vrksasana
How do you do it?
Make sure you have a clear wall for this one and no furniture close by. Place your hands shoulder width apart on the floor a little away from the wall. Bring yourself into a downward dog shape.
Step one foot underneath your belly button and come on to your tiptoes. Lift the other leg up and make it strong. Having a loose back leg will make your body feel heavy, making it hard to find the oomph needed to get the lift up. You can do this by pressing out through your heel and bringing the leg to hip height.
Begin to bounce the back leg up and down, keeping a bend in the other knee. Take a few deep breaths and then with momentum and power from your legs, kick up so your heels find the wall.

What's a good variation for beginners?
If this full handstand version feels a little too much to start with and isn’t working for you, don’t worry! Handstands can take years to master so start with an L-shape against the wall instead. To do this, you can sit with your back to a wall and stretch your legs out. Mark where your feet are, stand up and then place your hands here, shoulder width apart. Find the wall with one foot and then the other, slowly working towards bringing your feet in line with your hips, ending in a L-shape.
What are handstands good for?
Handstands are energy boosting, helping to build your confidence and shift your mood. As you practise this, you will gain shoulder, arm and wrist strength. They are also immensely fun and joyful to play about with. They shouldn’t be taken too seriously (although do make sure you are always safe when practising them).
Extra tips: If when you attempt a handstand, you find that your back arches once your heels find the wall, spend more time on core control exercises and shoulder openers. It’s also a great idea to master mountain pose (aka Tadasana) to learn the alignment of your spine and tailbone when standing straight so you can then feel this when you’re upside down. Without this awareness, you will not have the control required to master a handstand.
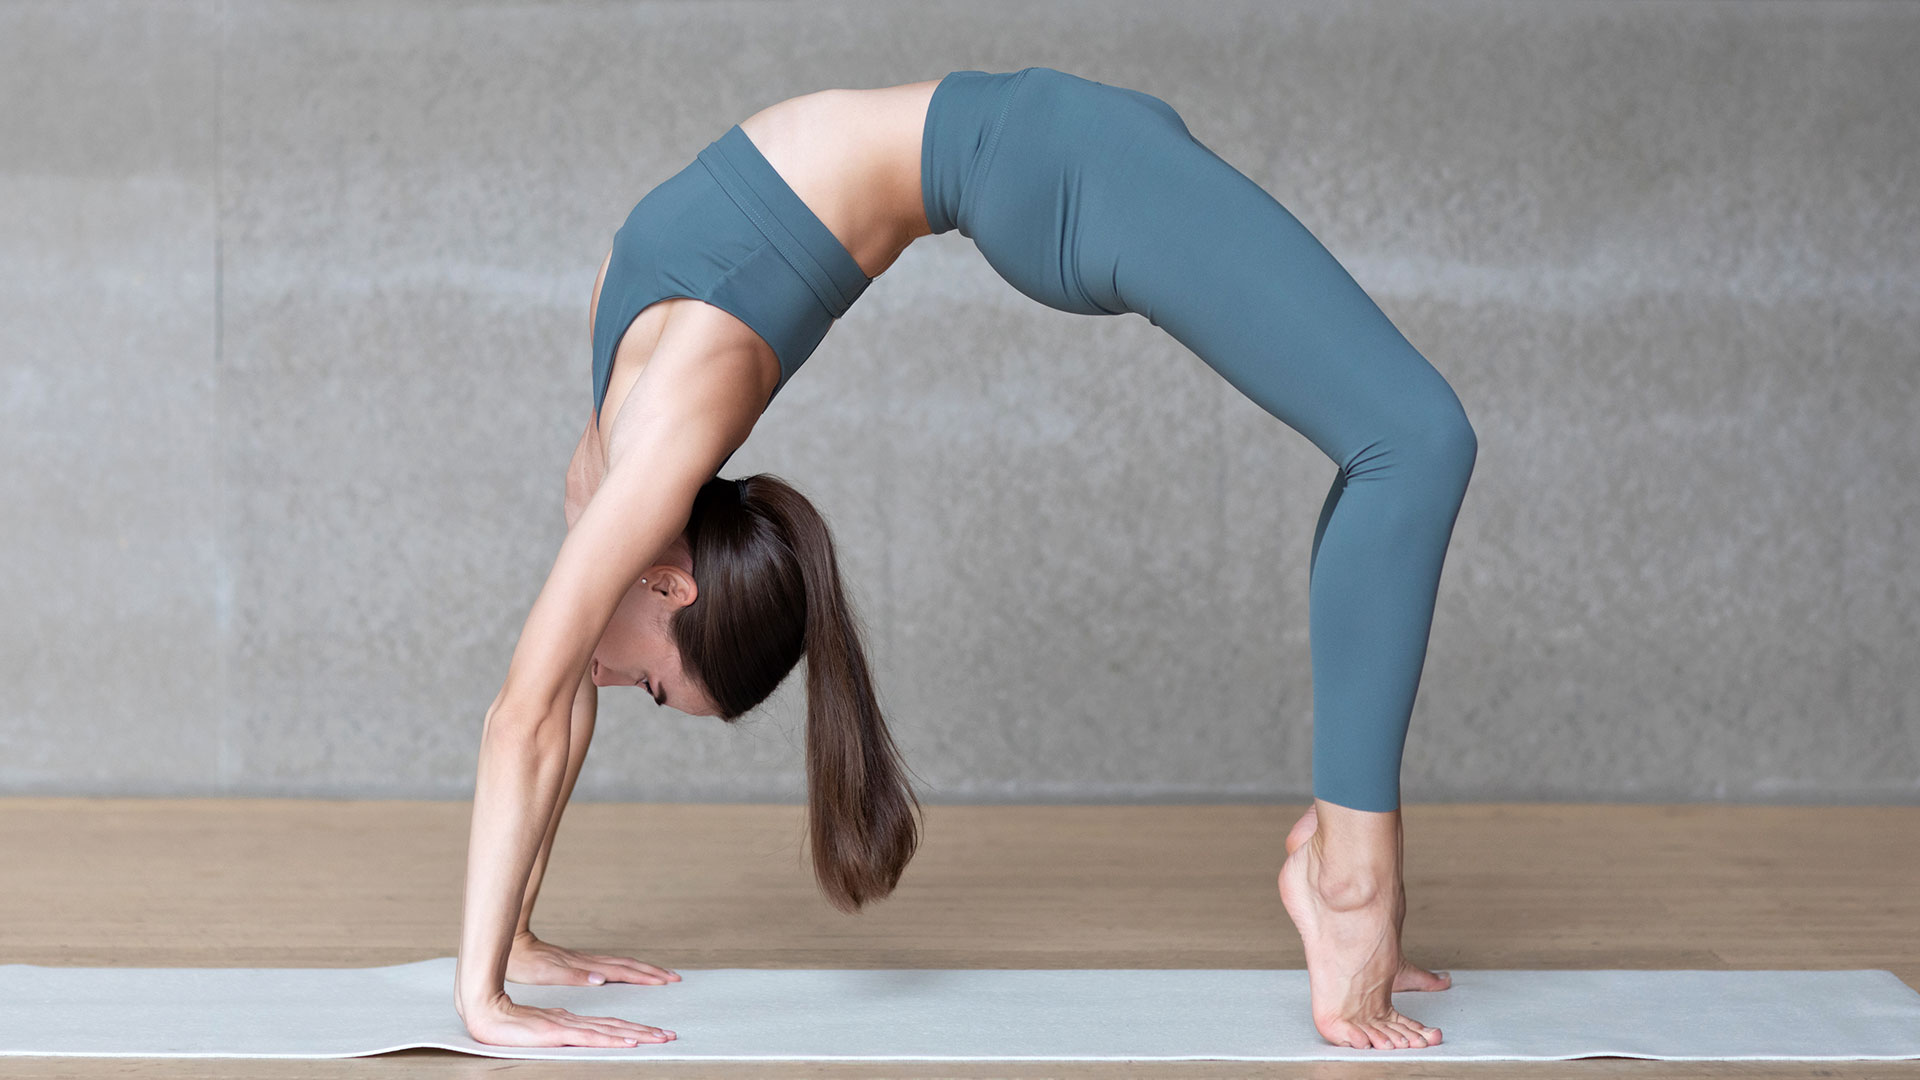
Backbend: wheel pose / Chakrasana
How do you do it?
It’s key to remember that backbends can be very difficult so attempting something like Wheel pose takes a lot of patience and perseverance. Start by lying on your back, placing your feet around hip width apart and ensuring your heels are below your knees. Allow your toes to point in the direction which feels most natural for your knees. Bring your arms overhead, bend your elbows and place your hands down, shoulder width apart, with your fingers pointing to your shoulders. At this point, if your palms are not completely flat on the floor, find a clear wall and grab some yoga blocks. Place the blocks against the wall and find your starting position again. This time, your head will be between the blocks and your palms will find the blocks, instead of the floor. The extra height from the blocks will help you to lift up.
Take a deep breath, press into your hands and feet and lift on to the top of your head, with your hands and feet in the same position. As you lift up, imagine squeezing a block between your elbows. This can help to stop them from splaying out too wide, making it really hard to come up. Release from here by lifting up a little more, tucking your chin to your chest and then lowering down to the floor. Do this a few times before attempting to go into the full Wheel pose - it’s an important step.

Once you’re ready to go into the full Wheel pose, press into your hands and feet, lifting onto the top of your head. Take a deep breath and again press into your hands and feet, this time going all the up. Extend your arms, press your hips to the ceiling and relax your head and neck, looking between your arms. There is the added option to lift a leg if the standard Wheel isn’t hard enough! To safely release, tuck your chin to your chest, bend your elbows and lower down gradually, starting with your shoulders reaching the ground first and buttocks last.
What is it good for?
Wheel pose is another energising, mood altering posture that’s great for when you’re feeling tired. It’s also incredibly beneficial for stretching out the front of your body, including the abdomen and chest, helping with respiration. It strengthens your shoulders and increases their flexibility.
Extra tips: If you’re struggling to press up from the top of your head, spend more time working on other shoulder and thigh strengthening exercises. If you experience discomfort in your lower back, try bridge pose instead or practise lengthening your tailbone to your bum in backbends.
Kat has 10 years of yoga teaching experience with further training in supporting injured students. She is qualified to teach Yin Yoga, Hormone Yoga Therapy and more traditional forms of Hatha yoga. She also has a certificate as a Yoga Therapy Practitioner.