How to sharpen lawn mower blades: do you need to and what’s the safest way to do it?
6 tips on how best to sharpen a lawn mower blade


Whether it’s a chef’s knife, a traditional razor or the best lawn mower, you can be sure of one thing – their blades will eventually dull with use and need sharpening or, in the case of shavers, replacing altogether. It’s even worse with lawn mowers because it’s not always just grass that gets cut – sometimes it’s unseen stones, twigs and small branches, too. But does sharpening a mower blade actually make much difference? You might reasonably think it doesn’t – until you take a closer look at your lawn.
Where a sharp mower blade slices cleanly through grass, leaving smooth, sharp edges that recover quickly and resist disease, a dull blade rips and tears at the grass, causing ragged tips that brown quickly, leaving your lawn looking a little haggard if examined close up. Over time, this can weaken the grass, making it more vulnerable to pests and fungal problems. Hence, sharpening your mower blade is more than just maintenance.
Most experts recommend sharpening at least once or twice during the growing season, depending on how often you mow and whether your garden is littered with fallen twigs, or worse, small stones. However, doing this sharpening task yourself inevitably involves the use of some specialised tools and a little expertise, in which case you might reasonably elect to let a professional do it for you or throw caution to the wind and simply buy a new blade.
Still fancy jumping in at the deep end and doing it yourself? Here’s a step-by-step look at the safest way to sharpen a lawn mower blade.
1. Disconnect the power
Remember folks, when it comes to working on a lawn mower of any type – including a robot mower – safety comes first. Even when a mower is off, blades could feasibly move unexpectedly if there’s any stored power left in the system.
For petrol mowers, disconnect the spark plug lead so there’s no chance of the engine firing, for cordless mowers remove the battery, and for electric corded versions, unplug them completely. This simple step prevents nasty surprises and makes the rest of the process a lot safer.
2. Remove the blade safely
To sharpen a blade effectively, you need to remove it from the mower by tilting the machine carefully onto its side. If working on a petrol model, ensure that the carburetor is facing upwards to prevent fuel or oil from leaking all over the shop. Now use a wrench or socket set to loosen the bolt securing the blade while holding the blade wearing a pair of sturdy gloves.
Get all the latest news, reviews, deals and buying guides on gorgeous tech, home and active products from the T3 experts
Before removing the blade, take a photo of it in situ so you can be certain of its orientation when refitting it. If you put it back on upside down, it will simply shred the lawn instead of cutting it.

3. Secure the blade firmly before sharpening
This is where your first specialised tool comes into play. Once removed, place the blade in a sturdy vice or clamp it to a workbench. This will keep it steady and allow you to work safely. A blade that slips will likely lead to uneven sharpening or, worse, injury. Securing the blade also helps you maintain the correct angle consistently across the cutting edge, which is vital for efficient performance.
4. Select the right sharpening tool
You don’t really need any specialist equipment to actually sharpen the blade, but the choice of tool does affect speed and precision. A flat metal file is usually sufficient for light touch-ups like chips and ragged edges (see above image) but for faster and more accurate results, an angle grinder or bench grinder work best, though they do require more confidence and skill.
Whichever method you choose, follow the existing bevel of the blade which is typically around 45 degrees. Take your time and aim for a clean, sharp edge without trying to create a razor finish – too fine an edge will likely wear down quickly and chip the first time the blade strikes something hard.
5. Check and balance the blade after sharpening
A sharp blade is only effective if it’s well balanced. In a nutshell, uneven sharpening removes more material from one side, creating a slight imbalance and this, believe it or not, can lead to excessive vibrations during mowing which could feasibly strain the mower’s motor and loosen components.
To check the blade’s balance, rest it on a blade balancer or something as simple as a nail driven into a wall. If one side tips downward, remove a little more material until the blade sits evenly. Balanced blades mean smoother mowing and longer equipment life.
6. Protect yourself

Sharpening mower blades isn’t a casual DIY task so, if using an angle grinder, wear goggles to protect your eyes and always wear a pair of decent gardening gloves. Also be sure to work in a well-lit space with good ventilation, especially if using power grinders.
Should you do it yourself or call in the pros?
While many homeowners sharpen their mower blades themselves, it’s not for everyone, me included. If you’re uncomfortable handling power tools, don’t have the right equipment or find the blade too badly nicked or damaged, professional sharpening is inarguably the best route.
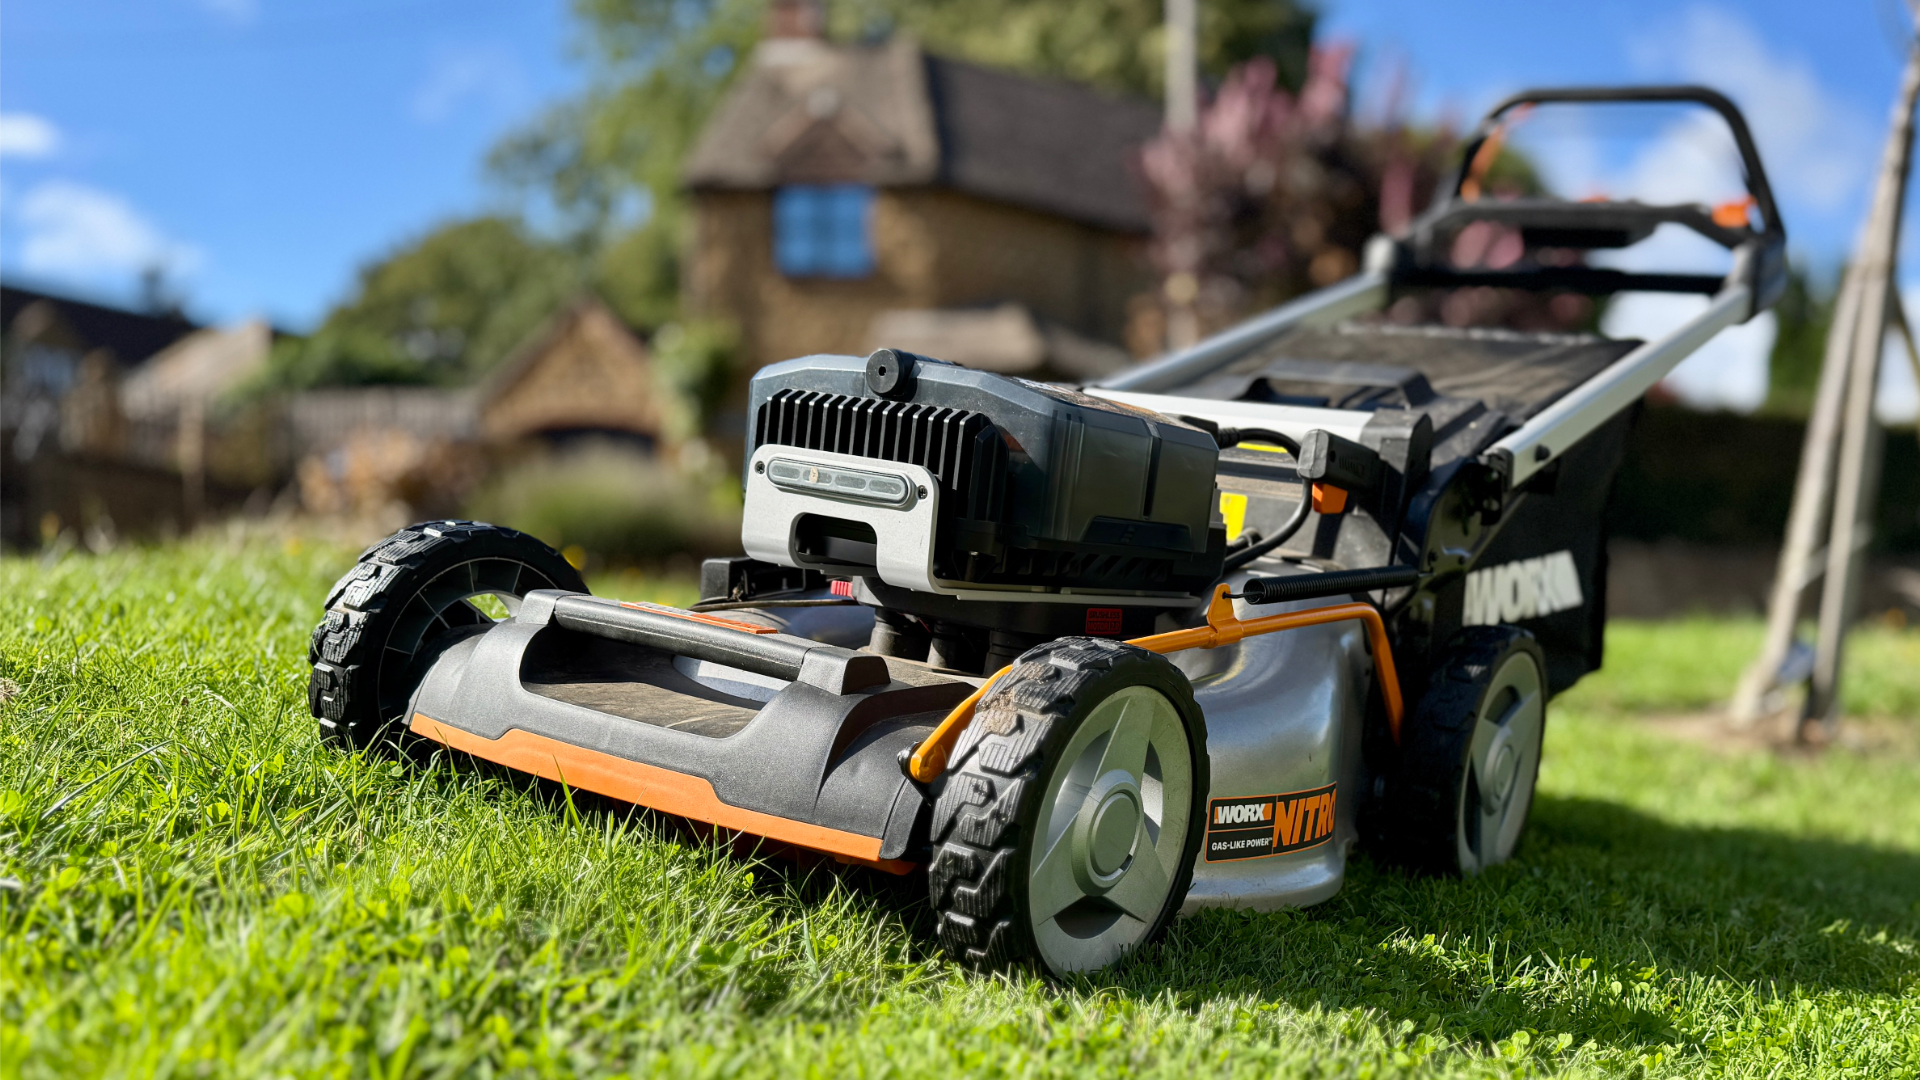
Alternatively, simply buy a new one. For reference, a new 51cm blade for a premium Worx Nitro costs under £24 on Amazon while a smaller 34cm blade for the T3 Award-winning Cobra MX3440V retails at around £17 from Mower Magic.
Derek (aka Delbert, Delvis, Delphinium, Delboy etc) specialises in home and outdoor wares, from coffee machines, white appliances and vacs to drones, garden gear and BBQs. He has been writing for more years than anyone can remember, starting at the legendary Time Out magazine – the original, London version – on a typewriter! He now writes for T3 between playing drums with his bandmates in Red Box (redboxmusic).
You must confirm your public display name before commenting
Please logout and then login again, you will then be prompted to enter your display name.
