How to master barbell squats for better arm and back muscle gains
Neil Dimmock, Director of Fitness & Education at Ten Health & Fitness, walks you through the ultimate leg muscle builder
Get all the latest news, reviews, deals and buying guides on gorgeous tech, home and active products from the T3 experts
You are now subscribed
Your newsletter sign-up was successful
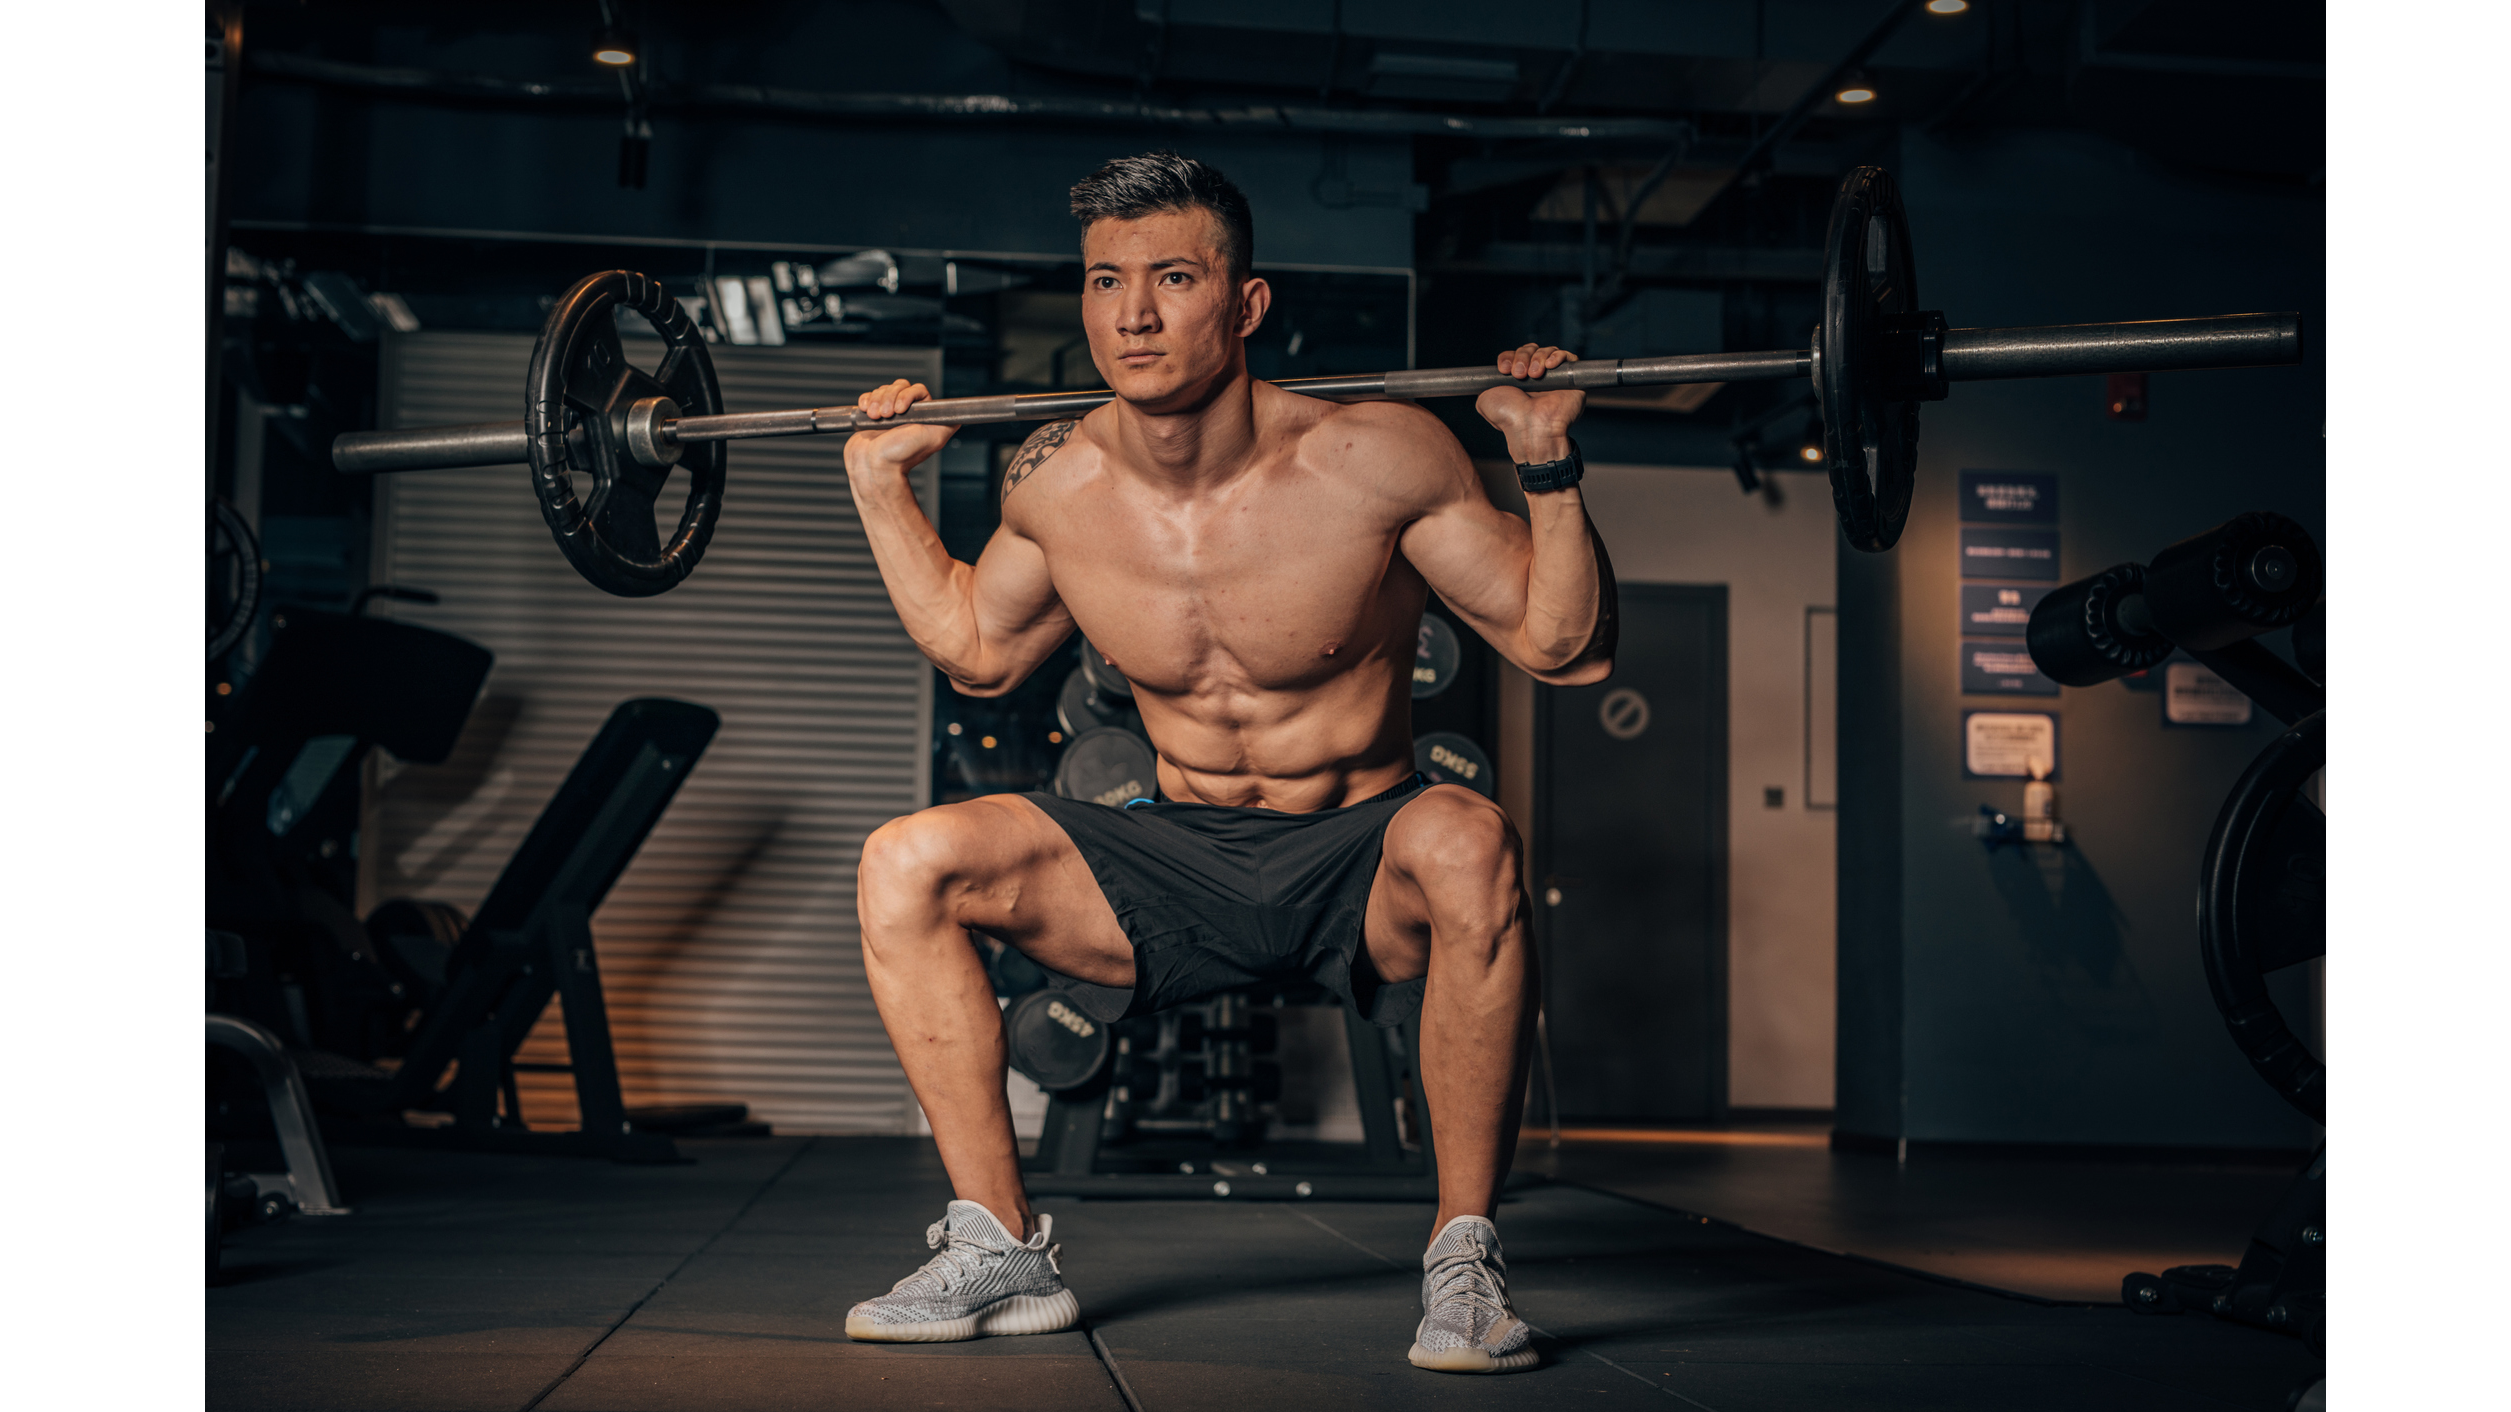
Speak to any personal trainer worth his or her salt and they will attest to the benefits of the squat, which not only helps build a rock-solid lower body and core, it can also shred fat due to the fact that the large compound movement sends the heart rate soaring. It's a key part of the classic weights-based full-body workout.
However, top fitness professional Neil Dimmock, Director of Fitness & Education at Ten Health & Fitness, knows it is very easy to get things wrong. After all, poor form can often mean all the blood, sweat and tears is poured down the drain.
"When people in the fitness industry tell you how to perform an exercise properly, they have a tendency to assume that everyone can, and does, move in the way that our bodies were designed to," he explains.
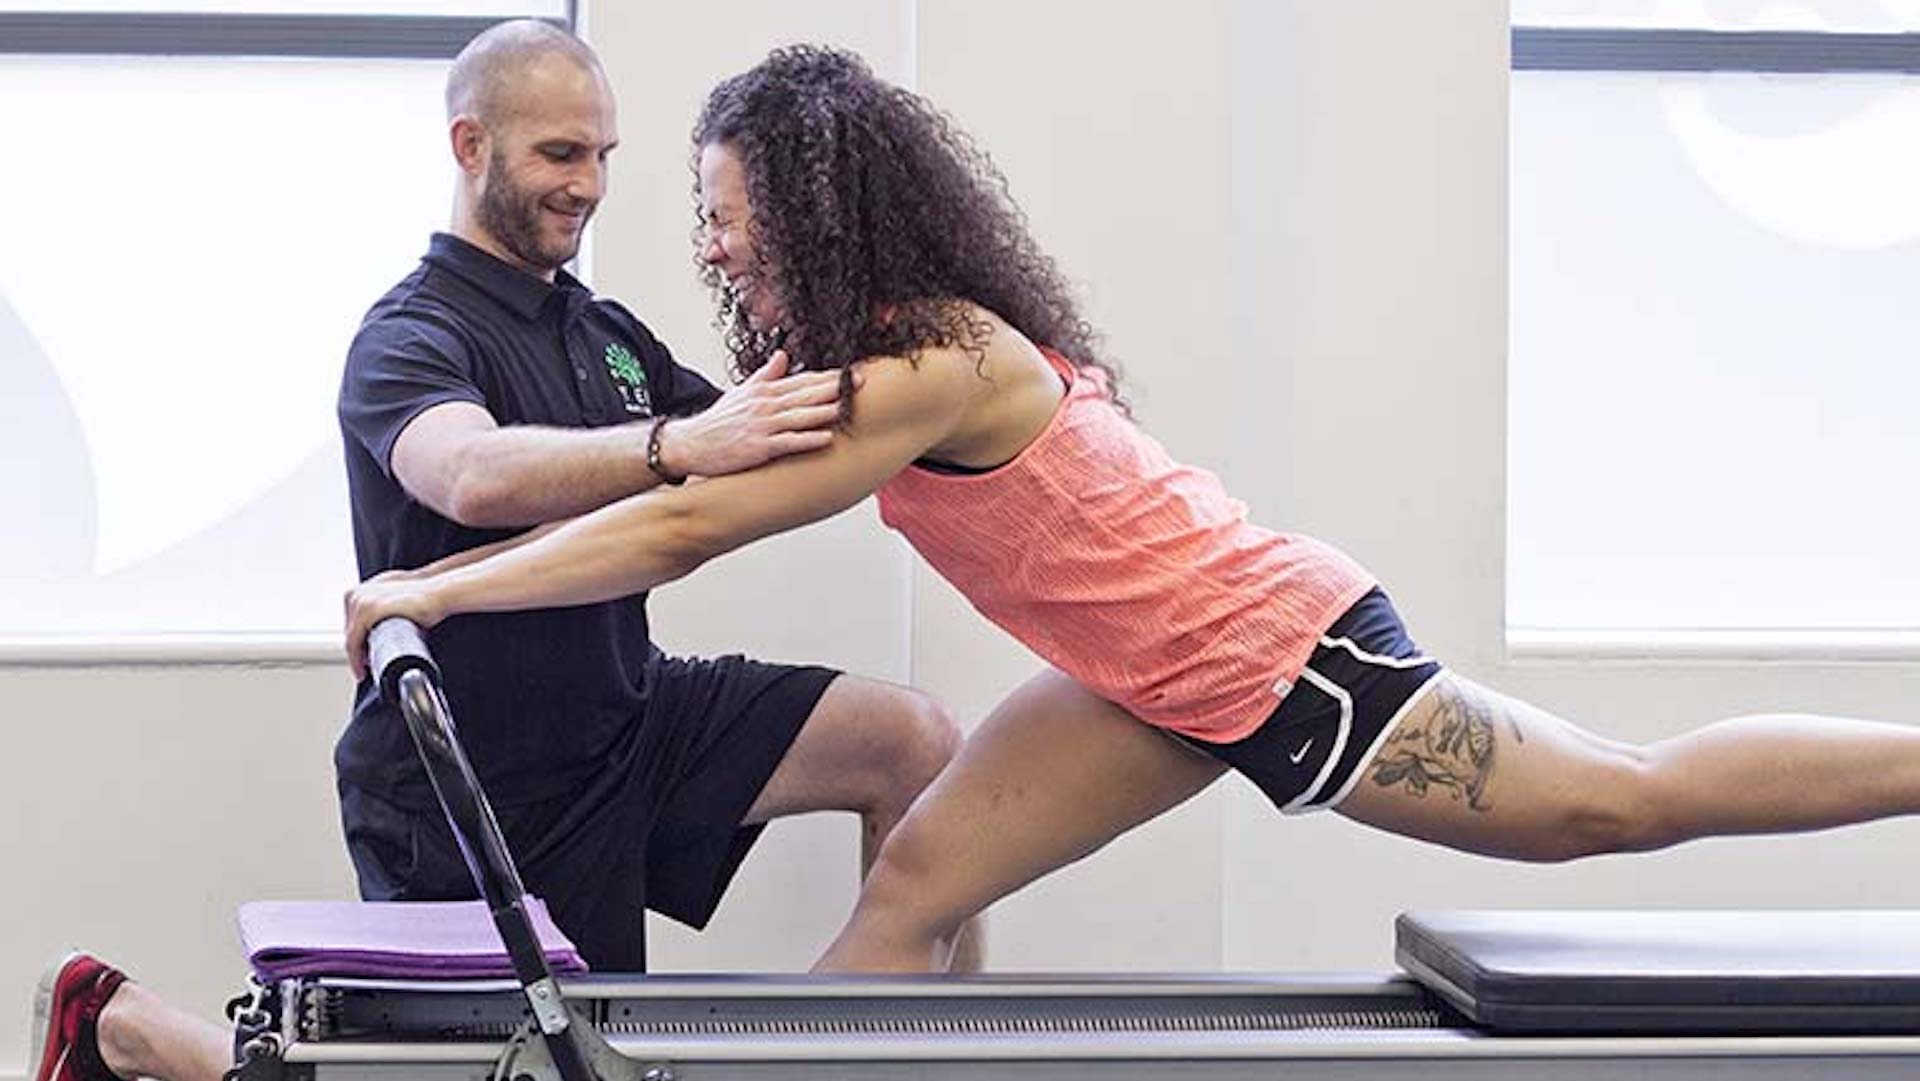
"However, for many of us, years and even decades of sedentary living and working have taken their toll. Our bodies have changed in response to the hours we spend every day hunched over laptops and screens or sprawled on the sofa. Some muscles become lengthened and weakened, and (as muscles work in opposing pairs) some have become shorter and tighter. These changes – along with a range of other lifestyle factors, including our exercise history and the various injuries we’ve suffered – all have an impact on our range and fluidity of movement," he says.
Because of this, Neil claims that most won't be able to follow his squat form guide perfectly. But that's nothing to worry about because there are always adaptations that can be made to improve things.
Before you start learning to squat
Don’t be surprised or disheartened if you find it difficult to follow the guide below to the letter. If you do, we’ve added a couple of adaptations that may help. We’ve also included a couple of stretches that will help improve range of movement in two of the areas where you’re most likely to be tight.
If you feel moderate to intense discomfort when performing this action, stop, and get advice from a physiotherapist. Working through pain is not wise.
Get all the latest news, reviews, deals and buying guides on gorgeous tech, home and active products from the T3 experts
Don't forget to warm-up properly. This doesn't just mean a couple of minutes on the running machine, but instead a more dynamic warm-up that activates all the key muscles used in a good squat.
Try lunges, butt-kickers, jumping jacks and high knee running on the spot, and then look to warm up and stretch the hip flexors slightly.
How to perform a barbell squat properly
Try and stand somewhere you can see your reflection, from heel to foot. This will help you maintain good form and pick up on any issues or variations within your repetitions. Ideally, stand side on so you can see and adjust the angles of the joints more effectively.
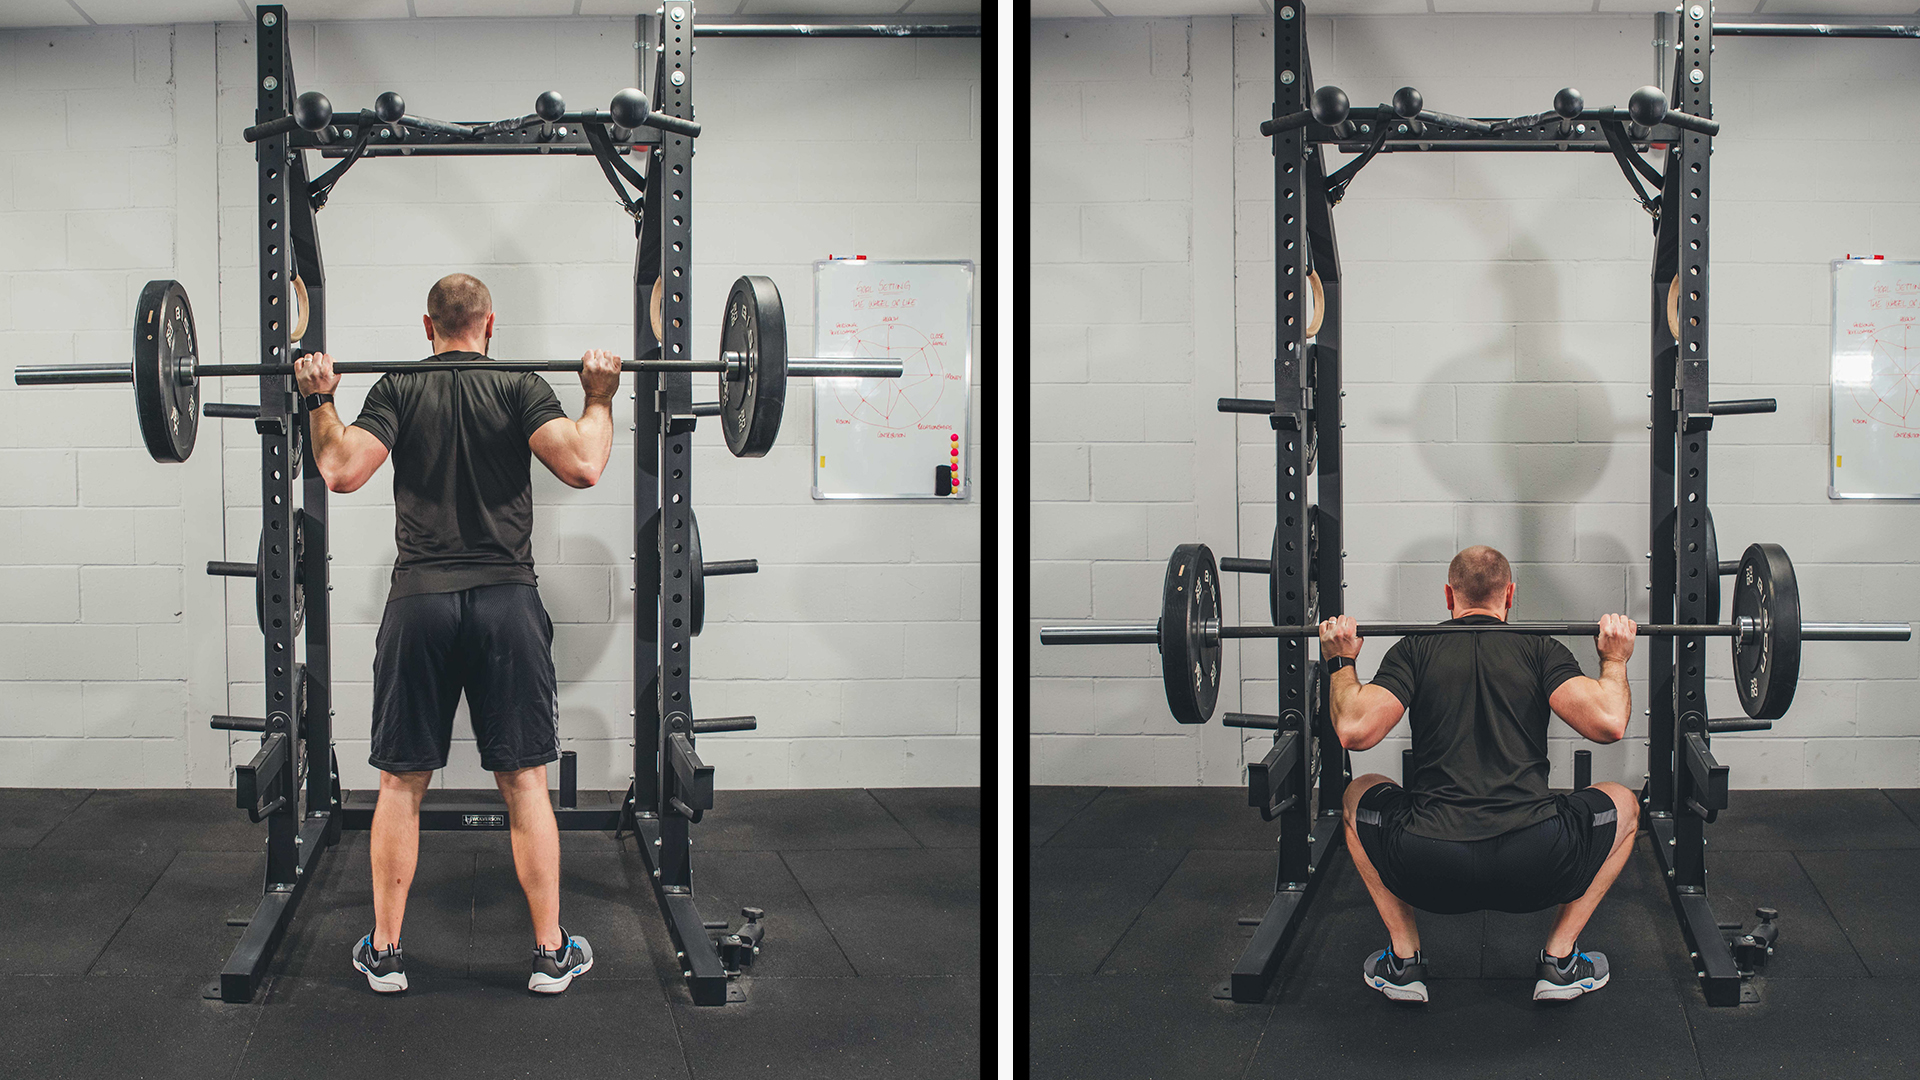
Stand upright, looking straight ahead, with your feet a little wider than hip-width apart and with your toes slightly turned outwards. The key word here is ‘slightly’. The more your toes turn outwards the more likely you’ll compensate through another joint.
Avoid standing ‘stiffly’. Try to produce what we call an athletic position. This softens joints and anticipates movement. Think of how you’d stand if you were about to catch a ball. Gently scrunch your toes into the floor and create traction with your foot on the floor. This enables you to create a firm base with which to create movement.
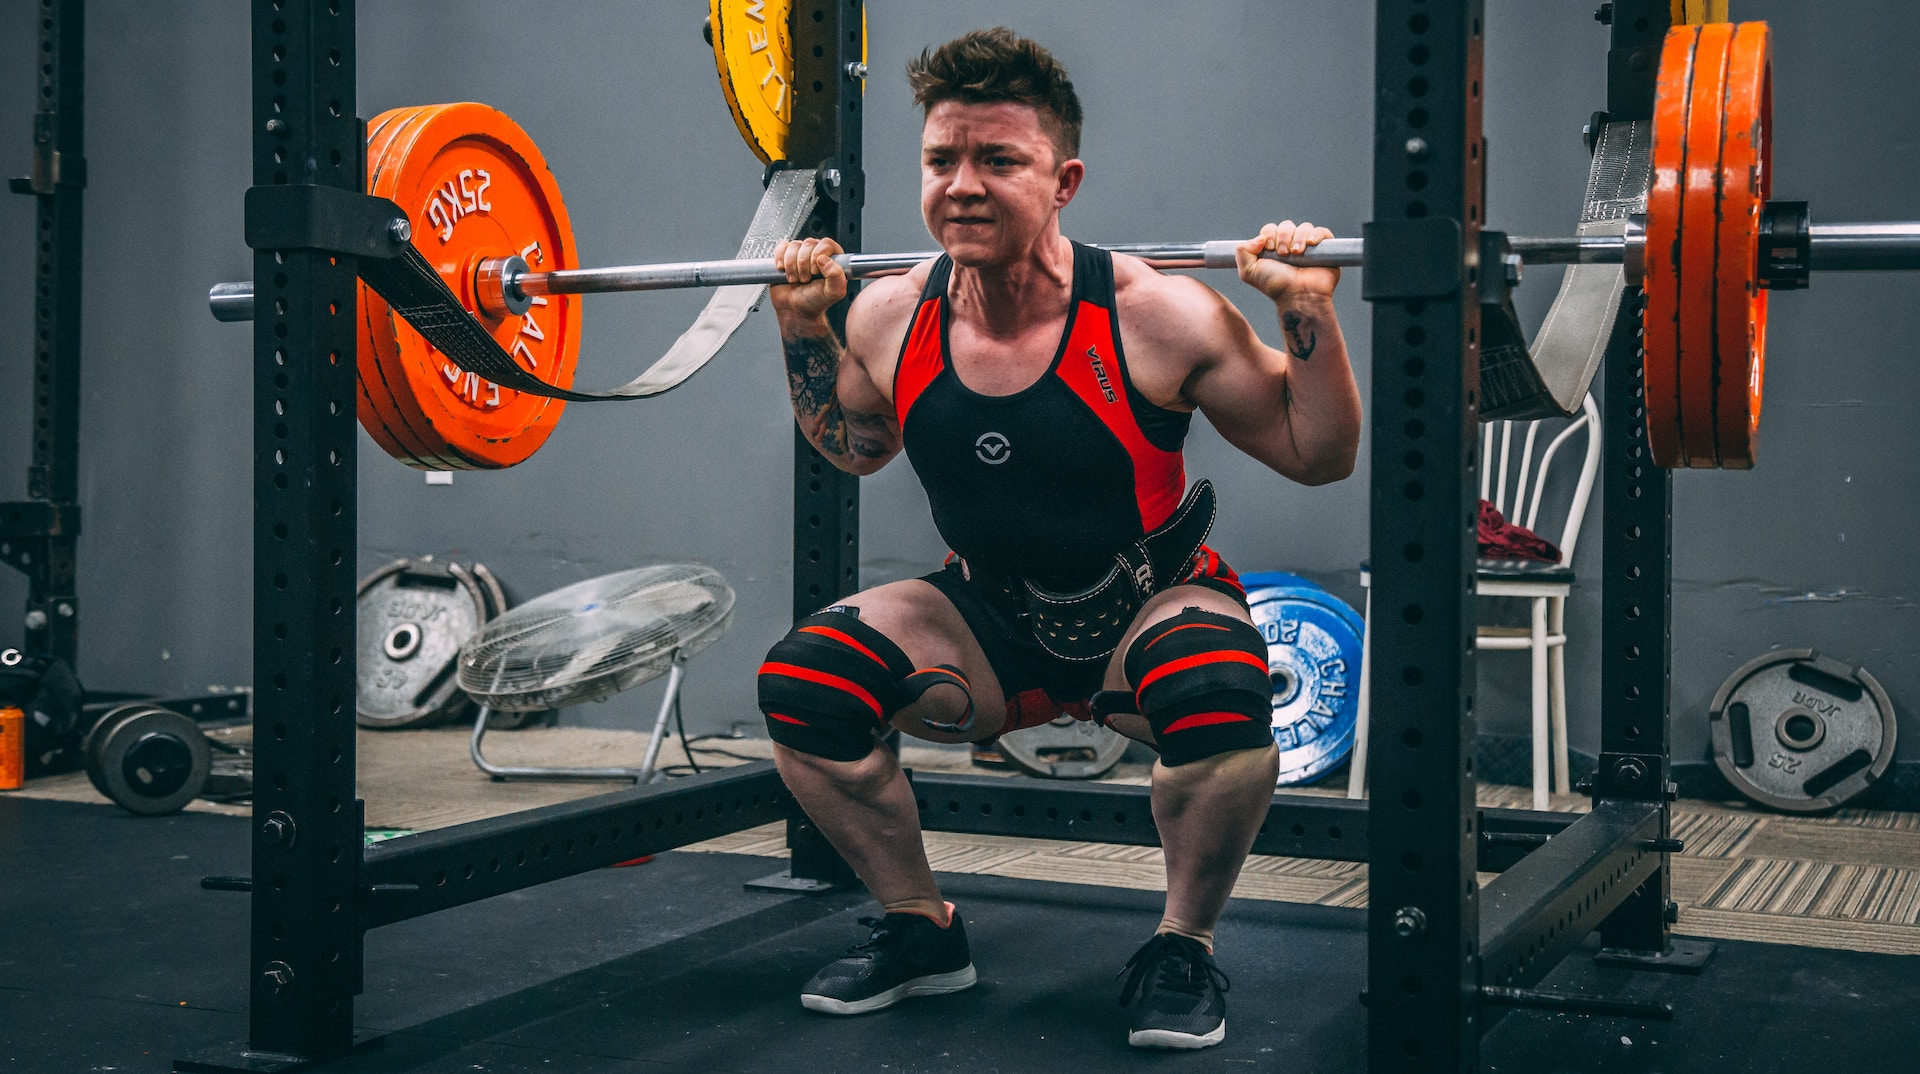
Inhale, and simultaneously (if you can) bend your knees and soften your hips as though you were about to sit down without using your hands. Do this slowly and with purpose and as if you are teaching your body to do this motion for the first time. Your body learns new actions better when they are done slowly.
As you start to squat, make sure that your chest stays lifted, and the knees stay above the ankles – think about pushing them out slightly as they bend.
Your arms may naturally lift from your sides, as this becomes the body’s reflex to counterbalance itself. If this happens and the action feels more fluid as a result, go with it.
'Drop’ to a position that feels comfortable. Most of us will be limited by the range of movement mentioned in the introduction. There isn’t any range that I would suggest to be minimal, this is simply dependent on the purpose of the squat and the client. However, I’d suggest limiting your range to hips a little above knee height. Note, if you feel a little unstable, it can help to place a chair behind you, or gently hold onto something solid - a column or a tabletop, for instance.
If you’re side on to a mirror (see point 1) then try to have the angle between your hip and shoulder joint (via your spine) match that of your knee and ankle (via your shin bone). This prevents one set of joints from compensating for any lack of mobility in another.
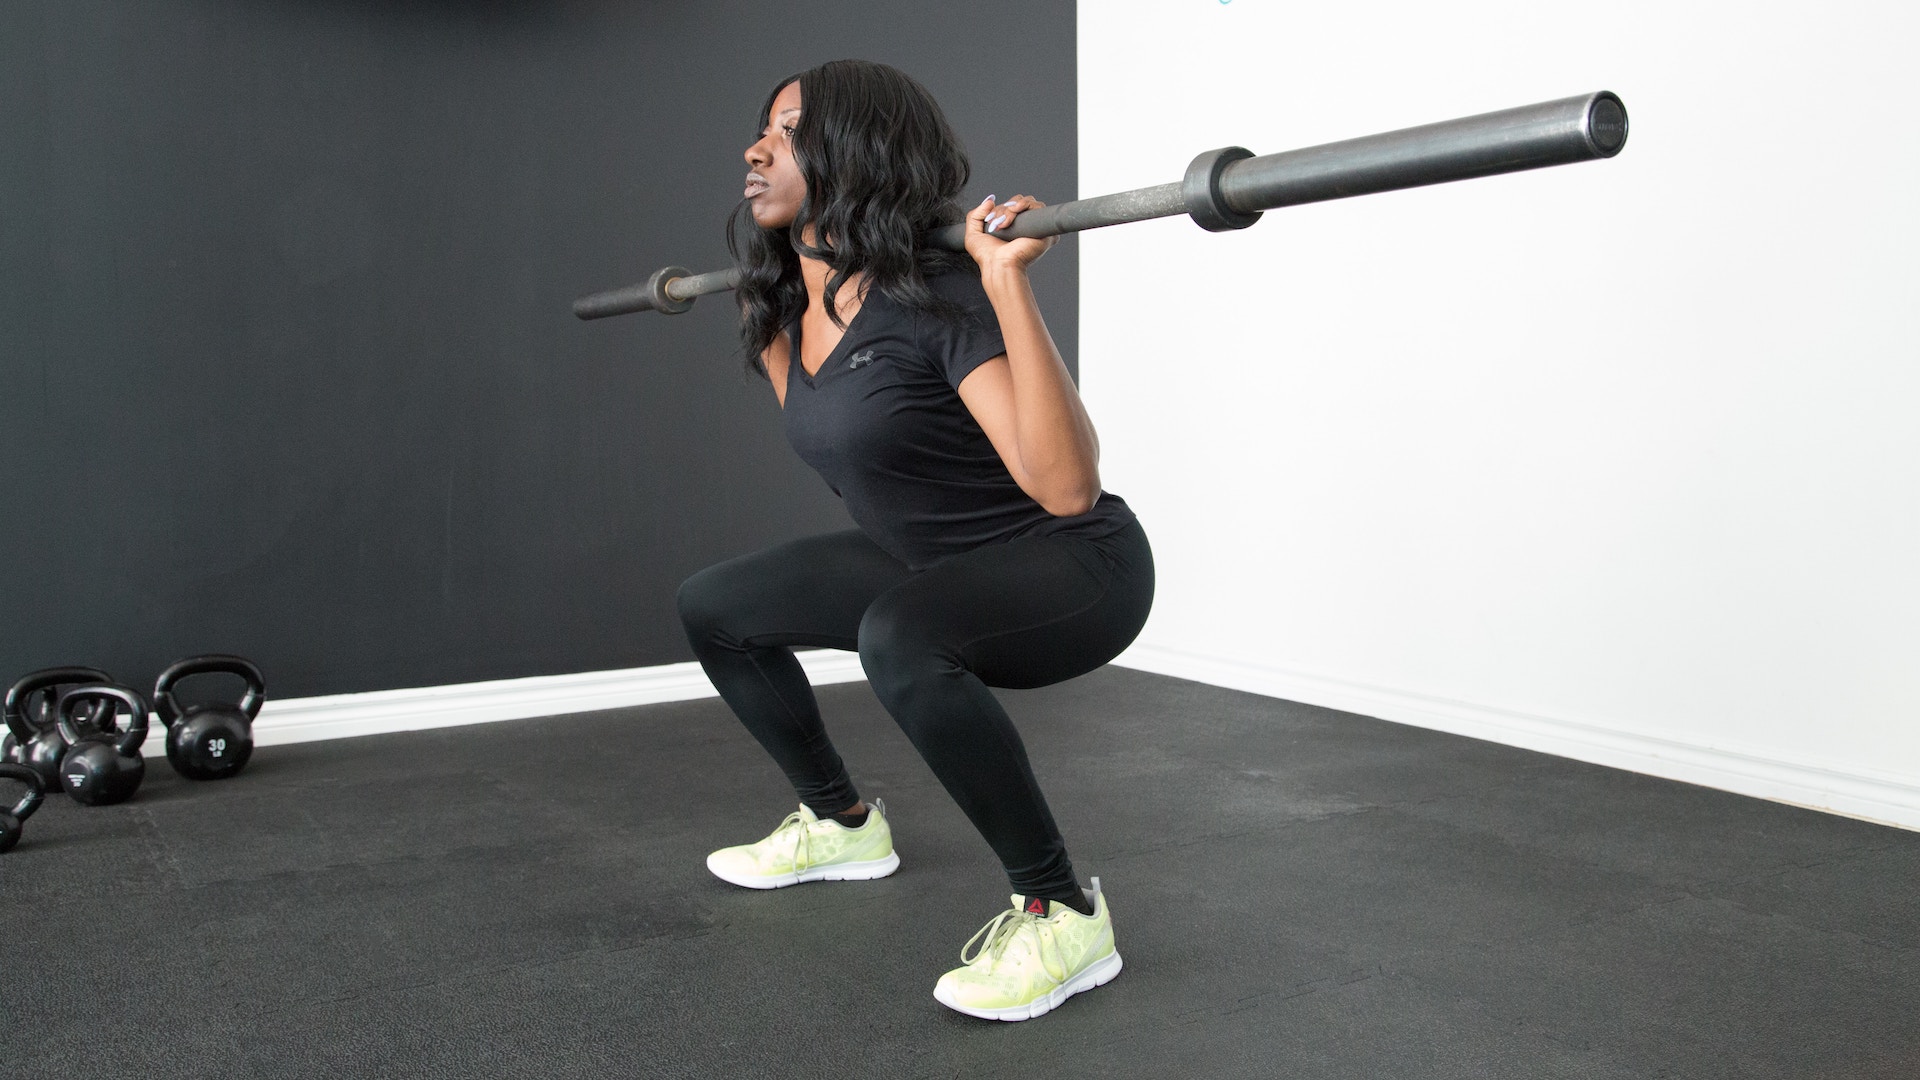
‘Hover’ in the squat position for a short while, enabling you to understand what your range of descent is. Generally speaking, most are limited by the range that is within the ankle joint.
Stand back up from this position, exhaling as you go. The standing tempo can be a little faster than the lowering/ descent. You’ll be back to where you started. Try to do this 15-20 times and vary the angle at which you see yourself. The more subtleties you know about your movement, the better you become at correcting them. For reference, this movement should be with an exhale breath.
Squat adaptations
If you don’t quite have the hip or ankle mobility (as most people don’t ) to get as far down into the squat as you’d like, putting a weight plate under the heels can help. This enables you to go lower with the same amount of ankle dorsiflexion.
Sedentary people will often have tight hip flexors and underactive glutes, both of which can inhibit the ability to squat properly. In this case, try a sumo squat stance – the heels wider than hip width and the feet turned out by 30- 45 degrees, keeping the knees pushed out to the side. This helps activate the glutes more and reduces the hips from becoming tighter during the movement.
A couple of helpful stretches
Calf mobility
Stand with both feet firmly on a step, while holding a rail or squat rack for balance. Move one foot back, so that the edge of the step is running across the arch/ball of the foot.
Before the movement, ensure the foot is with toes pointing forward and heel over the edge of the step. Gently lower the heel towards the lower step/floor, so that you feel a lengthening of the calf muscle. From this position, move the same foot to a ‘tippy toe’ position.
Repeat this motion 12-15 times on each foot. This is known as a calf raise, but with a key focus on the stretch rather than reps. Ensure to hold the stretched position with your heel as low as possible for a few seconds each time.
Hip Flexor Mobility
Kneel on the floor, with hips lifted. This is a ‘high kneeling position’. Move one foot forward, so that you are now in a ‘staggered stance’, the front foot is flat and the rear knee is down.
Lean forward slightly so that your trailing hip is marginally in front of its corresponding knee. Gently move towards the leading foot, simultaneously tightening your trailing leg's butt cheek. This will create a lengthening of your upper thigh/lower hip.
Return back to the starting position, creating 12-15 repetitions on both sides. Aim to push your leading knee over the toe as far as possible each time, creating that back leg hip stretch.
Leon has been writing about automotive and consumer tech for longer than he cares to divulge. When he’s not testing the latest fitness wearable and action camera, he’s out in a shed fawning over his motorcycles or trying not to kill himself on a mountain bike/surfboard/other extreme thing. He's also a man who knows his tools, and he's provided much of T3's drills coverage over the years, all without injuring himself.