Focusrite Vocaster Studio review – Game-changer beginner audio console for podcasters and content creators
The Vocaster Studio changed the way I create content thanks to its intuitive user interface and uncomplicated features
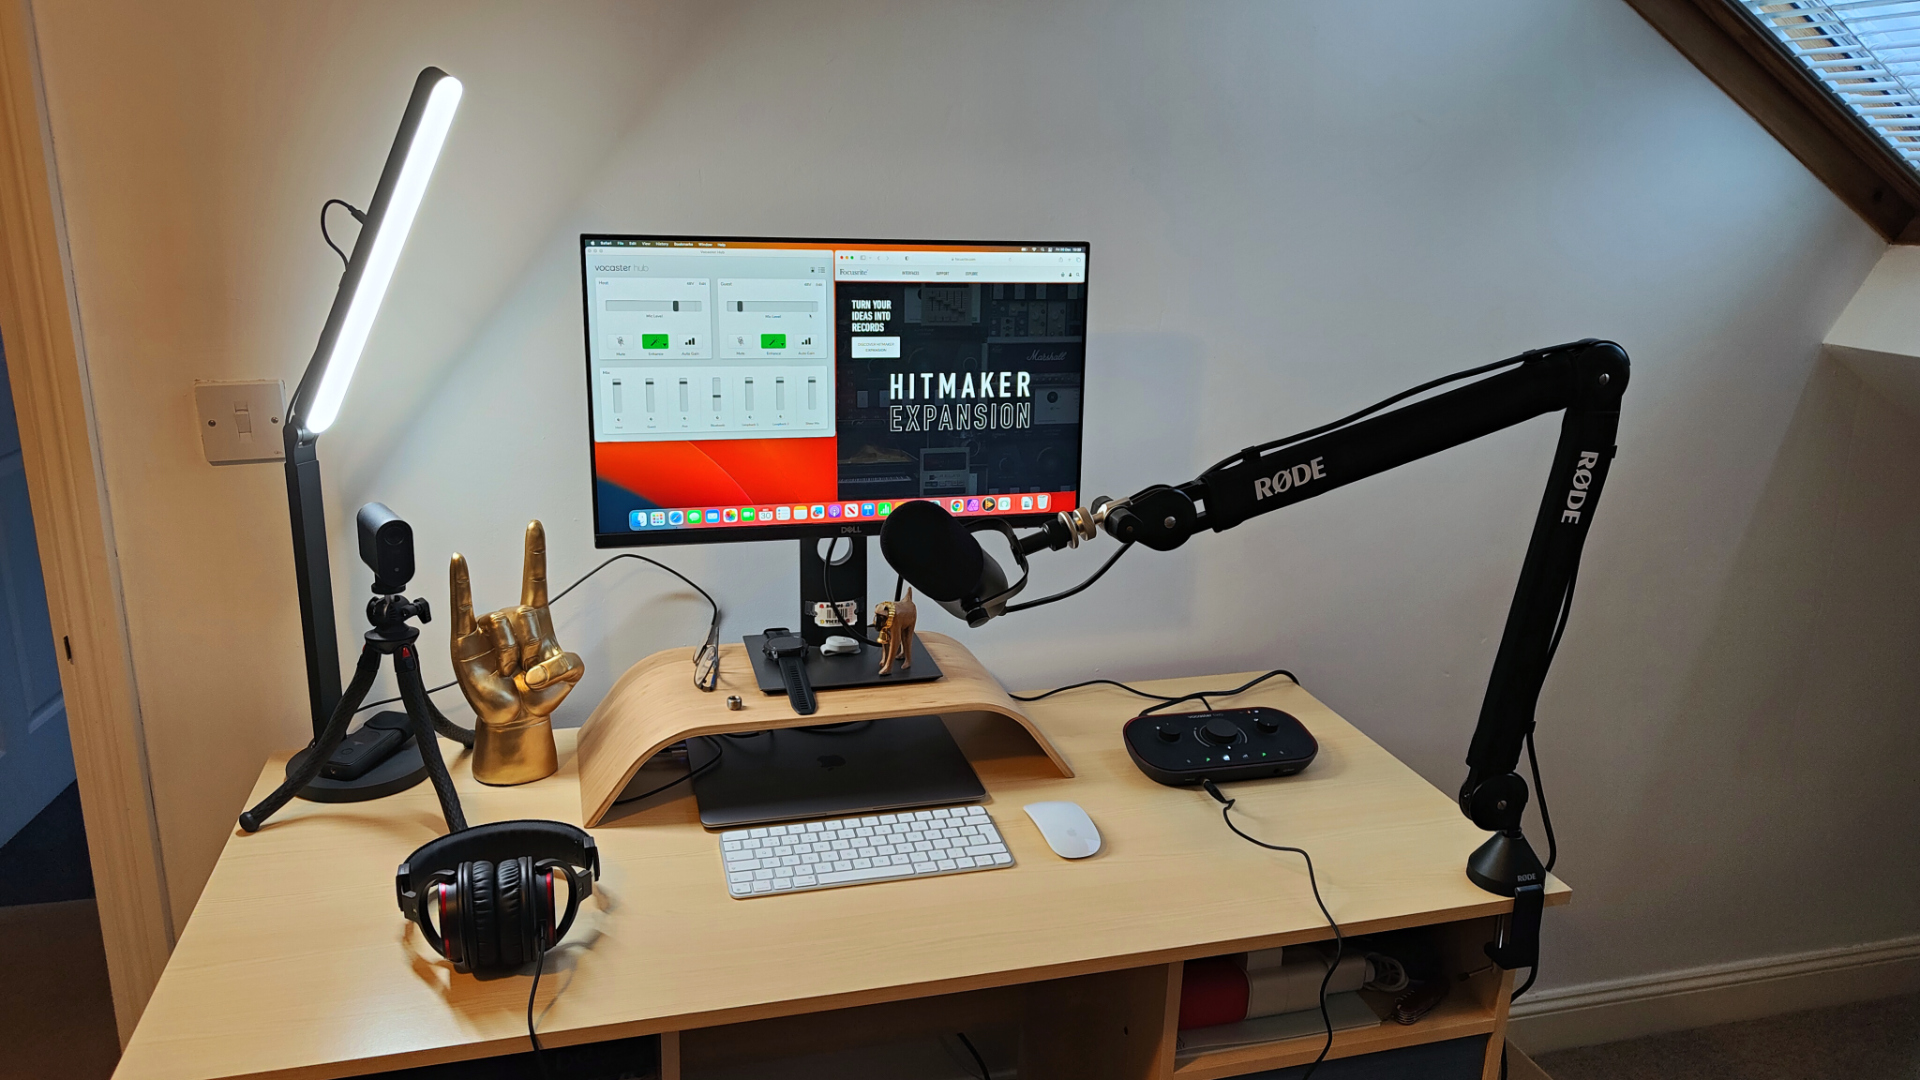
The Focusrite Vocaster Studio is an excellent all-in-one solution for beginner podcasters and content creators. The intuitive features and easy-to-understand interface make the Vocaster Studio a must-have audio console for anyone wanting to create quality sound.
-
+
Beginner-friendly, stripped-back audio solution
-
+
Easy-to-understand physical interface and software
-
+
Comes with a mic, monitoring headphones and cables
-
+
Easy to setup and use
-
-
No microphone stand/boom arm
-
-
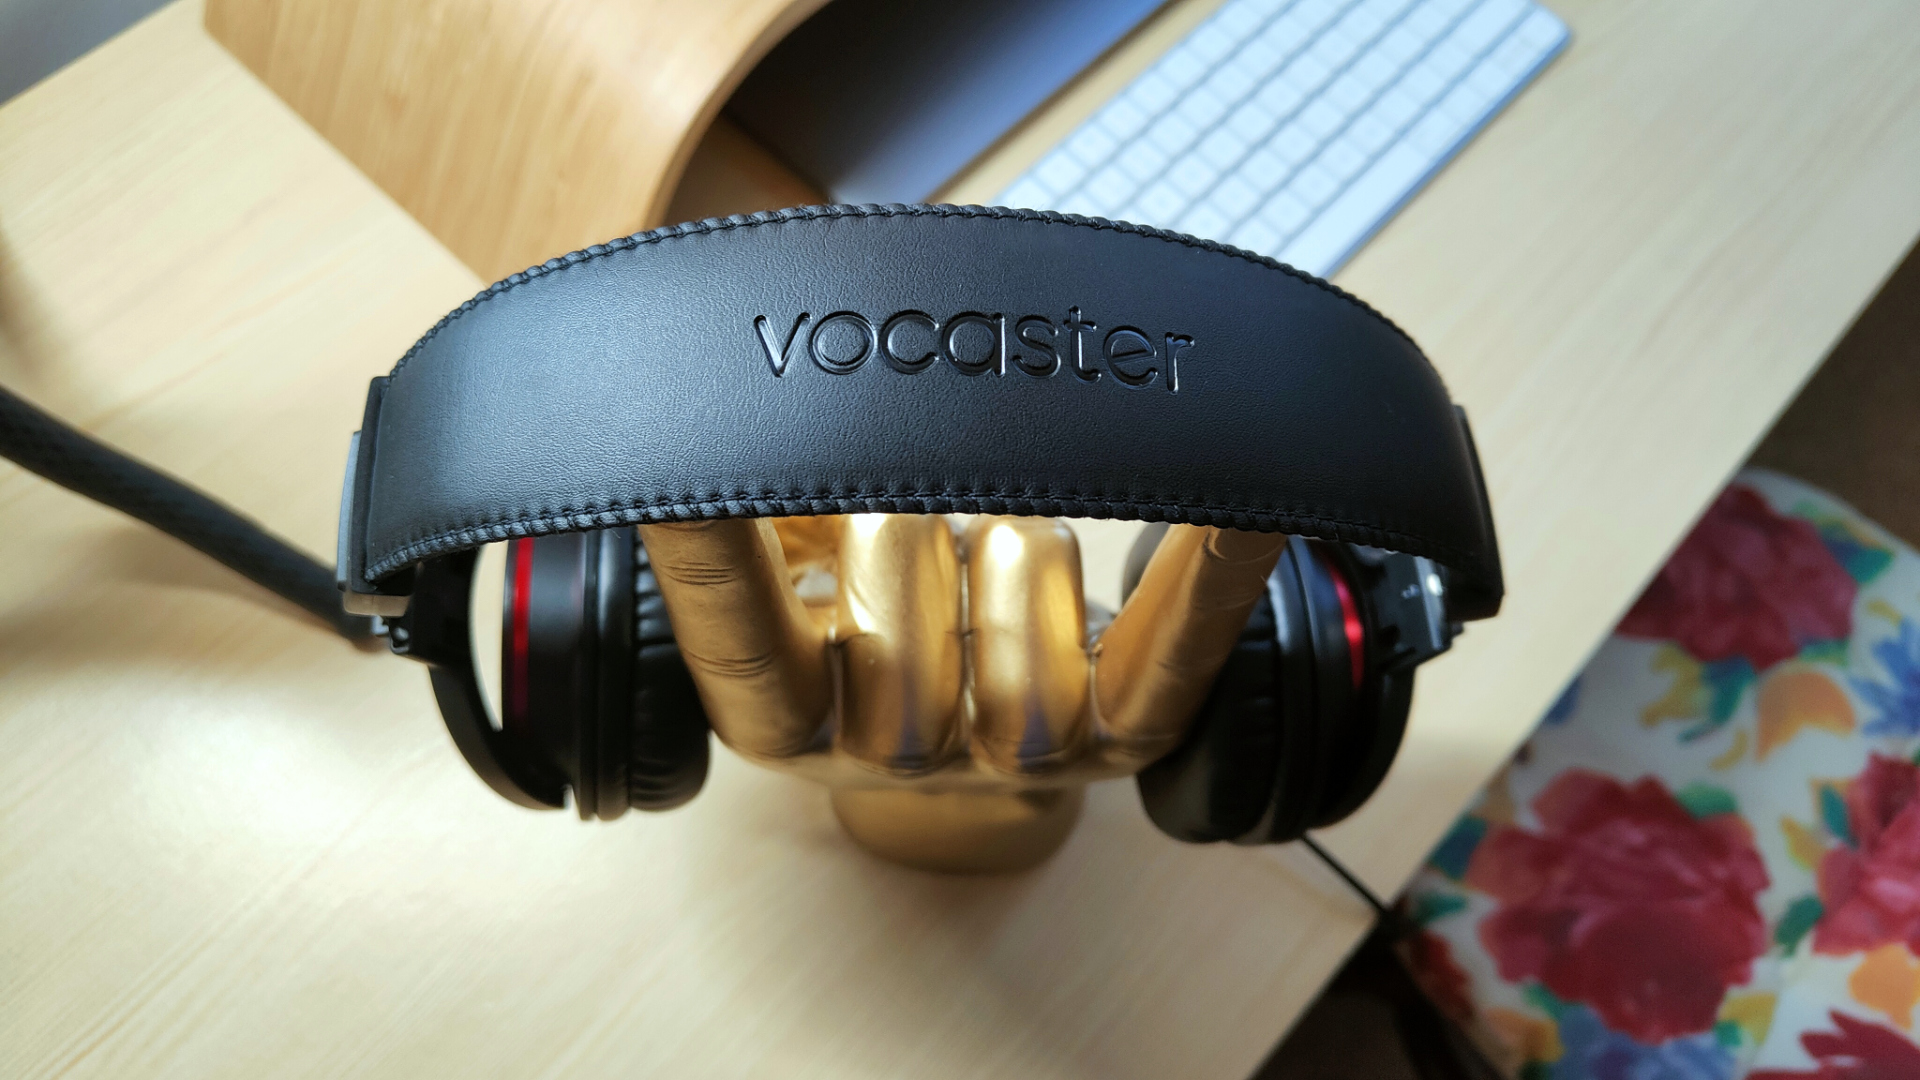
Headphones do feel a little cheap
-
-
Doesn't play well with devices that use their own amp (e.g. cameras)
Why you can trust T3

I love testing audio equipment, although I'm far from an expert in all things audio. I record videos and even had a podcast for a short while. I understand the basics of sound editing and enjoy tweaking audio to ensure it sounds as best as it can. However, I have other things to do than just edit videos and record podcasts, so I need an interface that makes recording the sound uncomplicated. And I think I found a solution in the form of Focusrite's Vocaster Studio, the subject of this review.
I love most things about the Vocaster Studio bundle, which includes the Vocaster console, an XLR microphone, the XLR cable to connect the mic to the console and monitoring headphones. Apart from a microphone stand or boom arm, this is all you need to create a studio-quality sound for any content, especially podcasts. The accompanying Vocaster software is easy to use and understand. I was especially fond of the app's features, such as auto-gain, which automatically adjusts how much sound the mic picks up based on a 10-second sample. How does the Focusrite Vocaster Studio work, and what it's best for? Read this review to find out.
Focusrite Vocaster Studio review: Price and availability
The Vocaster Studio is available to buy now directly from Vocaster. You can buy the Vocaster unit on its own, with the Vocaster One costing $200/£190 and the Vocaster Two $300/£290. The Vocaster Studio setup is also available in both single and double mic setup; the Vocaster One Studio costs $300/£290, and the Vocaster Two Studio costs $500/£470. Focusrite offers free worldwide shipping on all orders over $150/£160. They also ship to AU.
Both Studio versions come with the same gear included in the box: the Vocaster hub, a Vocaster DM1 Microphone, HP60v Monitoring Headphones, a 3m XLR cable and a USB A-C Cable. Also included in the price are podcasting software trials, namely Hindenburg LITE and a 6-month Hindenburg PRO Trial, a 6-month aCast Influencer Plan, a 3-month SquadCast Pro + Video Trial and a 6-month Ampify Studio Premium Trial.
I tested the Vocaster Two Studio, which allows two mics to connect simultaneously to the hub. From a feature point of view, it's identical to the single-mic version. For the best Vocaster Studio prices, please check the widgets at the top and bottom of this review.
Focusrite Vocaster Studio review: What is it?
The Focusrite Vocaster Studio is an all-in-one sound interface for podcasting and sound creation. Imagine a stripped-back RODECaster Pro II with only the essential stuff in a straightforward interface. Despite the simplicity, the Vocaster Studio enables you to control the mic, gain instant feedback via the headphones, connect smartphones via Bluetooth, and send audio from the unit to connected devices such as DLSRs or speakers.
Focusrite Vocaster Studio review: Setup
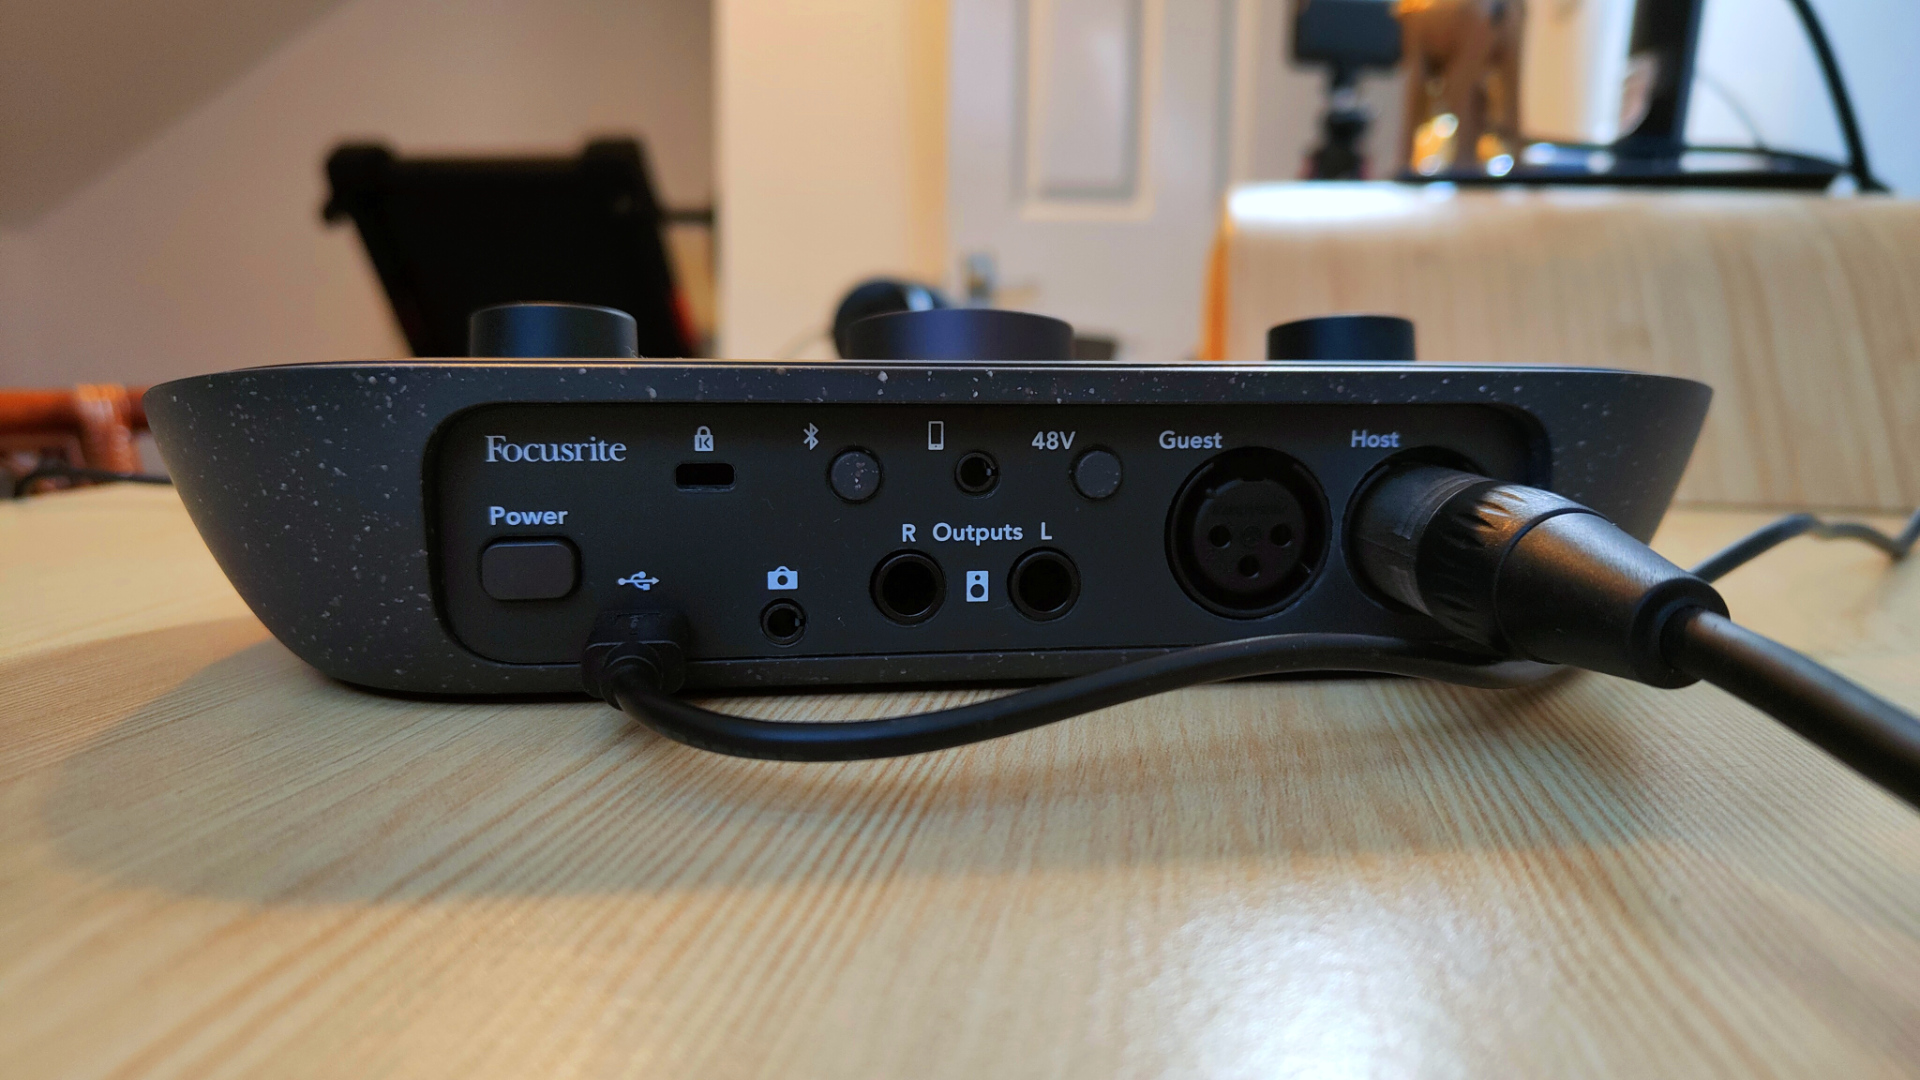
It couldn't be easier to set up the Vocaster Studio. You get everything that's in the box and connect them to each other and your computer – it's self-explanatory which cable goes where thanks to the icons near the connection points at the back of the hub – you fire up your PC or Mac and download the Vocaster software from the website. After installing the software, you can start using Vocaster Studio immediately. It takes three minutes from the time you got everything out of the box to start podcasting. Below, you'll find an example video I recorded using the Vocaster setup:
Get all the latest news, reviews, deals and buying guides on gorgeous tech, home and active products from the T3 experts
Focusrite Vocaster Studio review: Features and ease of use
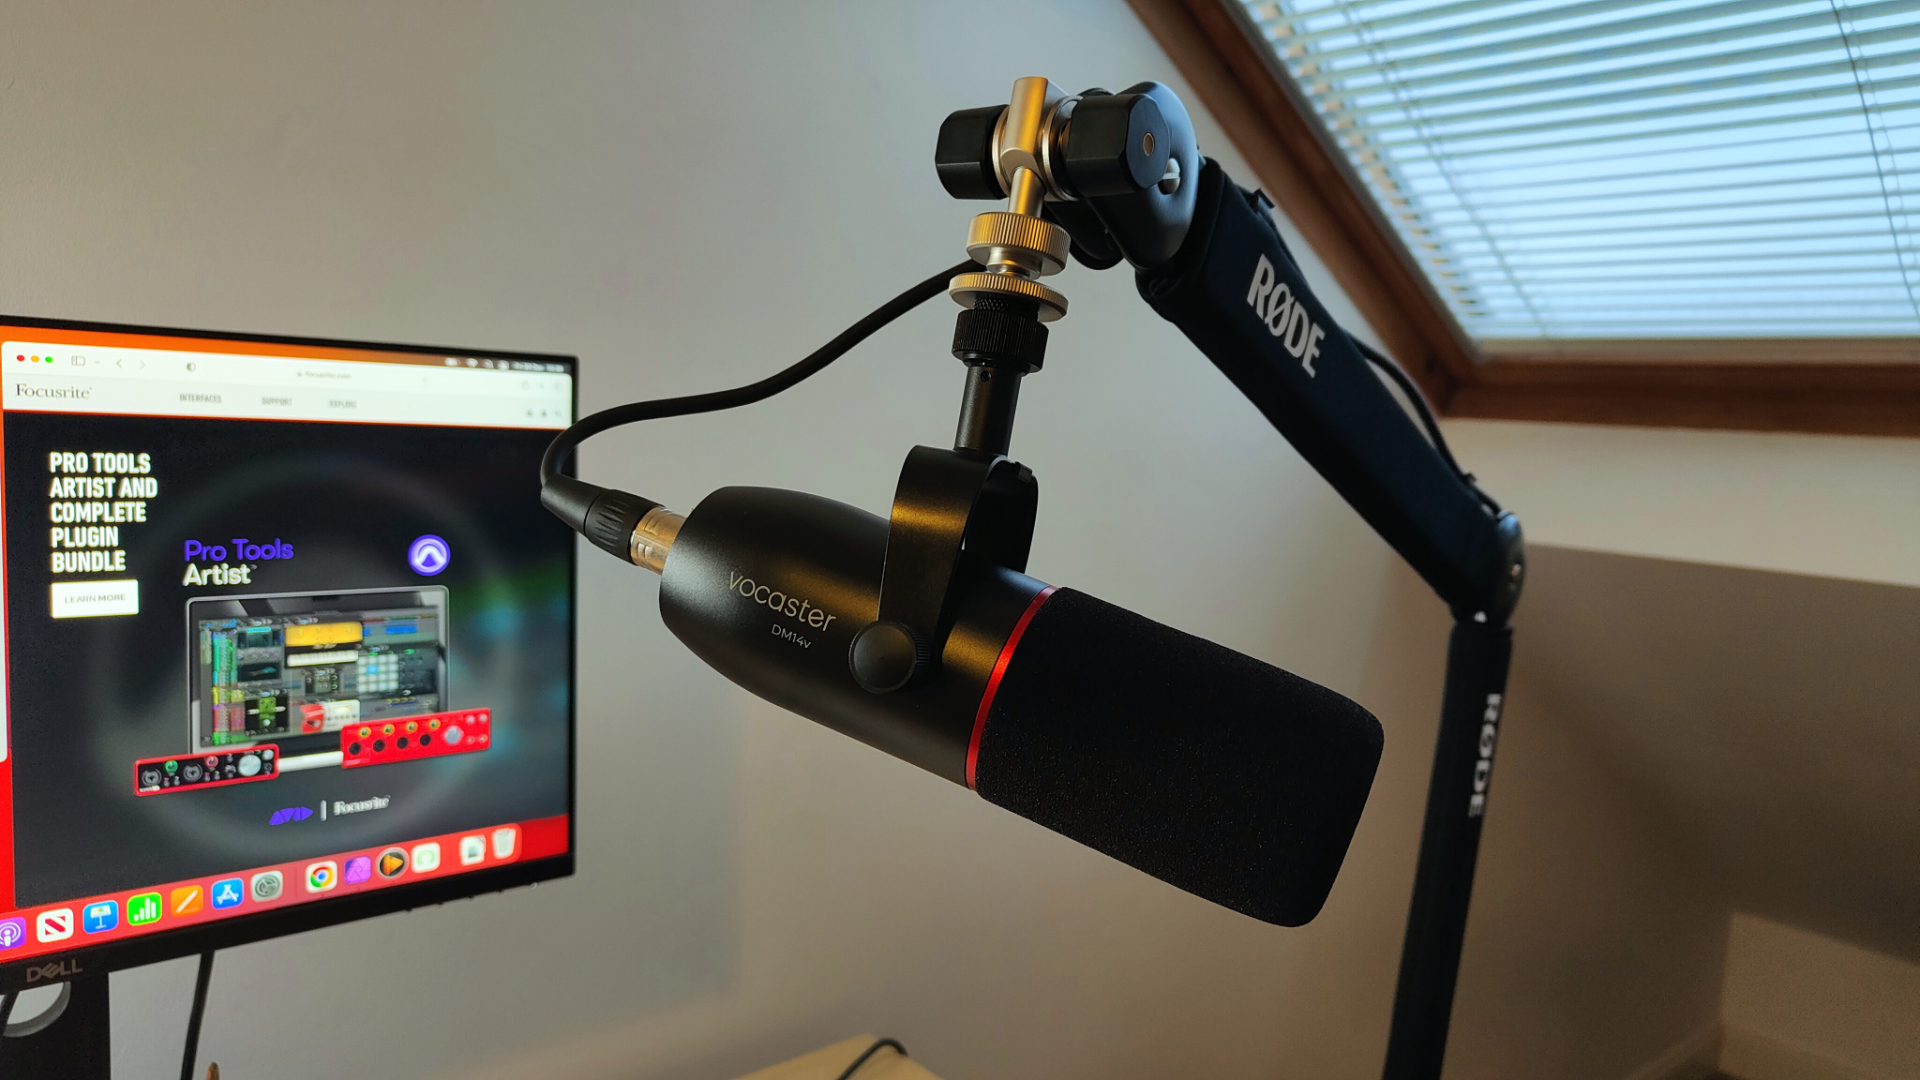
Despite its simplicity, the Vocaster Studio has all the features a beginner podcaster might need. I only missed the microphone stand, which is a strange exclusion from the box, as you get everything else you need to start, but unless you buy a microphone stand or boom arm, you'll have to hold the microphone with your hands – not so pro! Thankfully, I have the incredible RODE PSA1+ (links to RODE) boom arm in my possession, so even if the Vocaster Studio came with a stand, I'd probably use the RODE studio arm instead.
Missing mic stand aside, you get everything else you need to start podcasting (or, in my case, start adding quality audio to your videos). For me, the main appeal of the Vocaster Studio is the Auto Gain function, which automatically sets the mic's gain based on a 10-second sound sample. You initiate Auto Gain in the Vocaster software on your computer, speak into the mic for 10 seconds at the sound level you're going to use for the recording, and the hub will adjust the gain (sound sensitivity) of the mic automatically. It's a nifty feature that works really well, in my experience.
The software also has a few (four) audio presets that change the sound slightly. These include 'Bright' and 'Radio', and, to my surprise, they perceptibly change the sound quality. I haven't used the presets extensively for my recordings, but it's nice to have them on board. Not to mention, this is yet another feature that makes the life of beginner podcasters much easier.
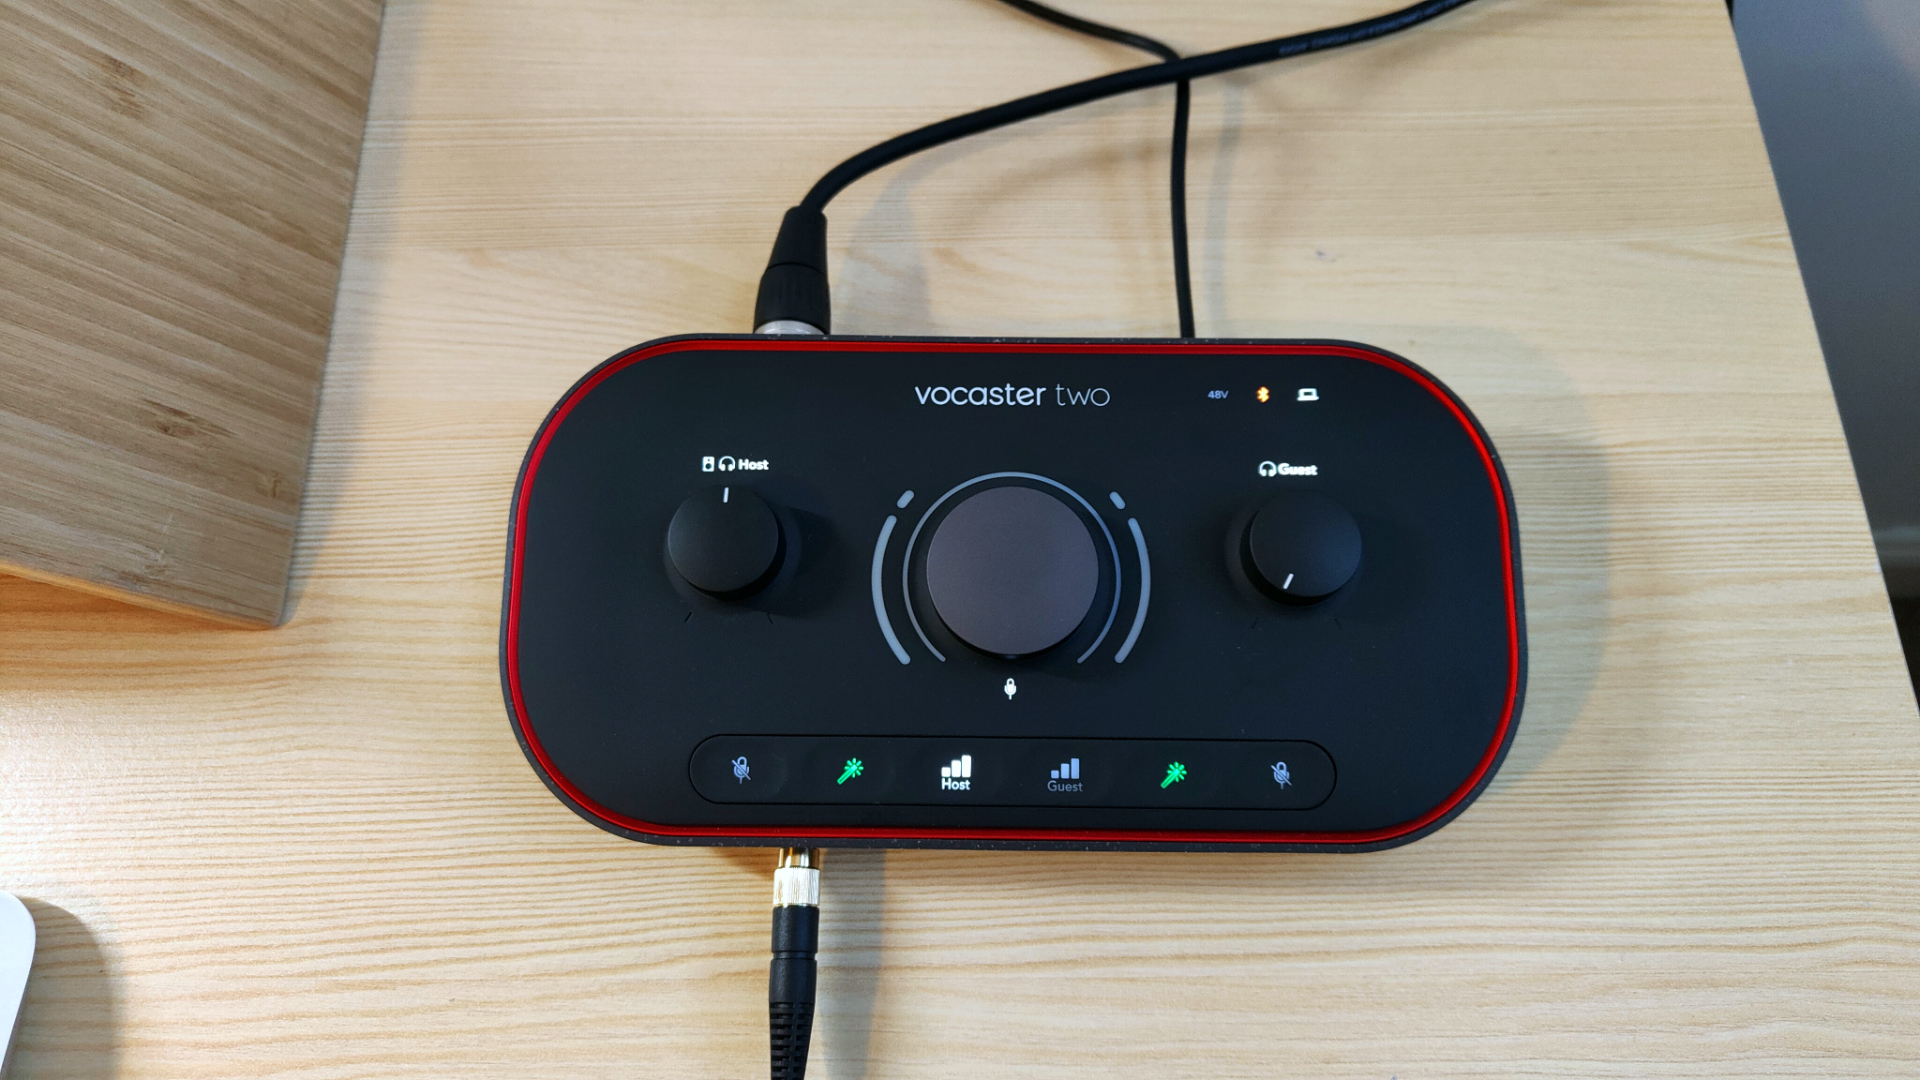
There are a few buttons on the hub that controls the audio, including a mute button with which you can immediately cut the host's or the guest's sound feed. You can also initiate the Auto Gain feature on the hub via the dedicated Auto Gain button. Of the three knobs on the Vocaster Two hub, the one in the middle controls mic gain and the two smaller dials adjust the sound output of the headphones connected to the hub (host/guest).
A side note: I used the Vocaster Studio setup (i.e. the headphones connected to the hub) for editing videos in Davinci Resolve, and not once I almost shuttered my eardrums by forgetting the adjust the volume once I finished editing. When connected to my Macbook Air M1, the Vocaster hub disabled the laptop's volume controls and made the headphones' volume knob on the hub responsible for adjusting sound levels.
Focusrite Vocaster Studio review: Verdict
I like the Vocaster Studio because it condenses everything essential to creating studio-quality sound into a compact desktop hub. It's somewhere between a USB mic and a full-on XLR setup; it's simple enough to use, which reminds me of USB mics but allows for some hardware extension, thanks to the presence of the hub and its many holes (this does a bit weird, but you know what I mean). I'm still a bit puzzled about the lack of a mic stand, but considering you can get one cheap, it's not a deal breaker.
Do you need the Vocaster Studio if you're a beginner podcaster, especially since there are pretty decent USB mics on the market, such as the Logi for Creators Blue Yeti (I need to review that soon, especially since I've been using it for a while) or the RODE X XDM-100? The short answer is no, you don't need the Vocaster Studio; however, by getting it, you leave the door open to create better audio, should you want to, without having to buy a ton of gear.
I love the Vocaster Studio and will continue to use it going forward. I love the connectivity, the ease of use, and the compact form factor. Better still, should I ever want to upgrade, let's say, my microphone to a different model, I can use the Vocaster Hub as an interface to connect it to my computer. If you have a mic or monitoring headphones already – I can wholeheartedly recommend the RODE NTH-100 – and want to podcast or create content solo, I'd recommend you get the Vocaster One for peanuts. Nice!
Focusrite Vocaster Studio review: Also consider
I mentioned the RODECaster Pro II already, and if you take content creation and podcasting seriously, you'll need one of those. It allows for a lot of customisation and is just a quality piece of equipment. It's more expensive than the Vocaster Two Studio and doesn't come with any mics or headphones, though.
Another option is to get a USB microphone. I love my Logi for Creators Blue Yeti (links to Logi), and RODE has some seriously good mics I can recommend. To be honest, I'll always and forever recommend RODE products because I never had any issues with them, and they sound soooo good.

Matt Kollat is a journalist and content creator for T3.com and T3 Magazine, where he works as Active Editor. His areas of expertise include wearables, drones, action cameras, fitness equipment, nutrition and outdoor gear. He joined T3 in 2019.
His work has also appeared on TechRadar and Fit&Well, and he has collaborated with creators such as Garage Gym Reviews. Matt has served as a judge for multiple industry awards, including the ESSNAwards. When he isn’t running, cycling or testing new kit, he’s usually roaming the countryside with a camera or experimenting with new audio and video gear.