9 mistakes everyone makes with bread makers
If you love freshly baked bread, don’t make these bread maker mistakes!
There’s nothing better than a warm loaf of freshly baked bread, whether you get it from your local bakery or make it yourself. While The Great British Bake Off makes baking bread look easy, making bread from scratch is very technical and many mistakes can be made without even realising it.
While baking your own loaves can be extremely therapeutic and rewarding, it does take time and precision. Ensuring the salt and yeast don’t touch, adding the right amount of liquid and proving your bread for the right length of time are all things you need to consider, regardless of the type of bread you’re making. This is why many people choose to use the best bread makers to make their own bread rather than doing it by hand.
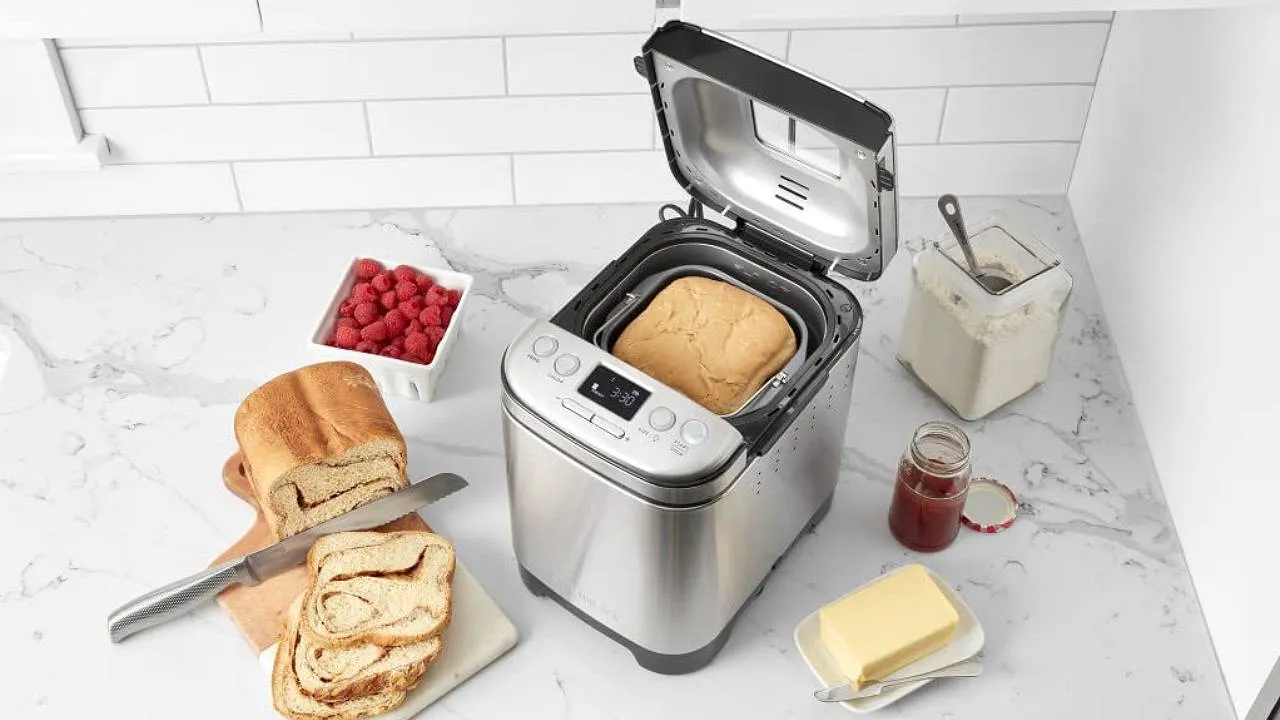
But, even with a good bread maker like the Sage The Custom Loaf, you might still find yourself with questionable results. The first few times I used my bread maker, I found my loaves to be half the size, deflated and a little clumpy. Once I addressed the mistakes I was making, my homemade bread has never been better!
To help you address your bread making problems, here are 9 mistakes everyone makes with bread makers and what you need to do to make the perfect loaf.
1. Not weighing out your ingredients properly
Unlike cooking where you can get away with adding too much or too little of something, the same can’t be said with baking. Not weighing out your ingredients properly can affect how your dough rises and the overall quality of your bread. Sticking to the exact measurements is extremely important, so always make sure you stick to the recipe, particularly when you’re weighing out flour and yeast. Most bread makers will come with measuring cups and spoons and I’ve always found these to be the most accurate, but you can use digital scales, too.
2. Not using bread maker recipes
Most bread makers come with an instruction manual with recipes. While you don’t have to use these recipes if you don’t want to, they’re the best way to use your bread maker to its full potential and get the best loaves every time. But if you’d prefer to try different types of bread, always look for a recipe that can be made in a bread maker. Making a bread recipe in a bread maker that uses equipment like stand mixers or your hands will have very different results. Either use the recipe book that came with your bread maker or you can find bread maker recipes online.
3. Adding your ingredients in the wrong order
When using a bread maker recipe, you need to add your ingredients into the bowl in the right order. Is everything going to be mixed together as soon as you turn on your bread maker? Yes, but putting in your flour, yeast and liquids in the wrong order can affect how your bread proves and cooks. In particular, if you add the yeast at the wrong time, it won’t activate properly and your bread won’t rise. Most bread maker recipes call for liquids first, dry ingredients second and yeast last, so keep this in mind when baking bread.

4. Using the wrong flour
While you might think you can swap out ingredients or make substitutions when baking bread, you’d be wrong. Flour makes a big difference in how your bread comes out, so if you’re making a white loaf but you’ve changed the flour the recipe calls for, the bread flavour, rise and texture won’t be right. As always, follow the recipe as closely as you can to get the best results.
5. Not considering the temperature of your kitchen
The temperature and humidity of your kitchen can have an impact on your bread. If your kitchen is too hot, your bread will rise much quicker but if it’s too cold, your dough won’t prove very well. As your bread maker runs on a timer, it won’t delay itself to ensure your dough has risen properly, so you can get over risen bread or small, dense loaves. Take your kitchen’s temperature into account when making bread – if it’s an overly hot day, try to delay until the evening when it’s cooler or if it’s chilly, aim to make your bread in the mornings.
6. Being afraid to lift the lid
One of the biggest mistakes people make with bread makers is chucking the ingredients in and leaving it to do its thing. But checking on your bread is very important and you shouldn’t be afraid to lift the bread maker’s lid to look. Unlike with the best multi-cookers, opening the lid of your bread maker won’t interrupt the cooking process but will instead pause the cycle. Check on your bread during the kneading stage and before the final cook, and if you need to make adjustments, you can! Give your dough a quick poke and if it feels too wet or floury, you can add what it needs to make sure it comes out perfect.
7. Forgetting to reshape your loaf
Similar to avoiding opening the lid, many people don’t check on the shape their bread is going to be which often results in the loaf coming out misshapen or wonky. If you don’t love the shape of your bread, quickly take it out of the bread maker and give it a reshape. It’s recommended to do this before the final rise and cooking process.

8. Not removing the paddles before the final cook
Many people forget to take the dough hook or mixer out of the bread maker which leaves it to bake inside the bread. Not only does this leave a hole in the base but it can be tricky to remove which messes up the look of your loaf… or rip it completely in half! Once you’ve reshaped your dough, remember to take the paddle out of the bread maker before putting the dough back in to cook.
9. Removing your bread immediately after cooking
Making bread can take several hours, even when using a bread maker, so I wouldn’t blame you for removing your loaf as soon as it’s done. But this is a big mistake as even though your bread is cooked, exposing it to colder air outside the bread maker can affect the look and taste of the bread’s crust. Instead, remove the bread from the bowl it’s been cooking in, and place it back into the machine without the bowl so it can stay at a nice temperature and cool down with the machine.
